Electric Skateboard
Damn it takes a while to get to campus.... I wonder if I could fix that
Board
Ok, biggest part, we need something to stand on. How are we going to do it.
Most boards are made of wood, some are prebent to get a concave down shape. There are also some made of Carbon fiber. However, I quite like aluminum. Using Aircraft grade 7075, it should have similar properties to the bamboo type wood that was used in original boosted boards.
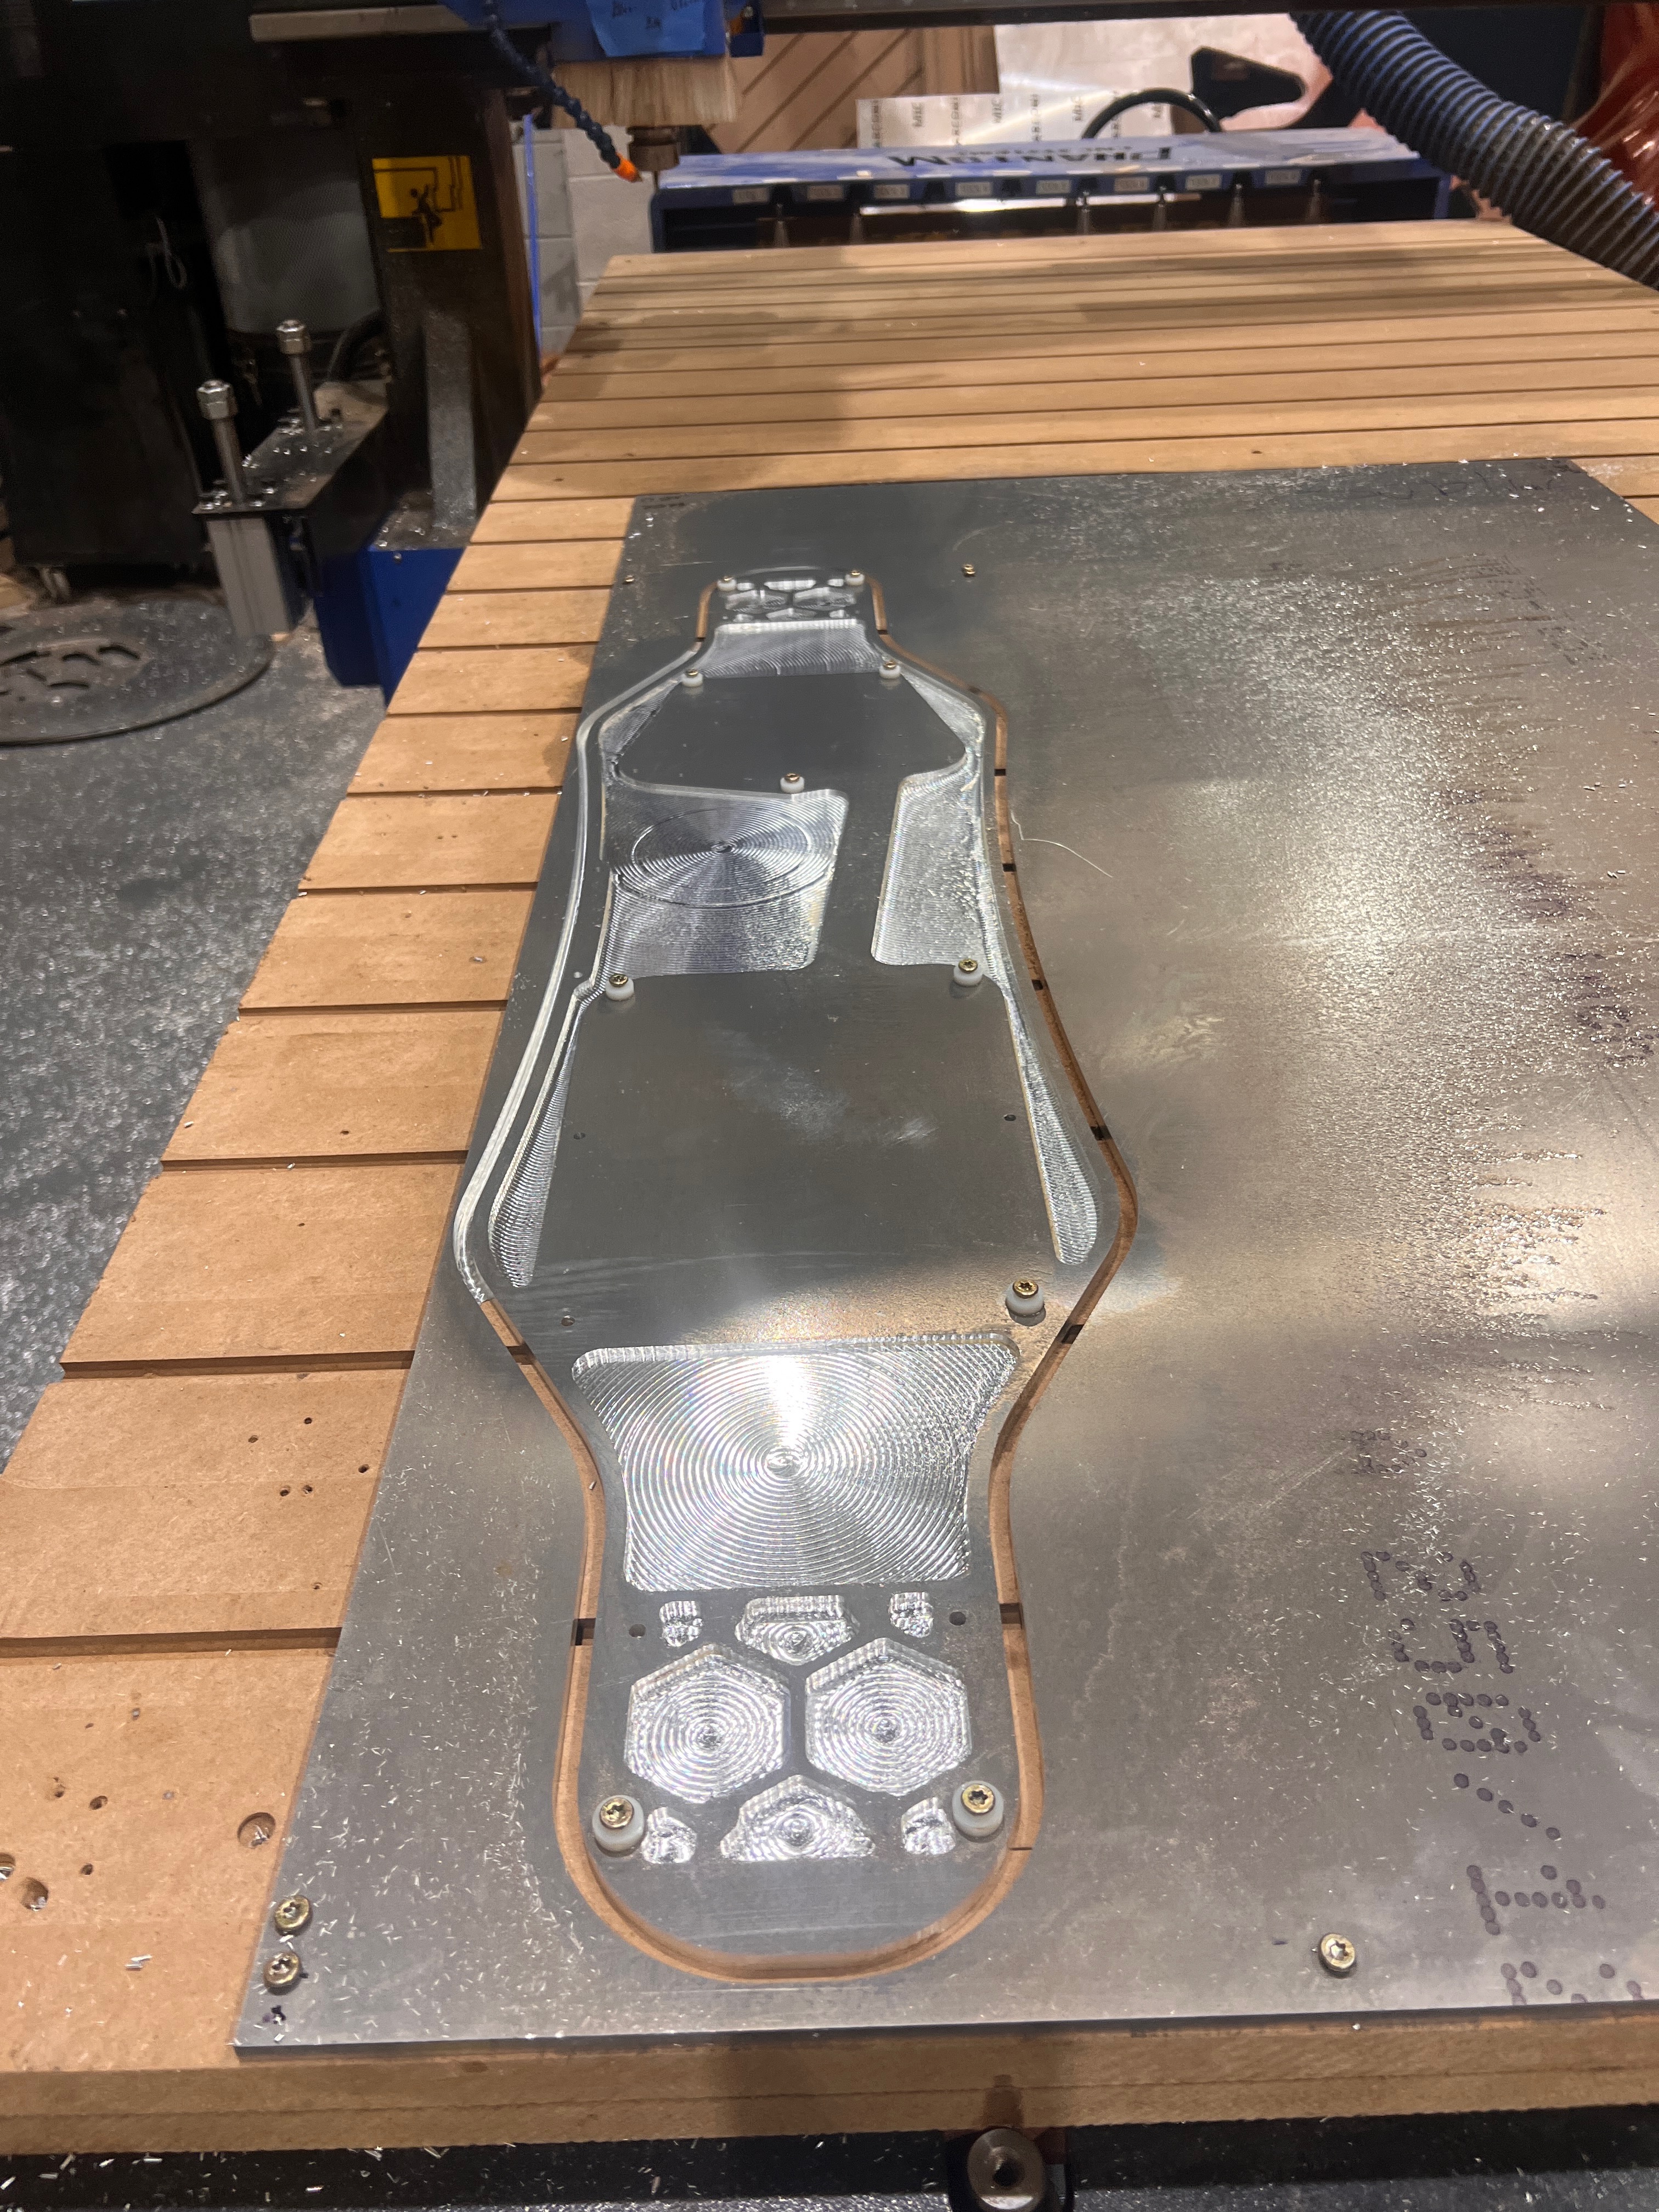
Started out with the full cad, threw the aluminum onto a cnc router. A little machining later and out popped this guy.

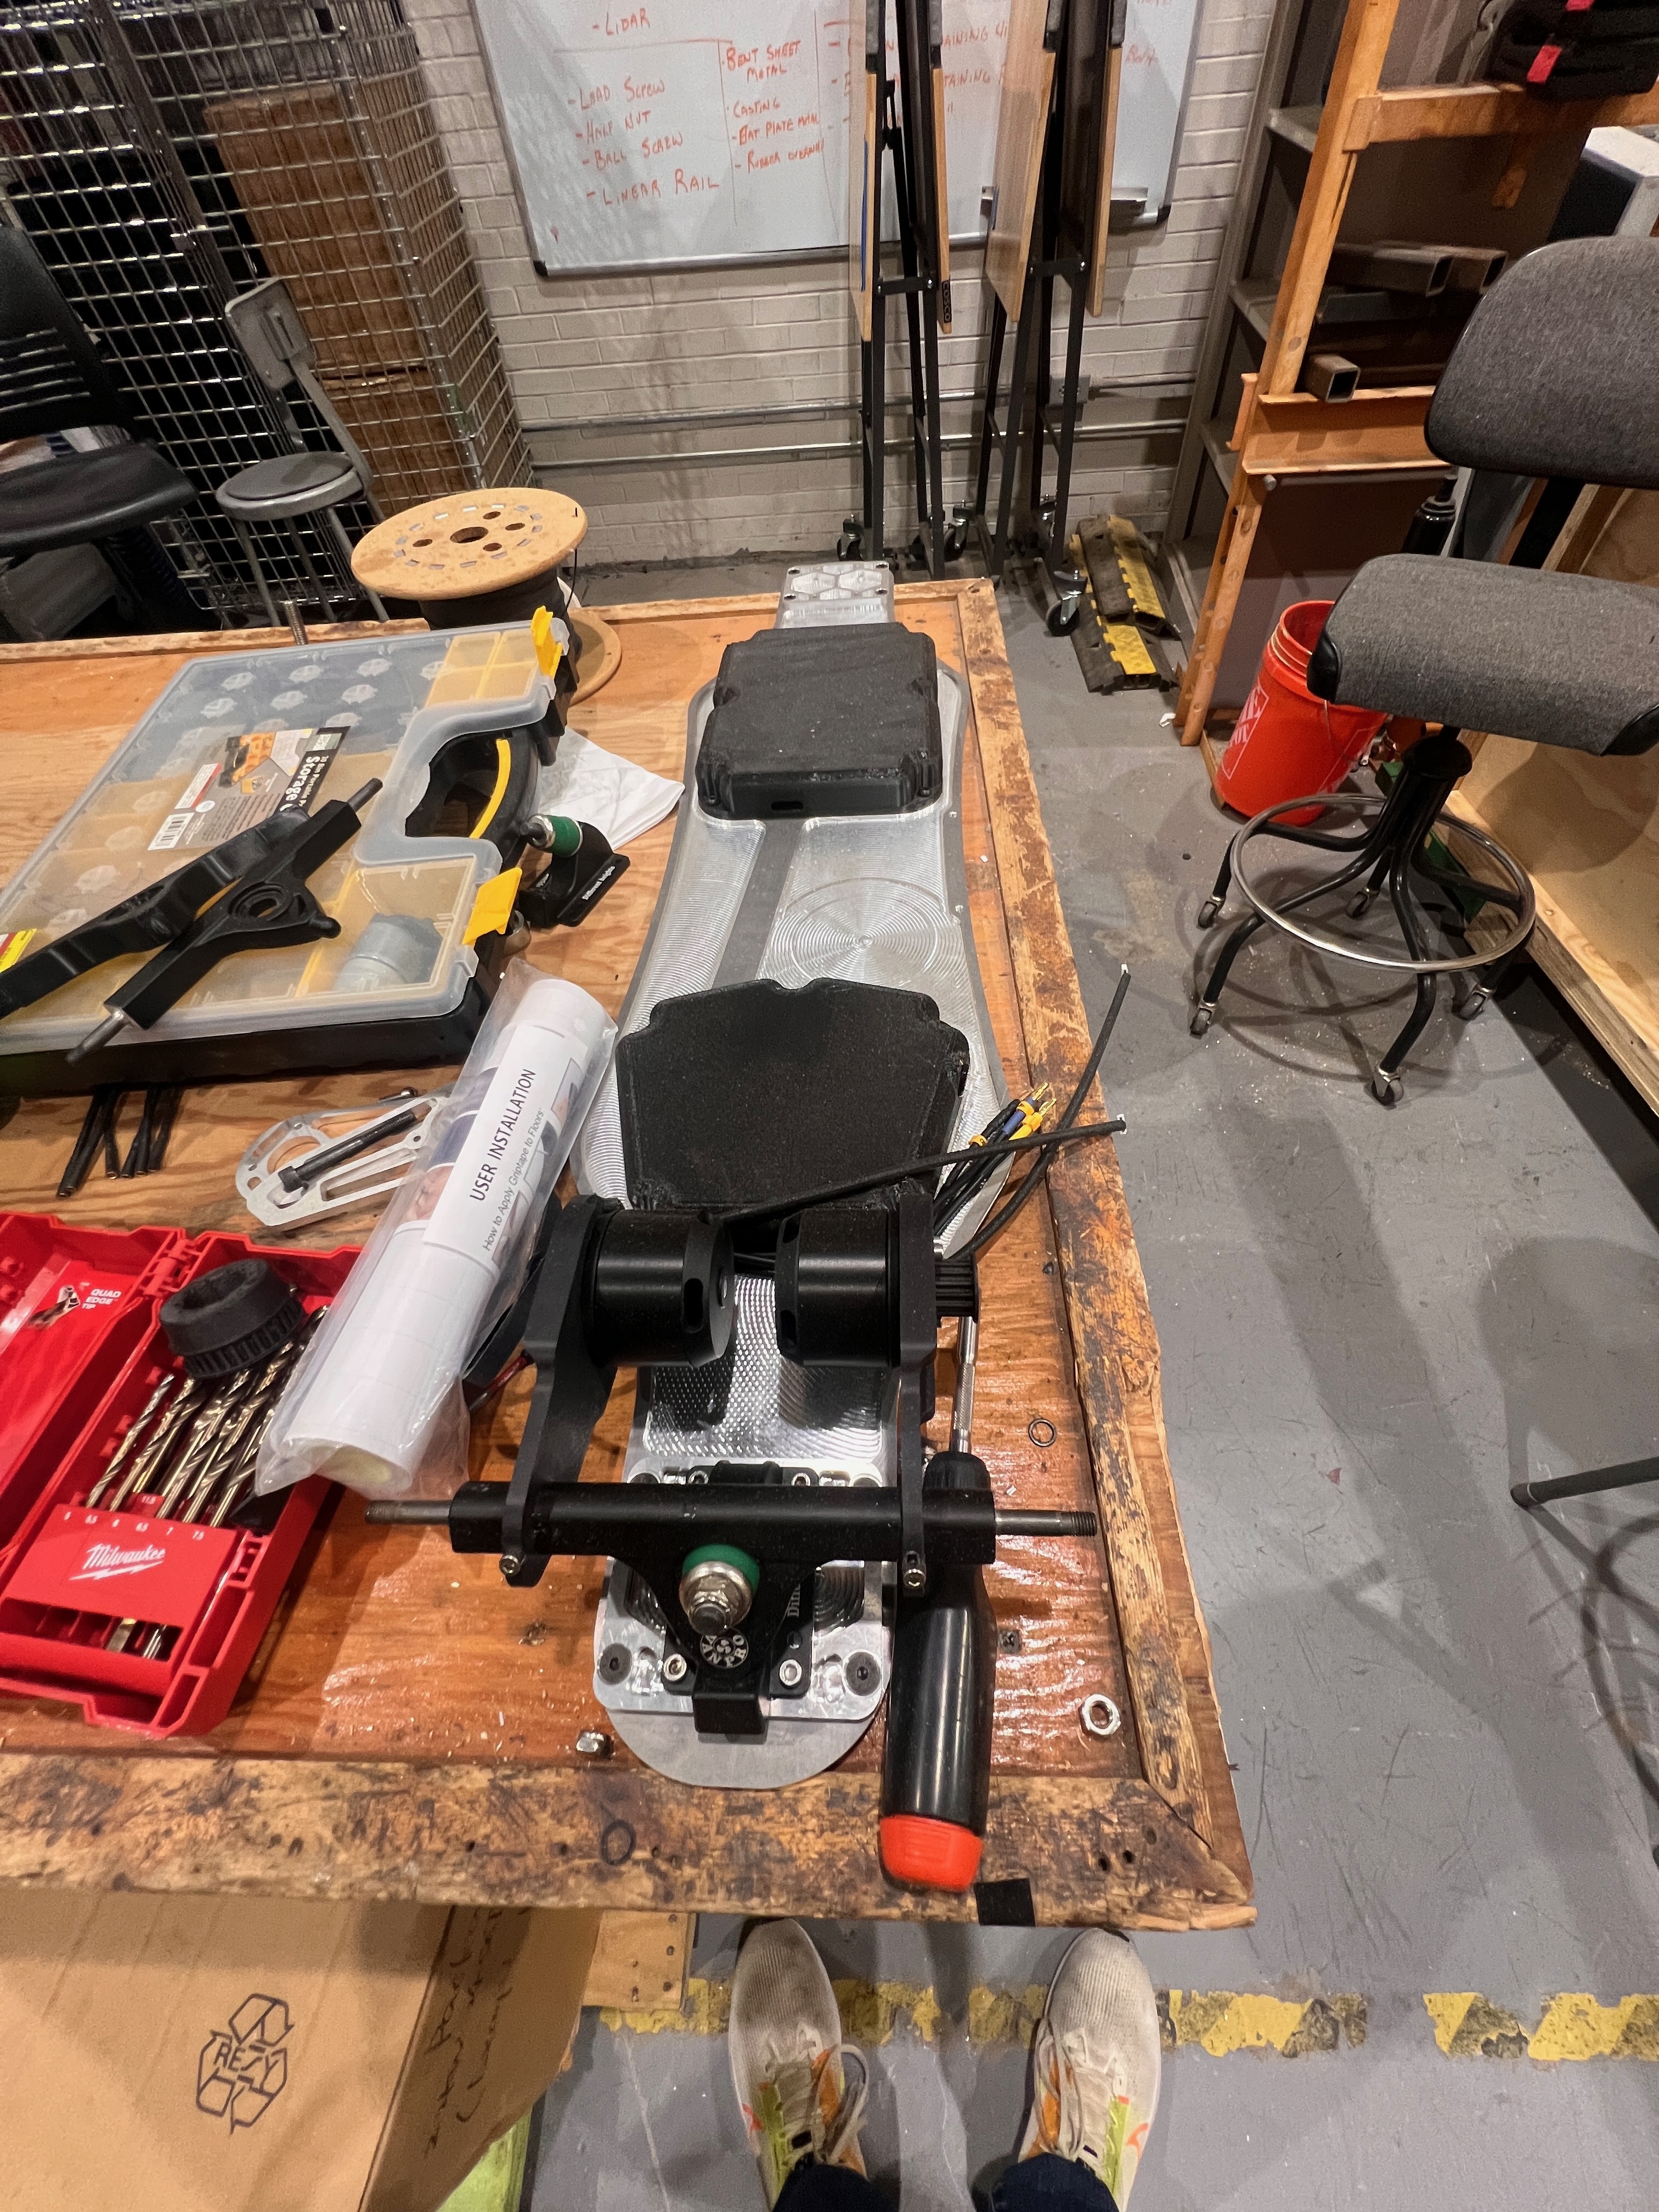
Everything looks great, I threw on a layer of black, got a bit lost doing the forks, and then had it fully assembled!
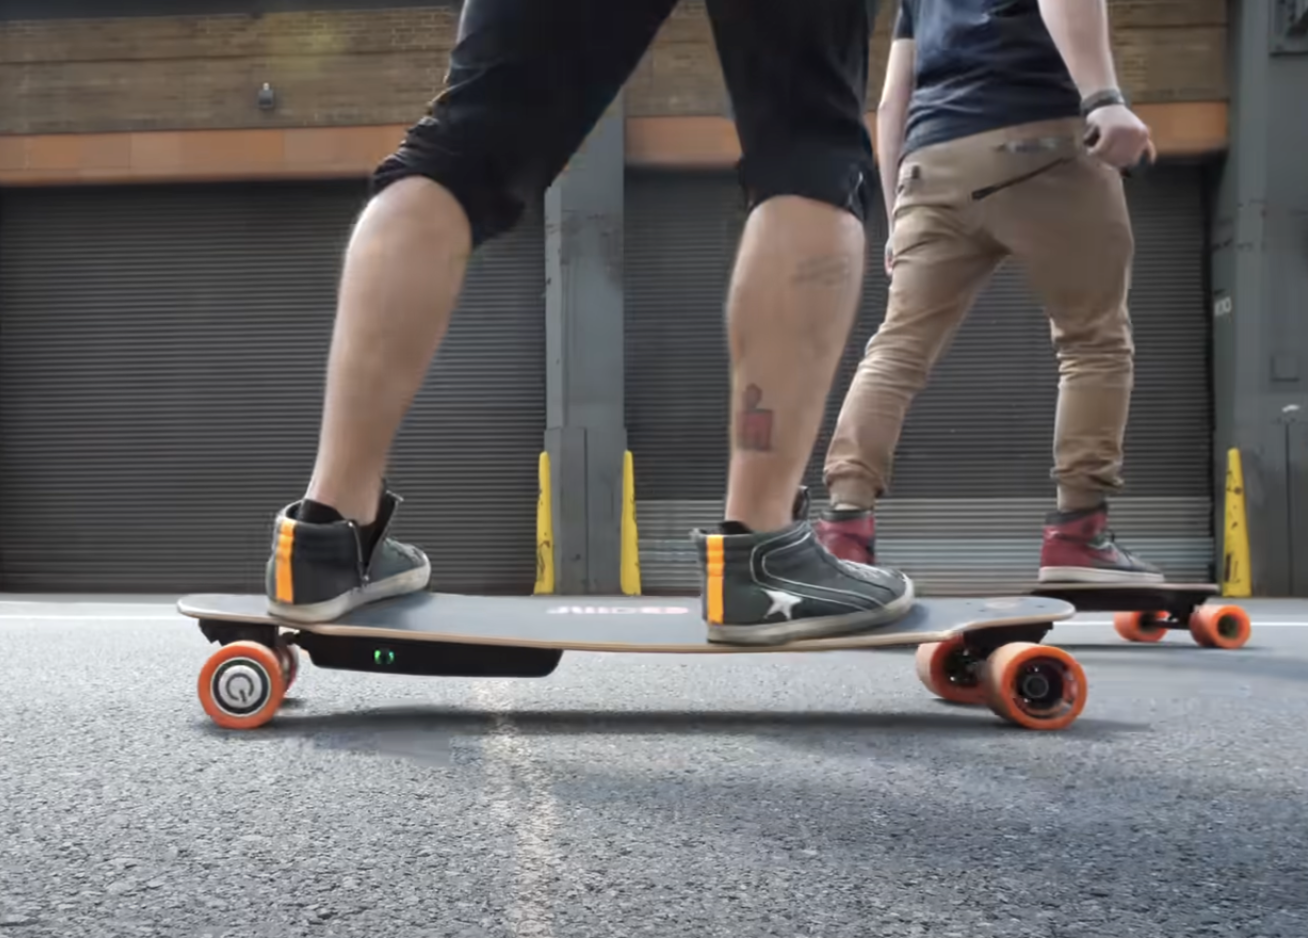
Perfect, looks like it matches pretty well! It appears like a little bit more than the originals, likely this is because the aluminum starts out as a flat sheet, instead of the pre-bend that you can get with wood. It’ll likely stiffen up more as the final electronics and grip tape are added.
Trucks
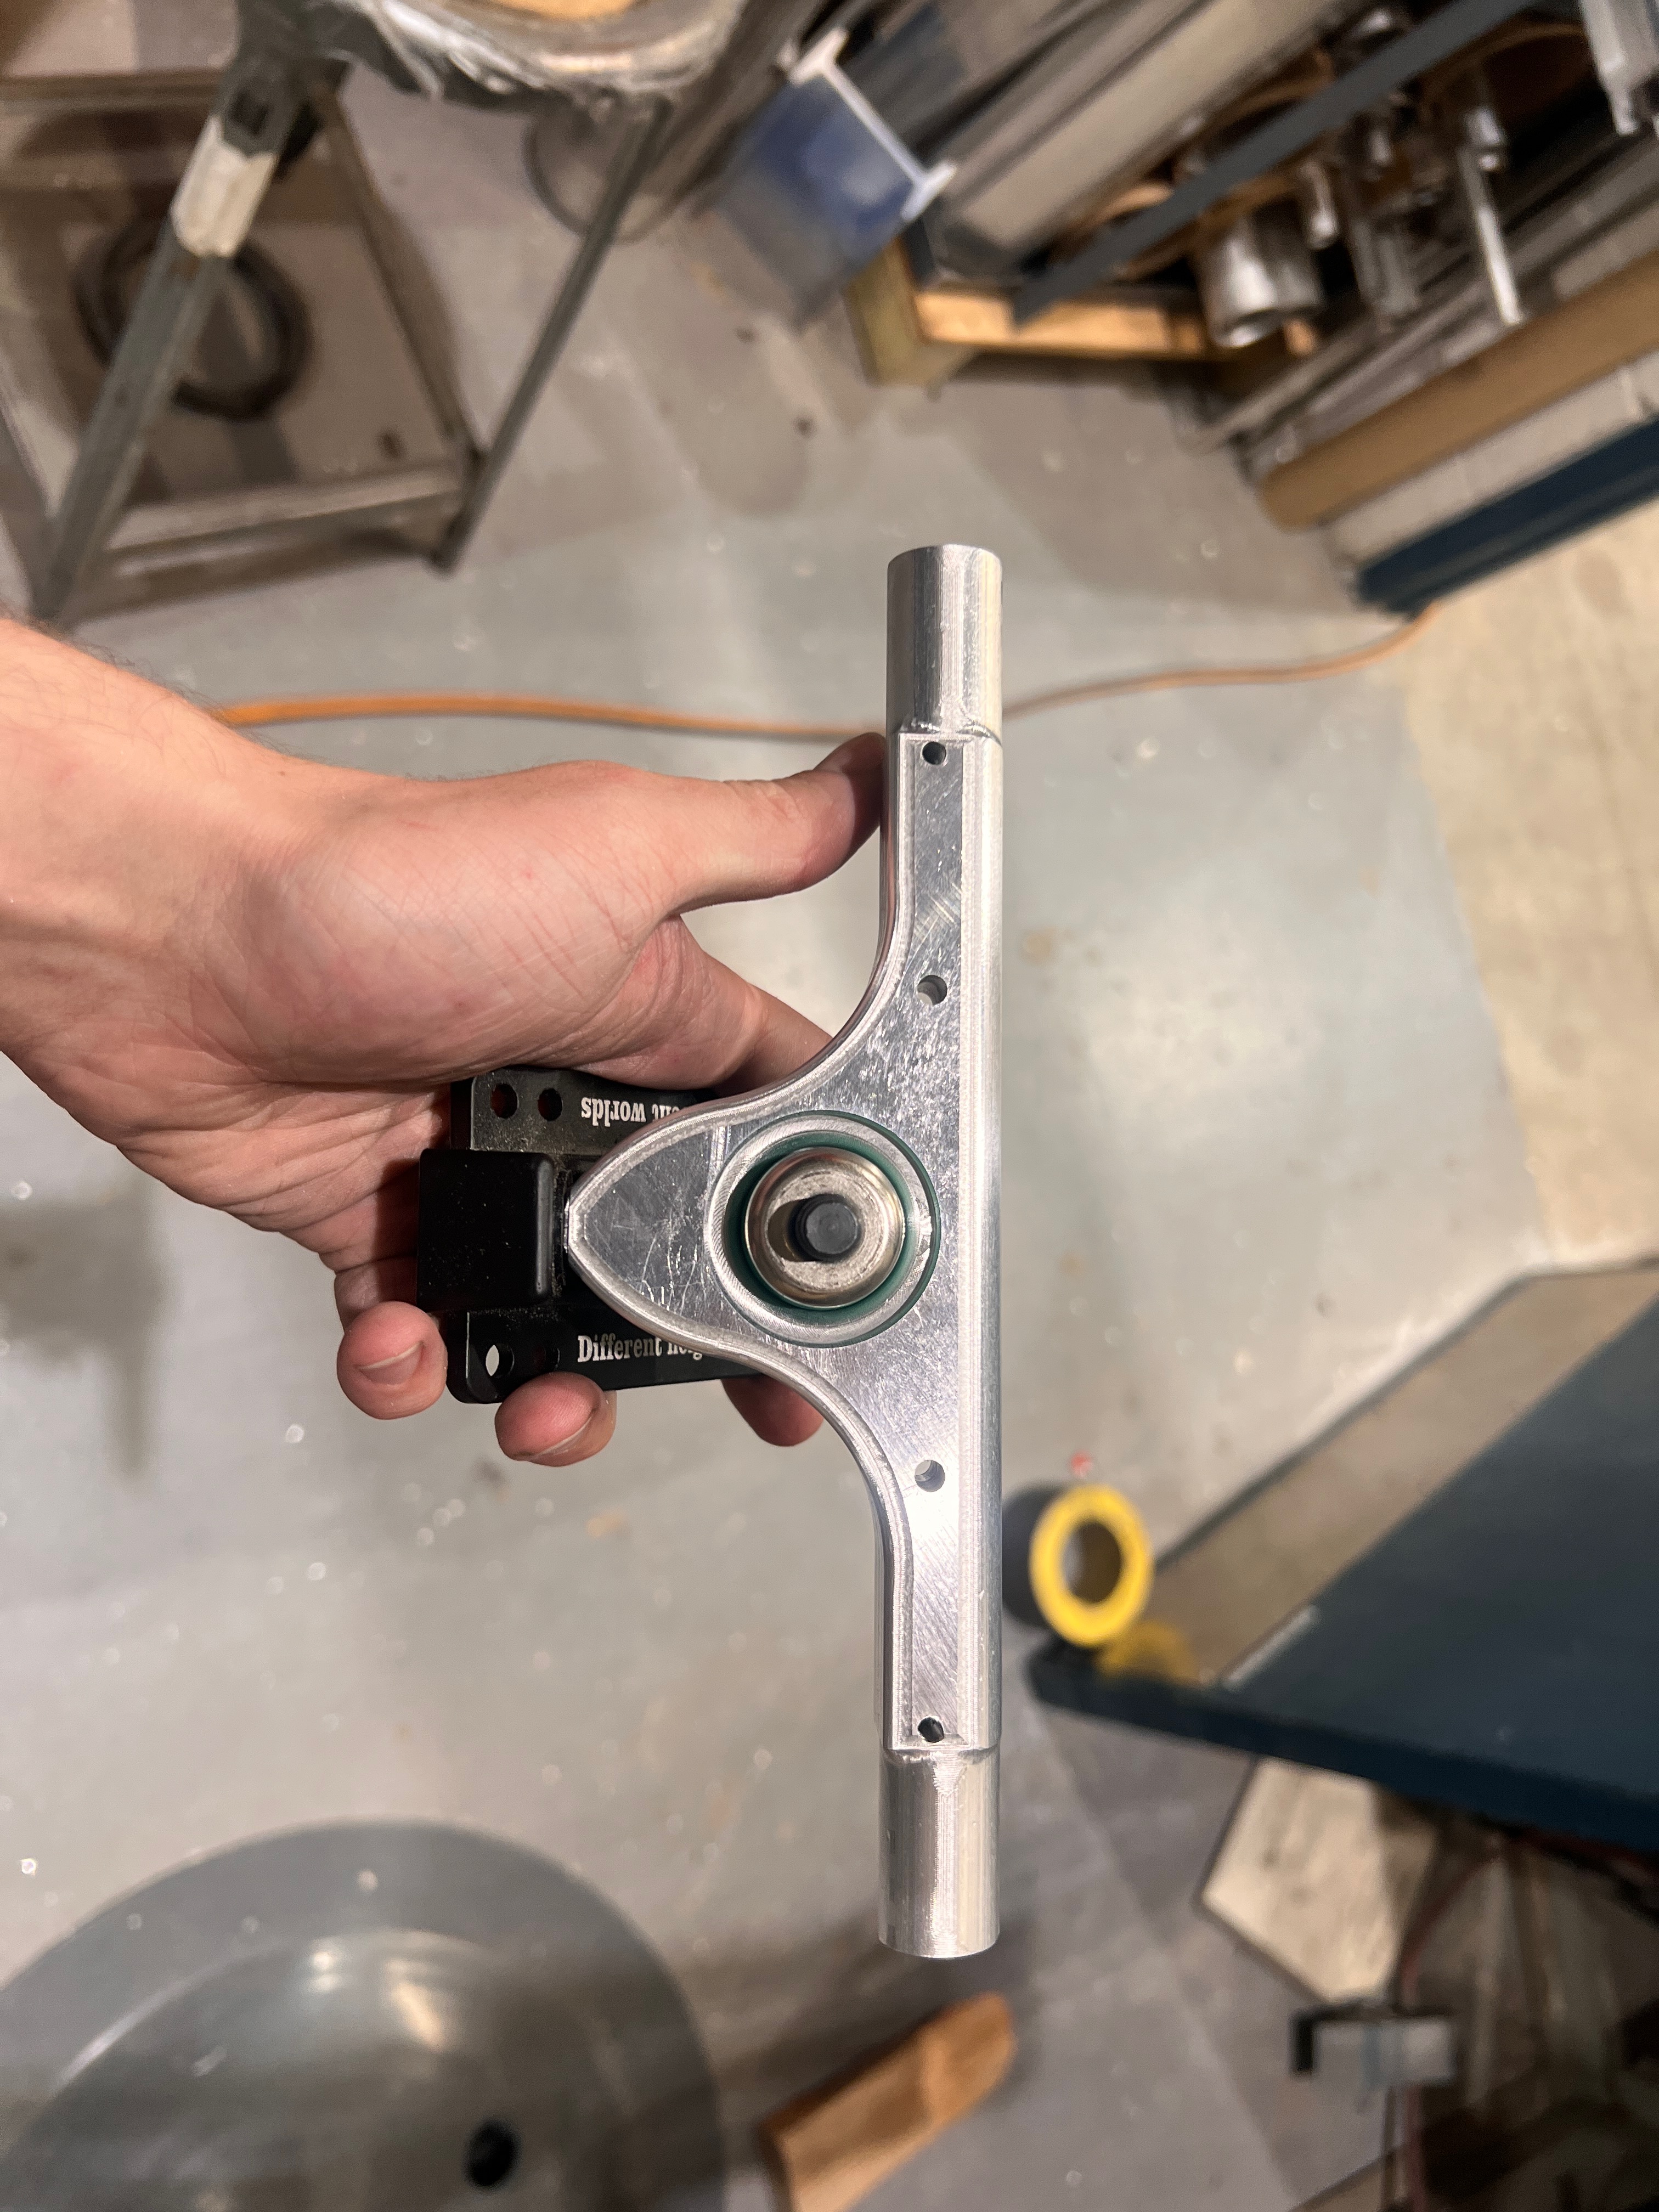
Ok, so we started out strong. Grabbed some cheaper trucks off amazon for 35 bucks, all the hardware was looking great, cheap price, simple but elegant for the first design, anddddddddd They are two inches too short on either side. This means that I cannot physically fit the motors I have. The motors I have are a common size, so this likely explains why they were so cheap on amazon.
I went back and forth with the best way to deal with the problem. I tried out some alternative plate designs, briefly thought about flipping the motors or changing their location, but ultimately I ended up deciding to remake the forks. I had already modeled the geometry, so it shouldn’t be that hard to machine them…
It was a little harder than I thought, two 3 axis cnc operations in, and it took a while. First operation I made both out of a large slab of leftover stock.
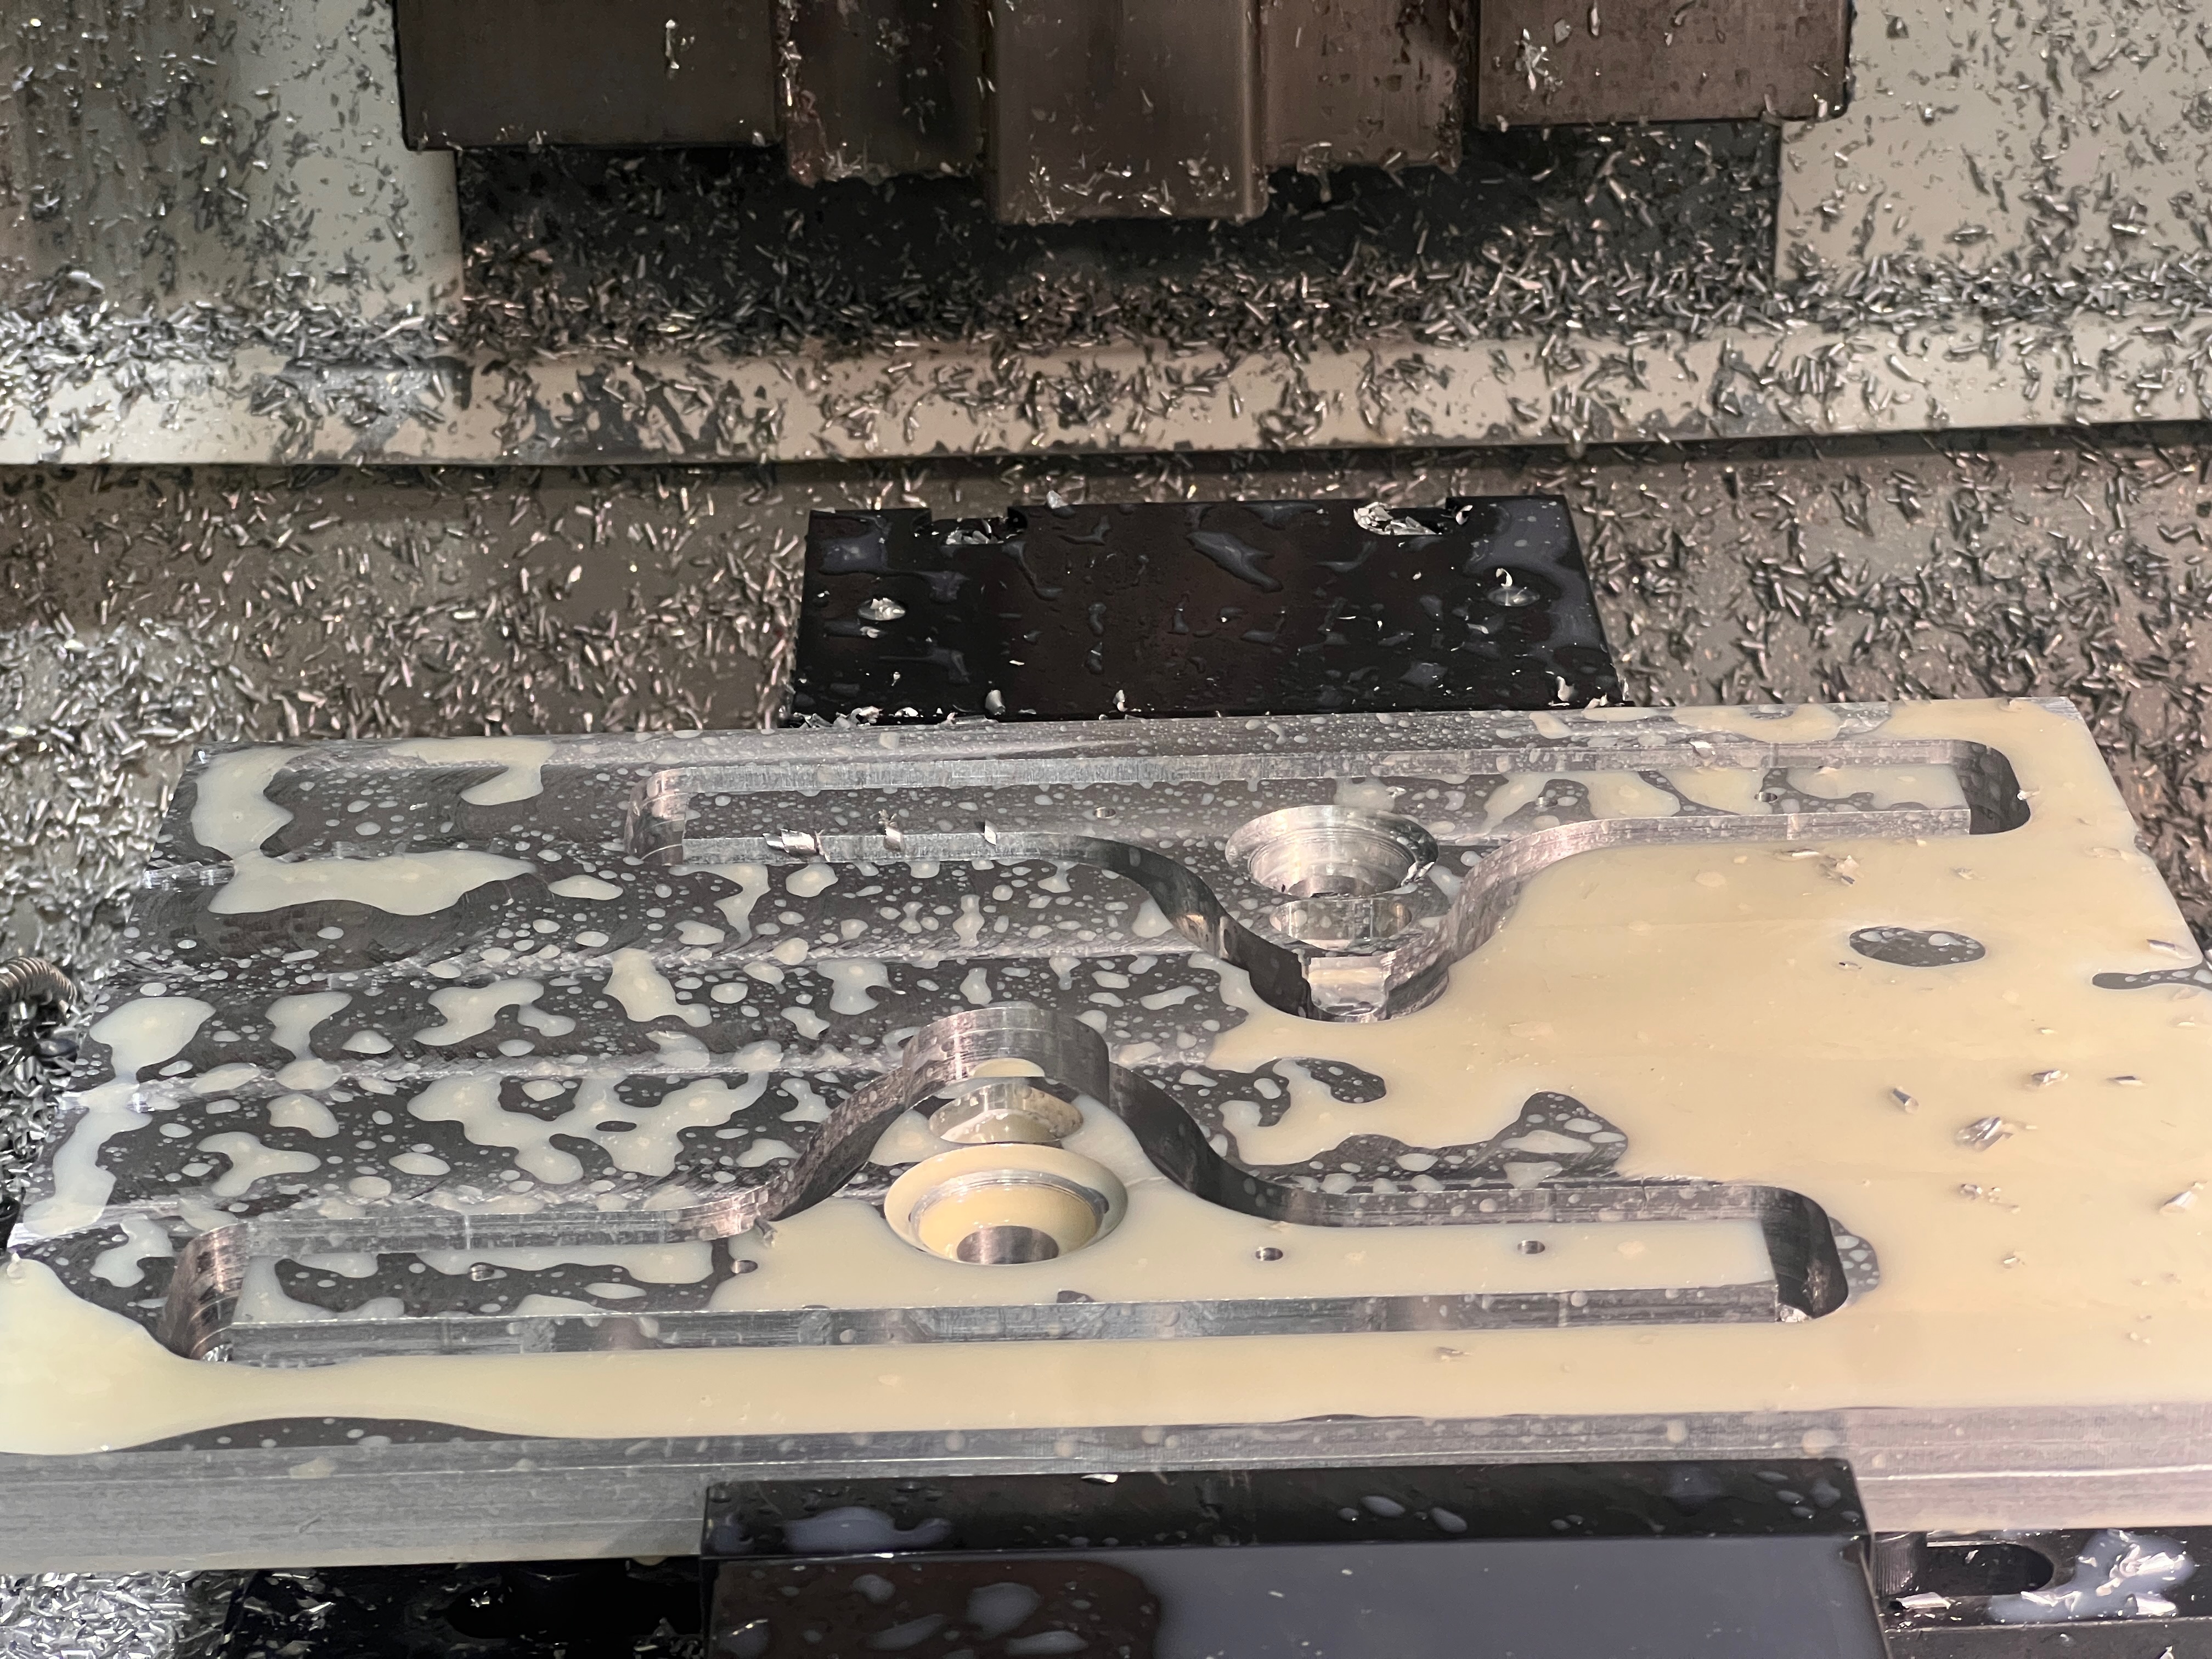
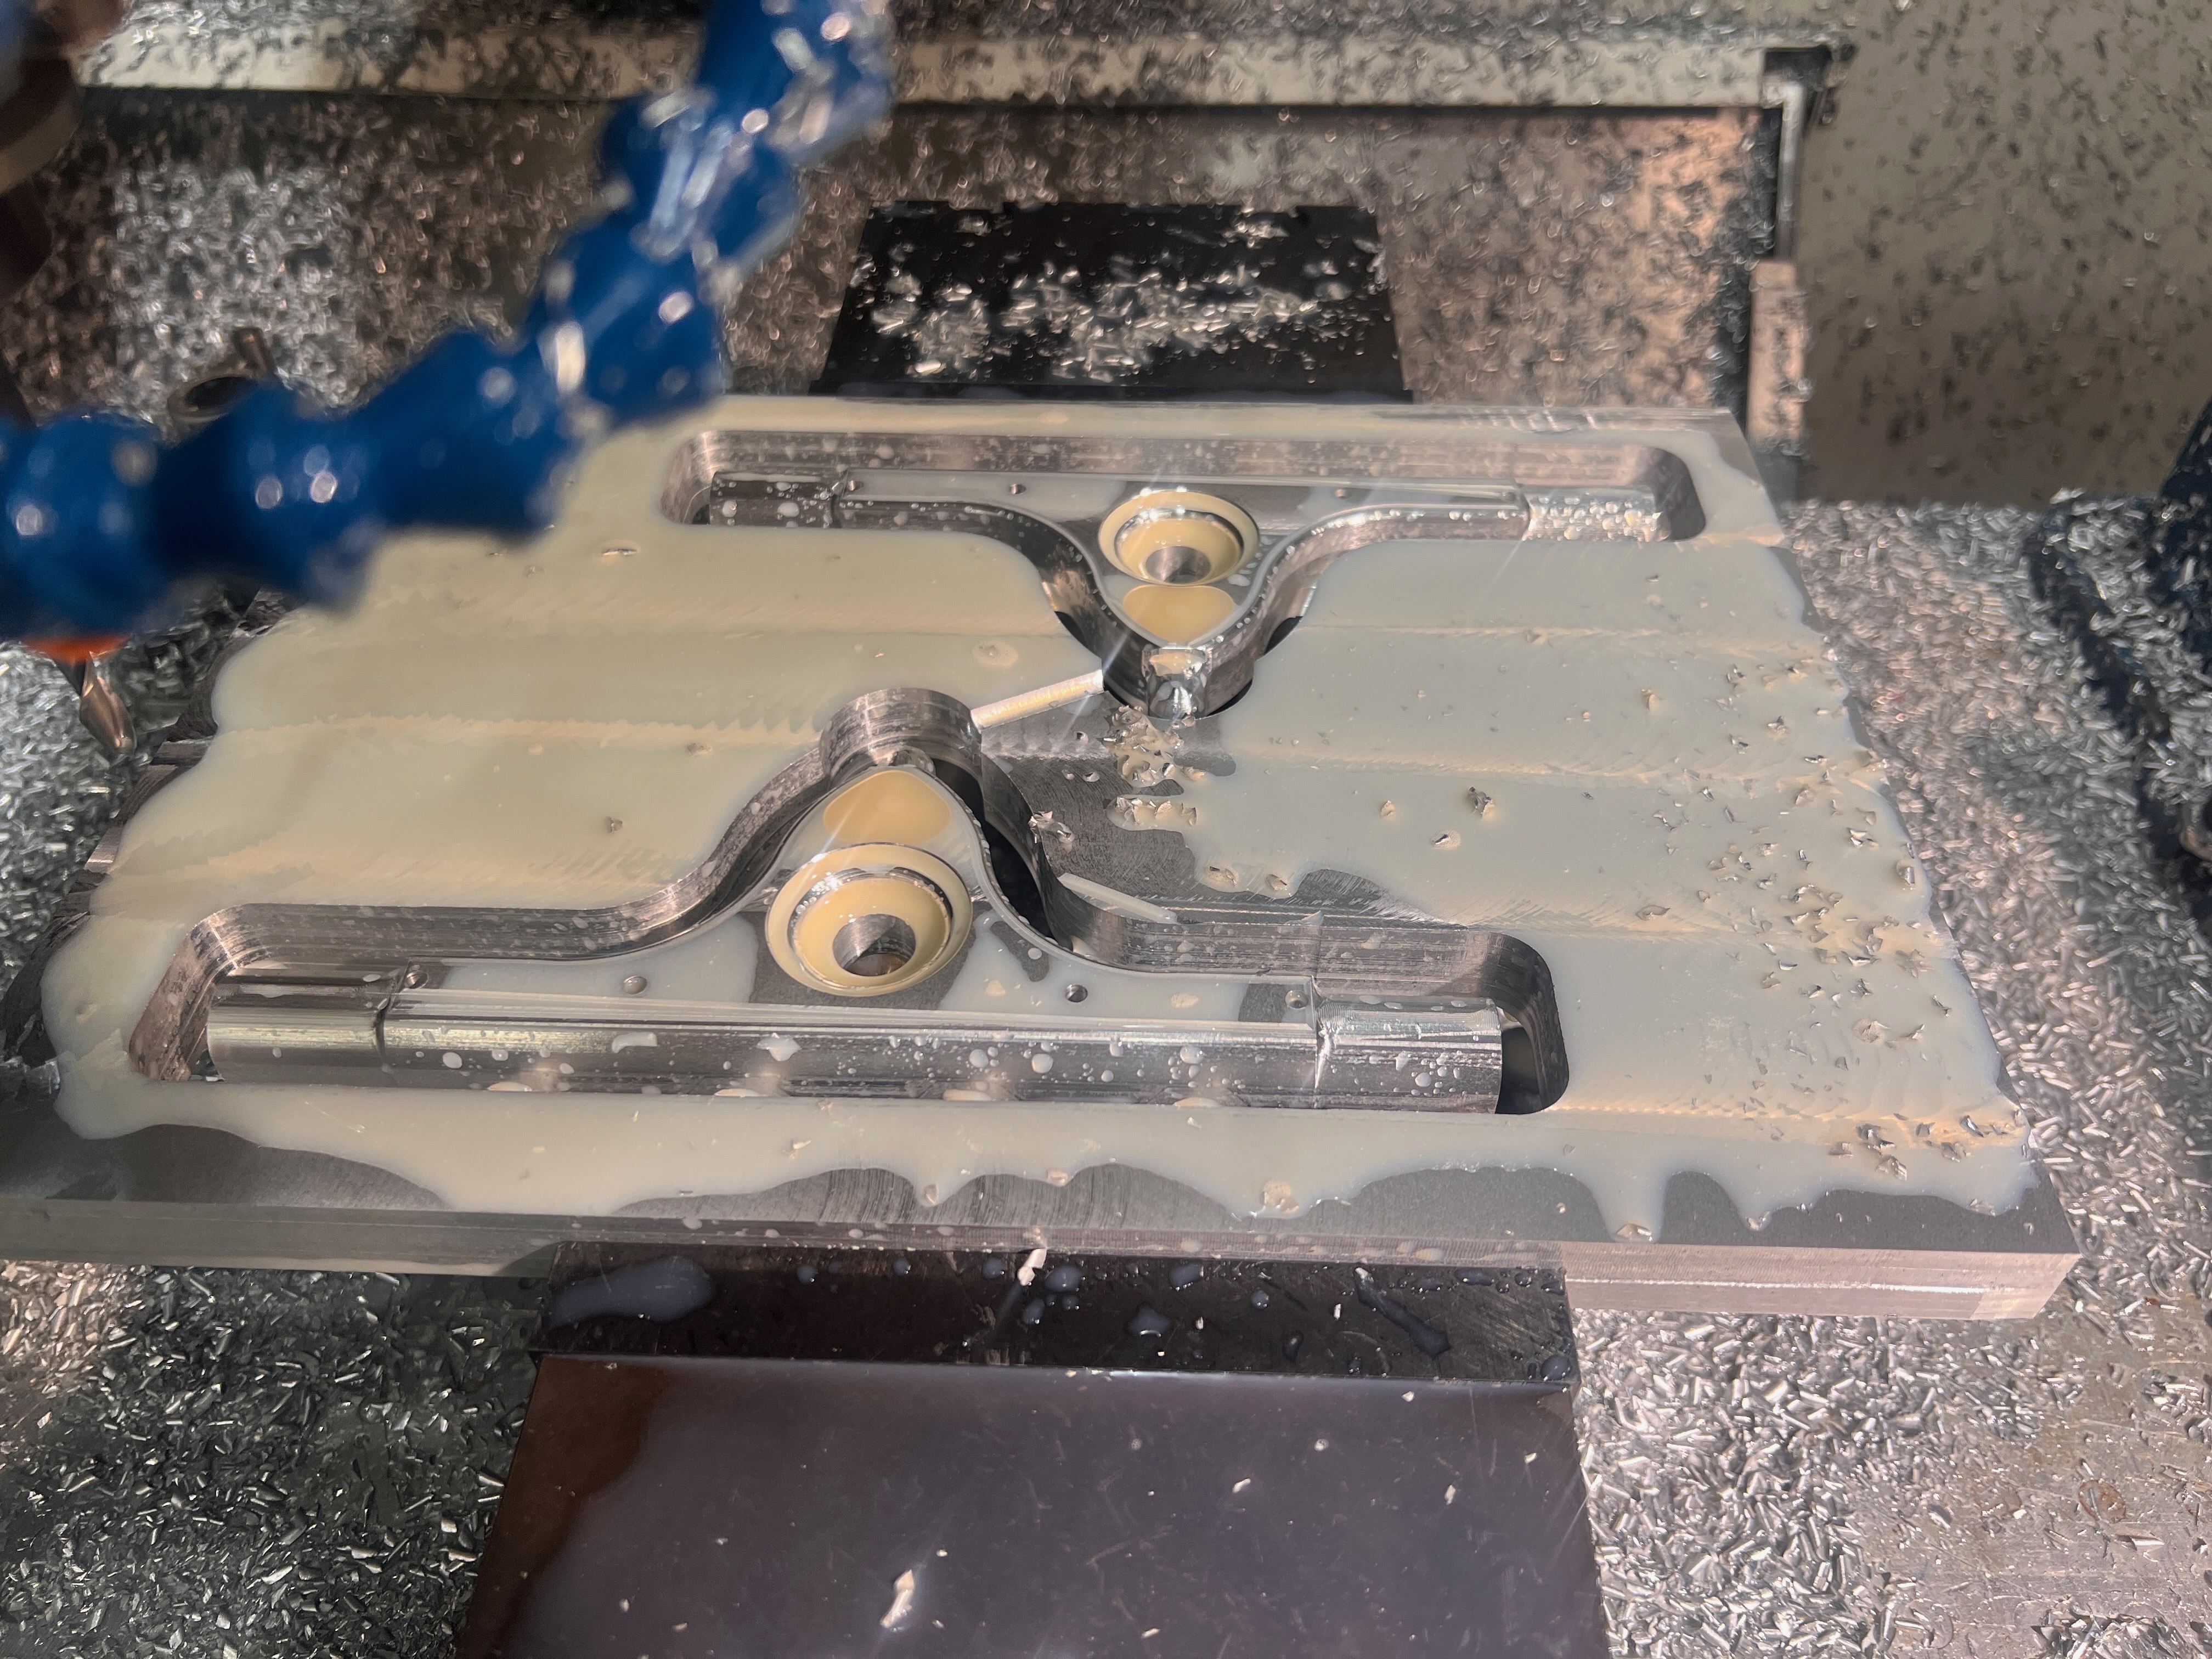
I then cutout the pieces out, and removed the tabs as much I as felt I could comfortably do. I then tapped two holes to m4, and used another two holes for aligning pins. I threw on a slab of scrap, faced it, and the put 4 holes in the correct locations. Mounting it on nice and tight, I ran the second ops
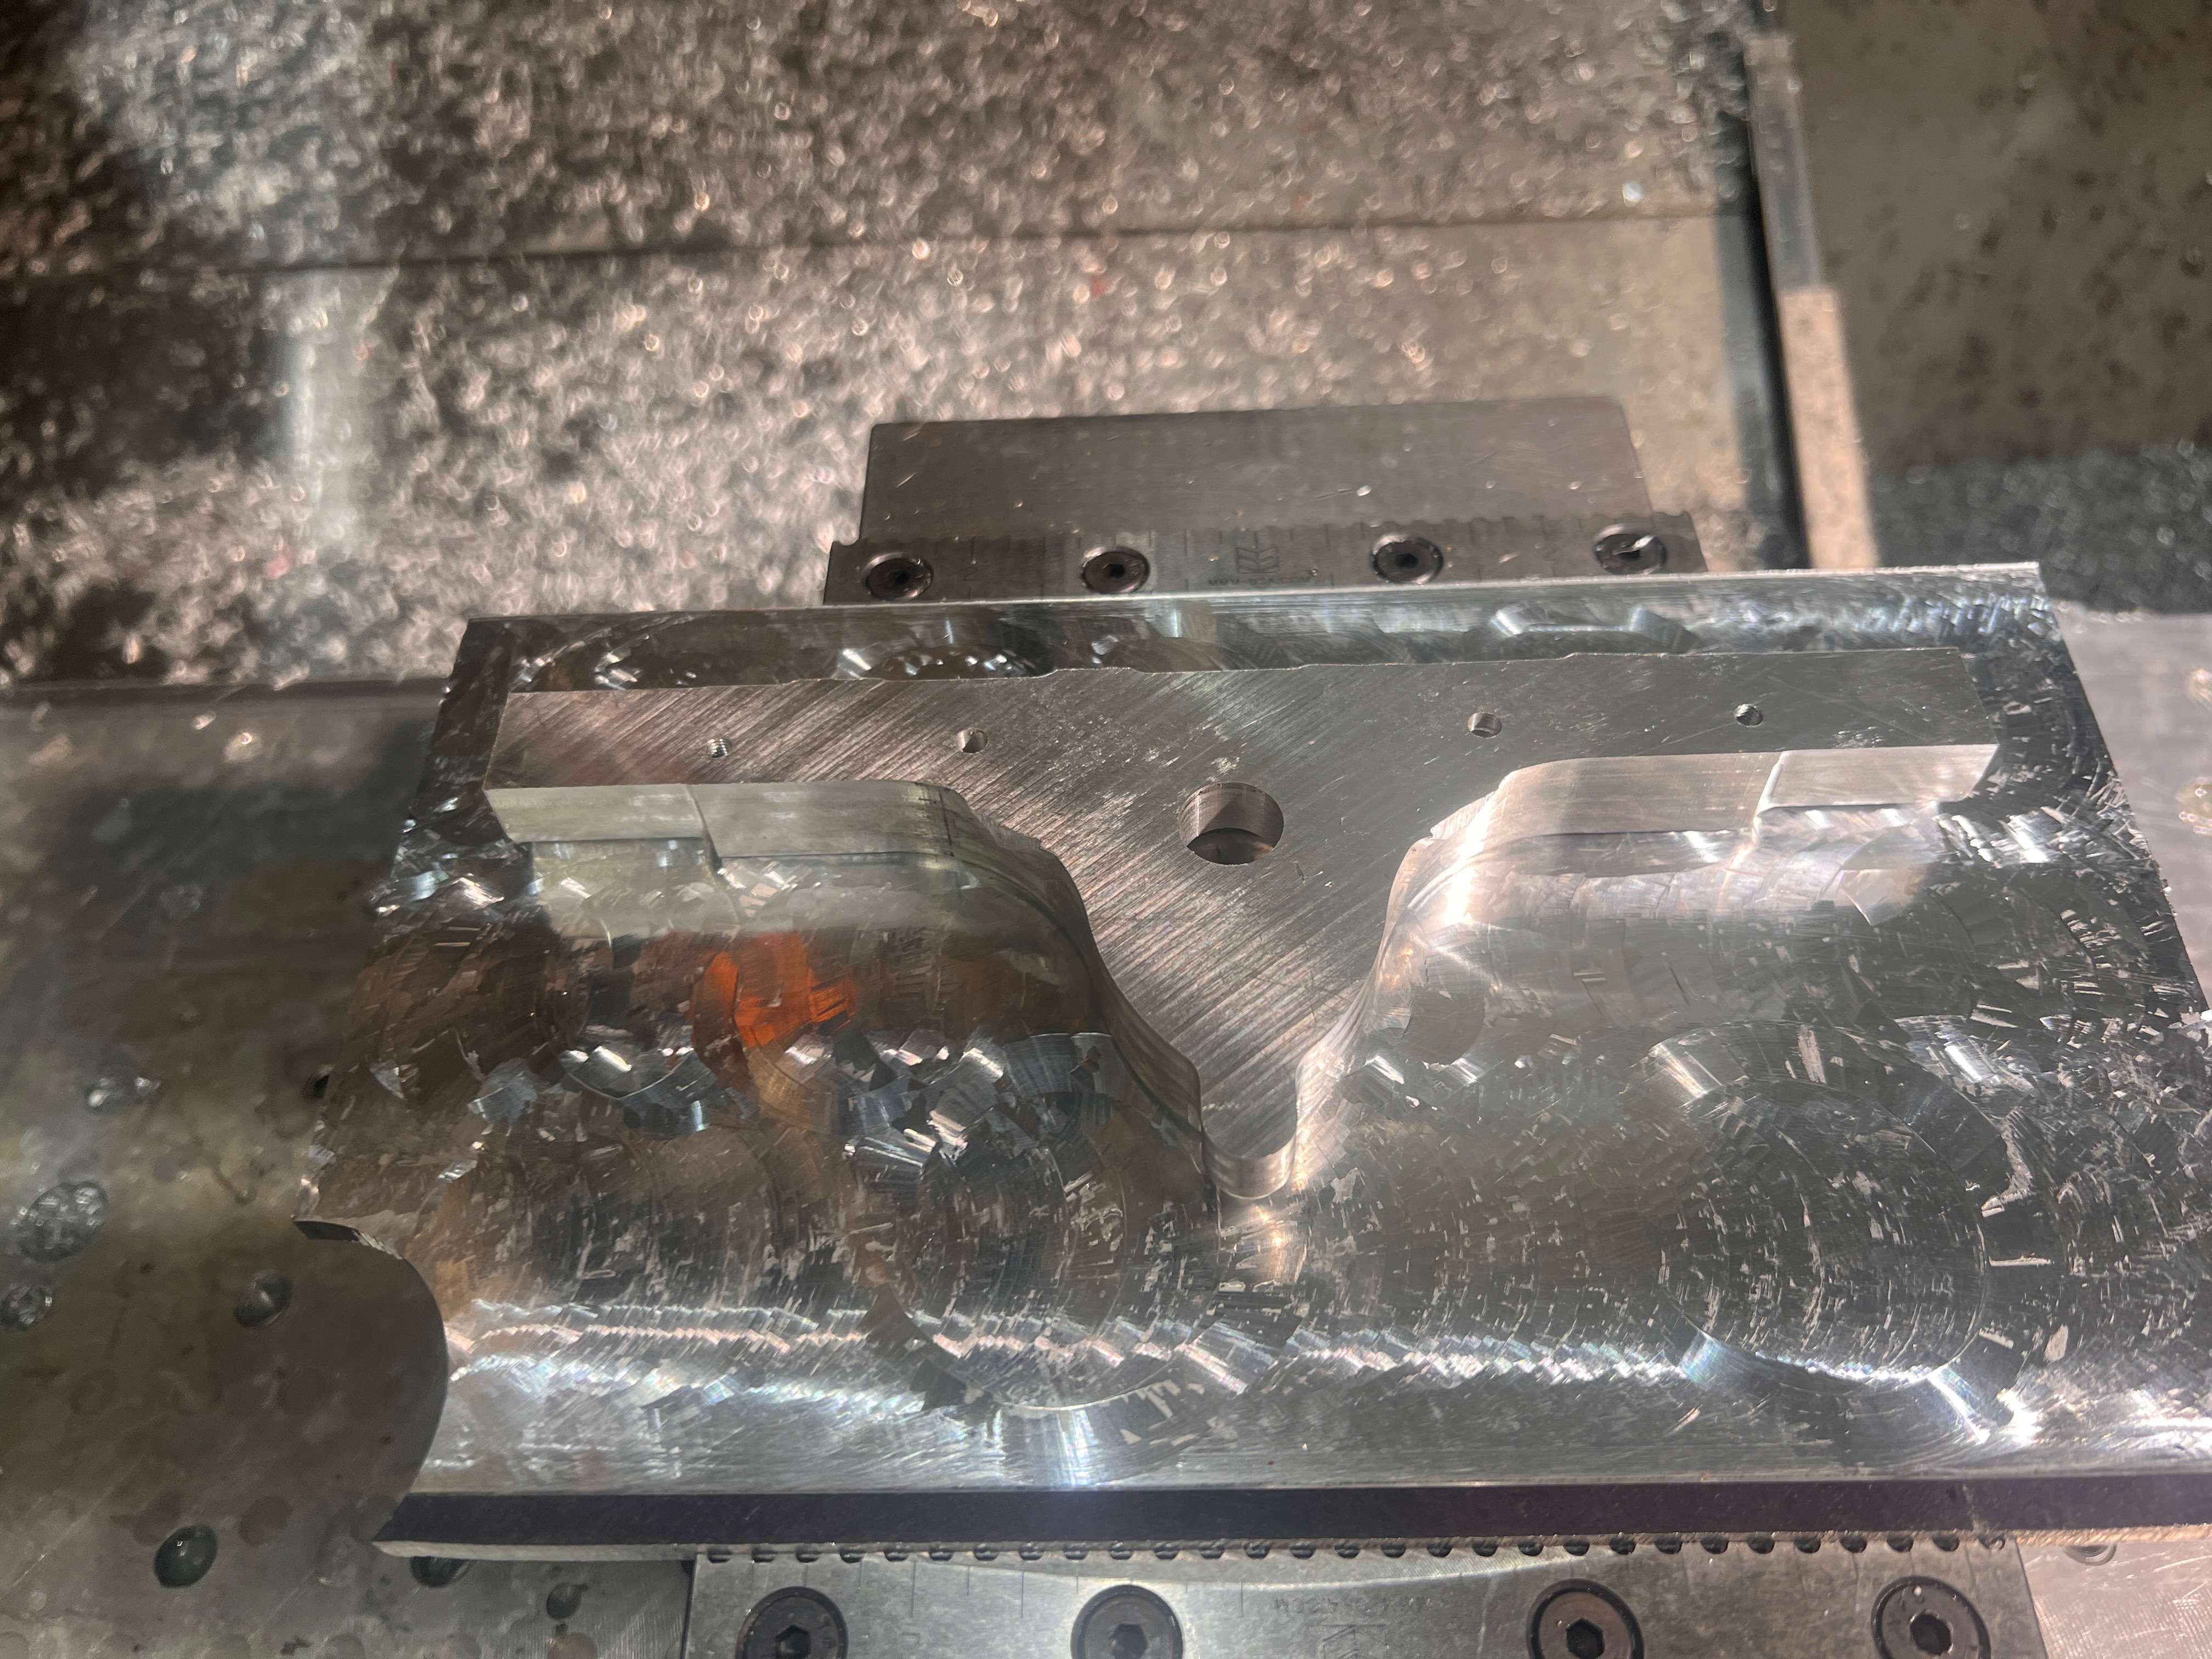

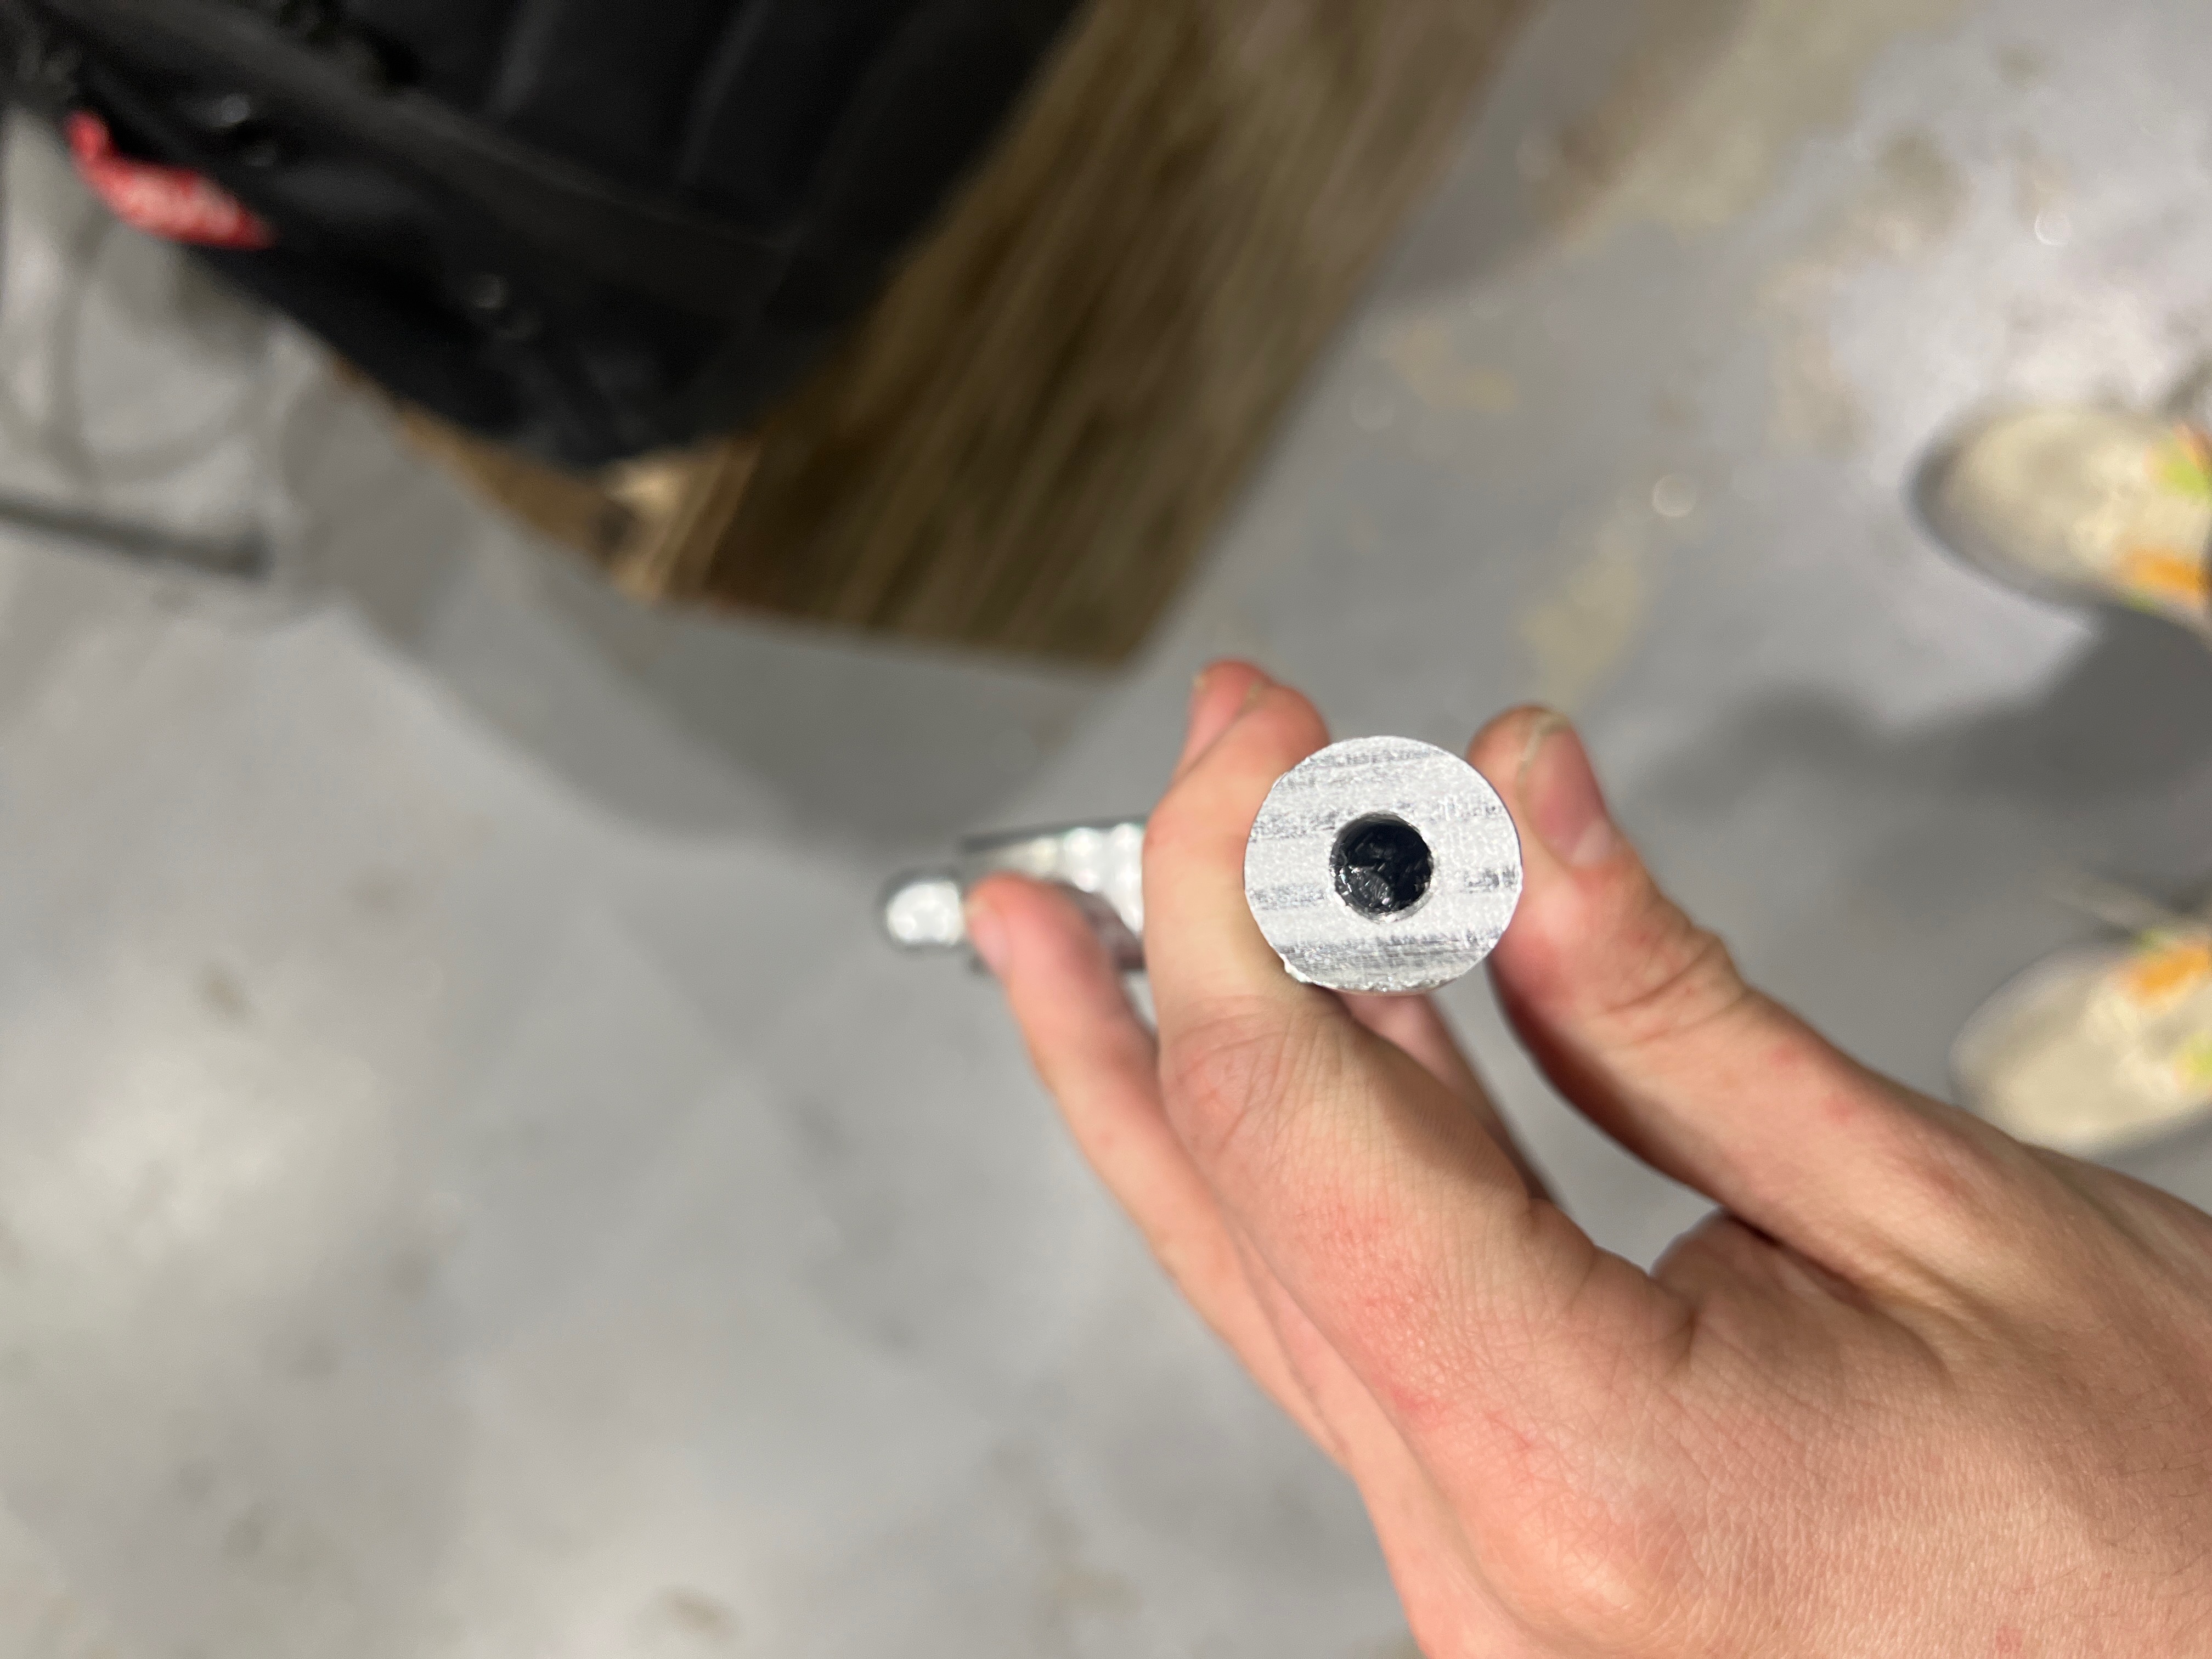
And we’re done, now for the side holes. I was debating using 3d printed soft jaws, but I decided to go a little more wild. Knowing that my tolerances were a little rougher on this part, I thought I would take a hand at just lathing them. The rounded edges weren’t perfect, and were mostly for clearance around the wheels and the pulleys, so I printed some press on match drill objects to give me a better sense. They ended up being useful for one side with a difficult seam line. A little hand sanding and the holes were back to perfectly symmetric.
And they look great! Trucks fit into the cots parts, and after a little powder-coat they should be great for this guy.
Power Transmission
To get this off the ground, I used two Alibaba sourced bldc motors. Two 190kv motors on a ~1:2 gear ratio. Using a vesc style controller, these two are fully ready for FOC. Here’s the tuning process and final mount up on the board. Looks pretty good!
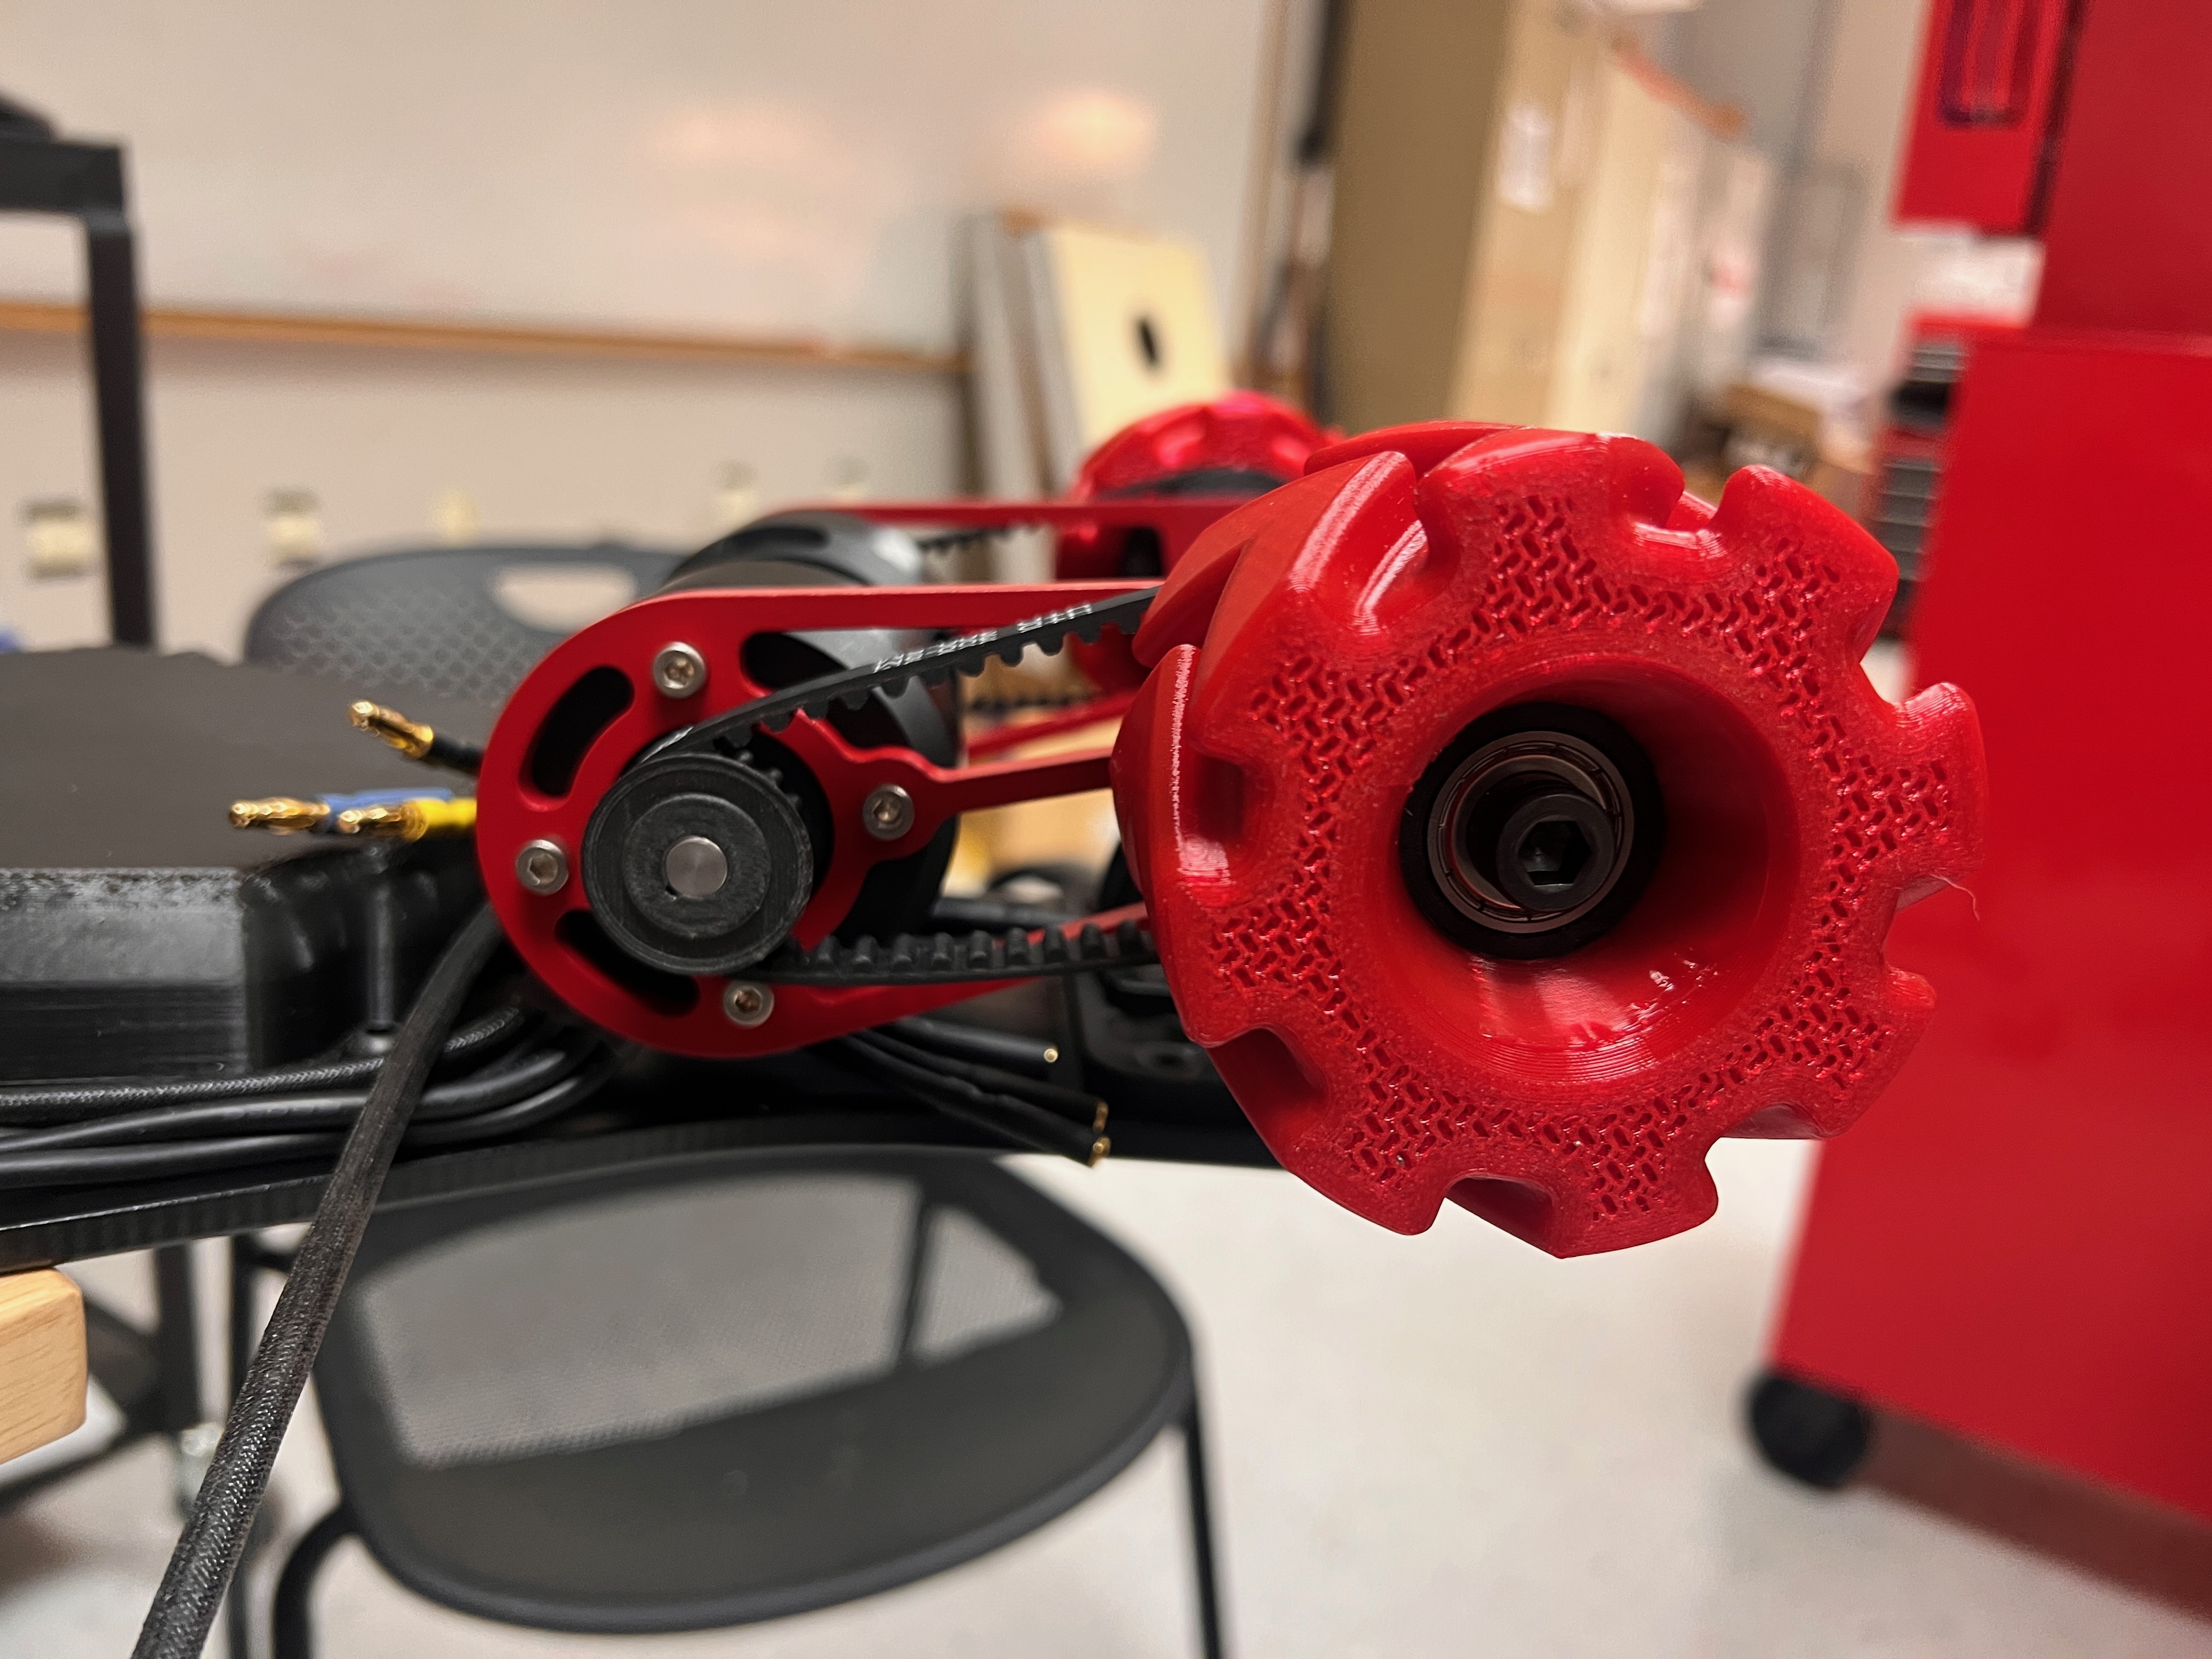
Right now it goes ~35 mph top speed. That might be a bit “fast”, but we’ll have to see.
Wheels
You should check out wheels project for more info.
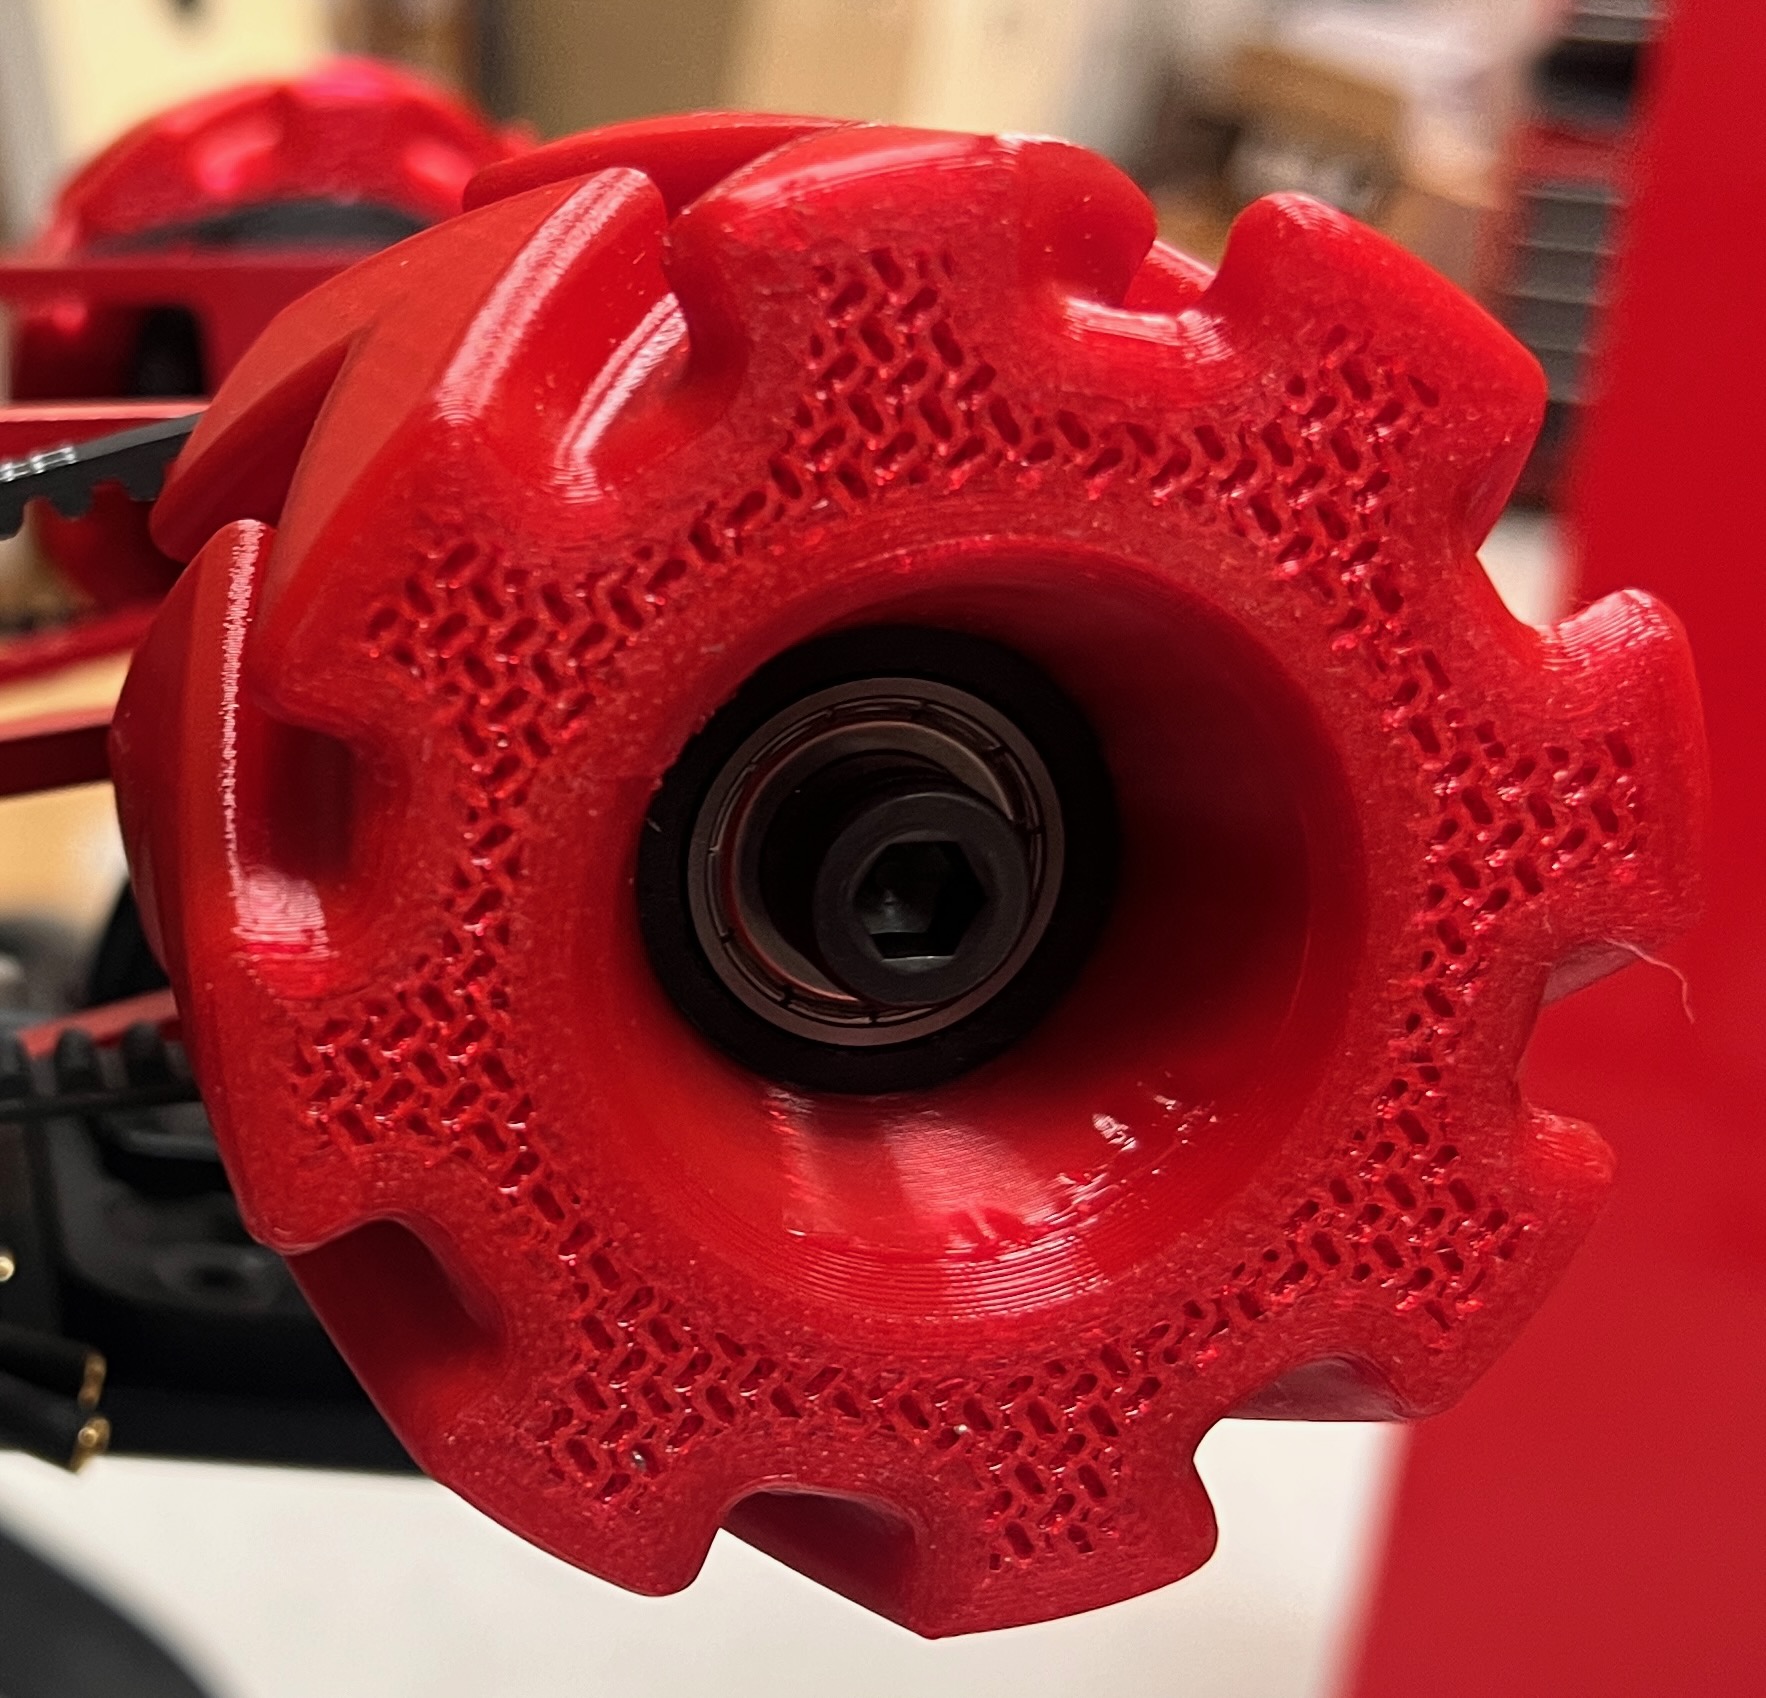
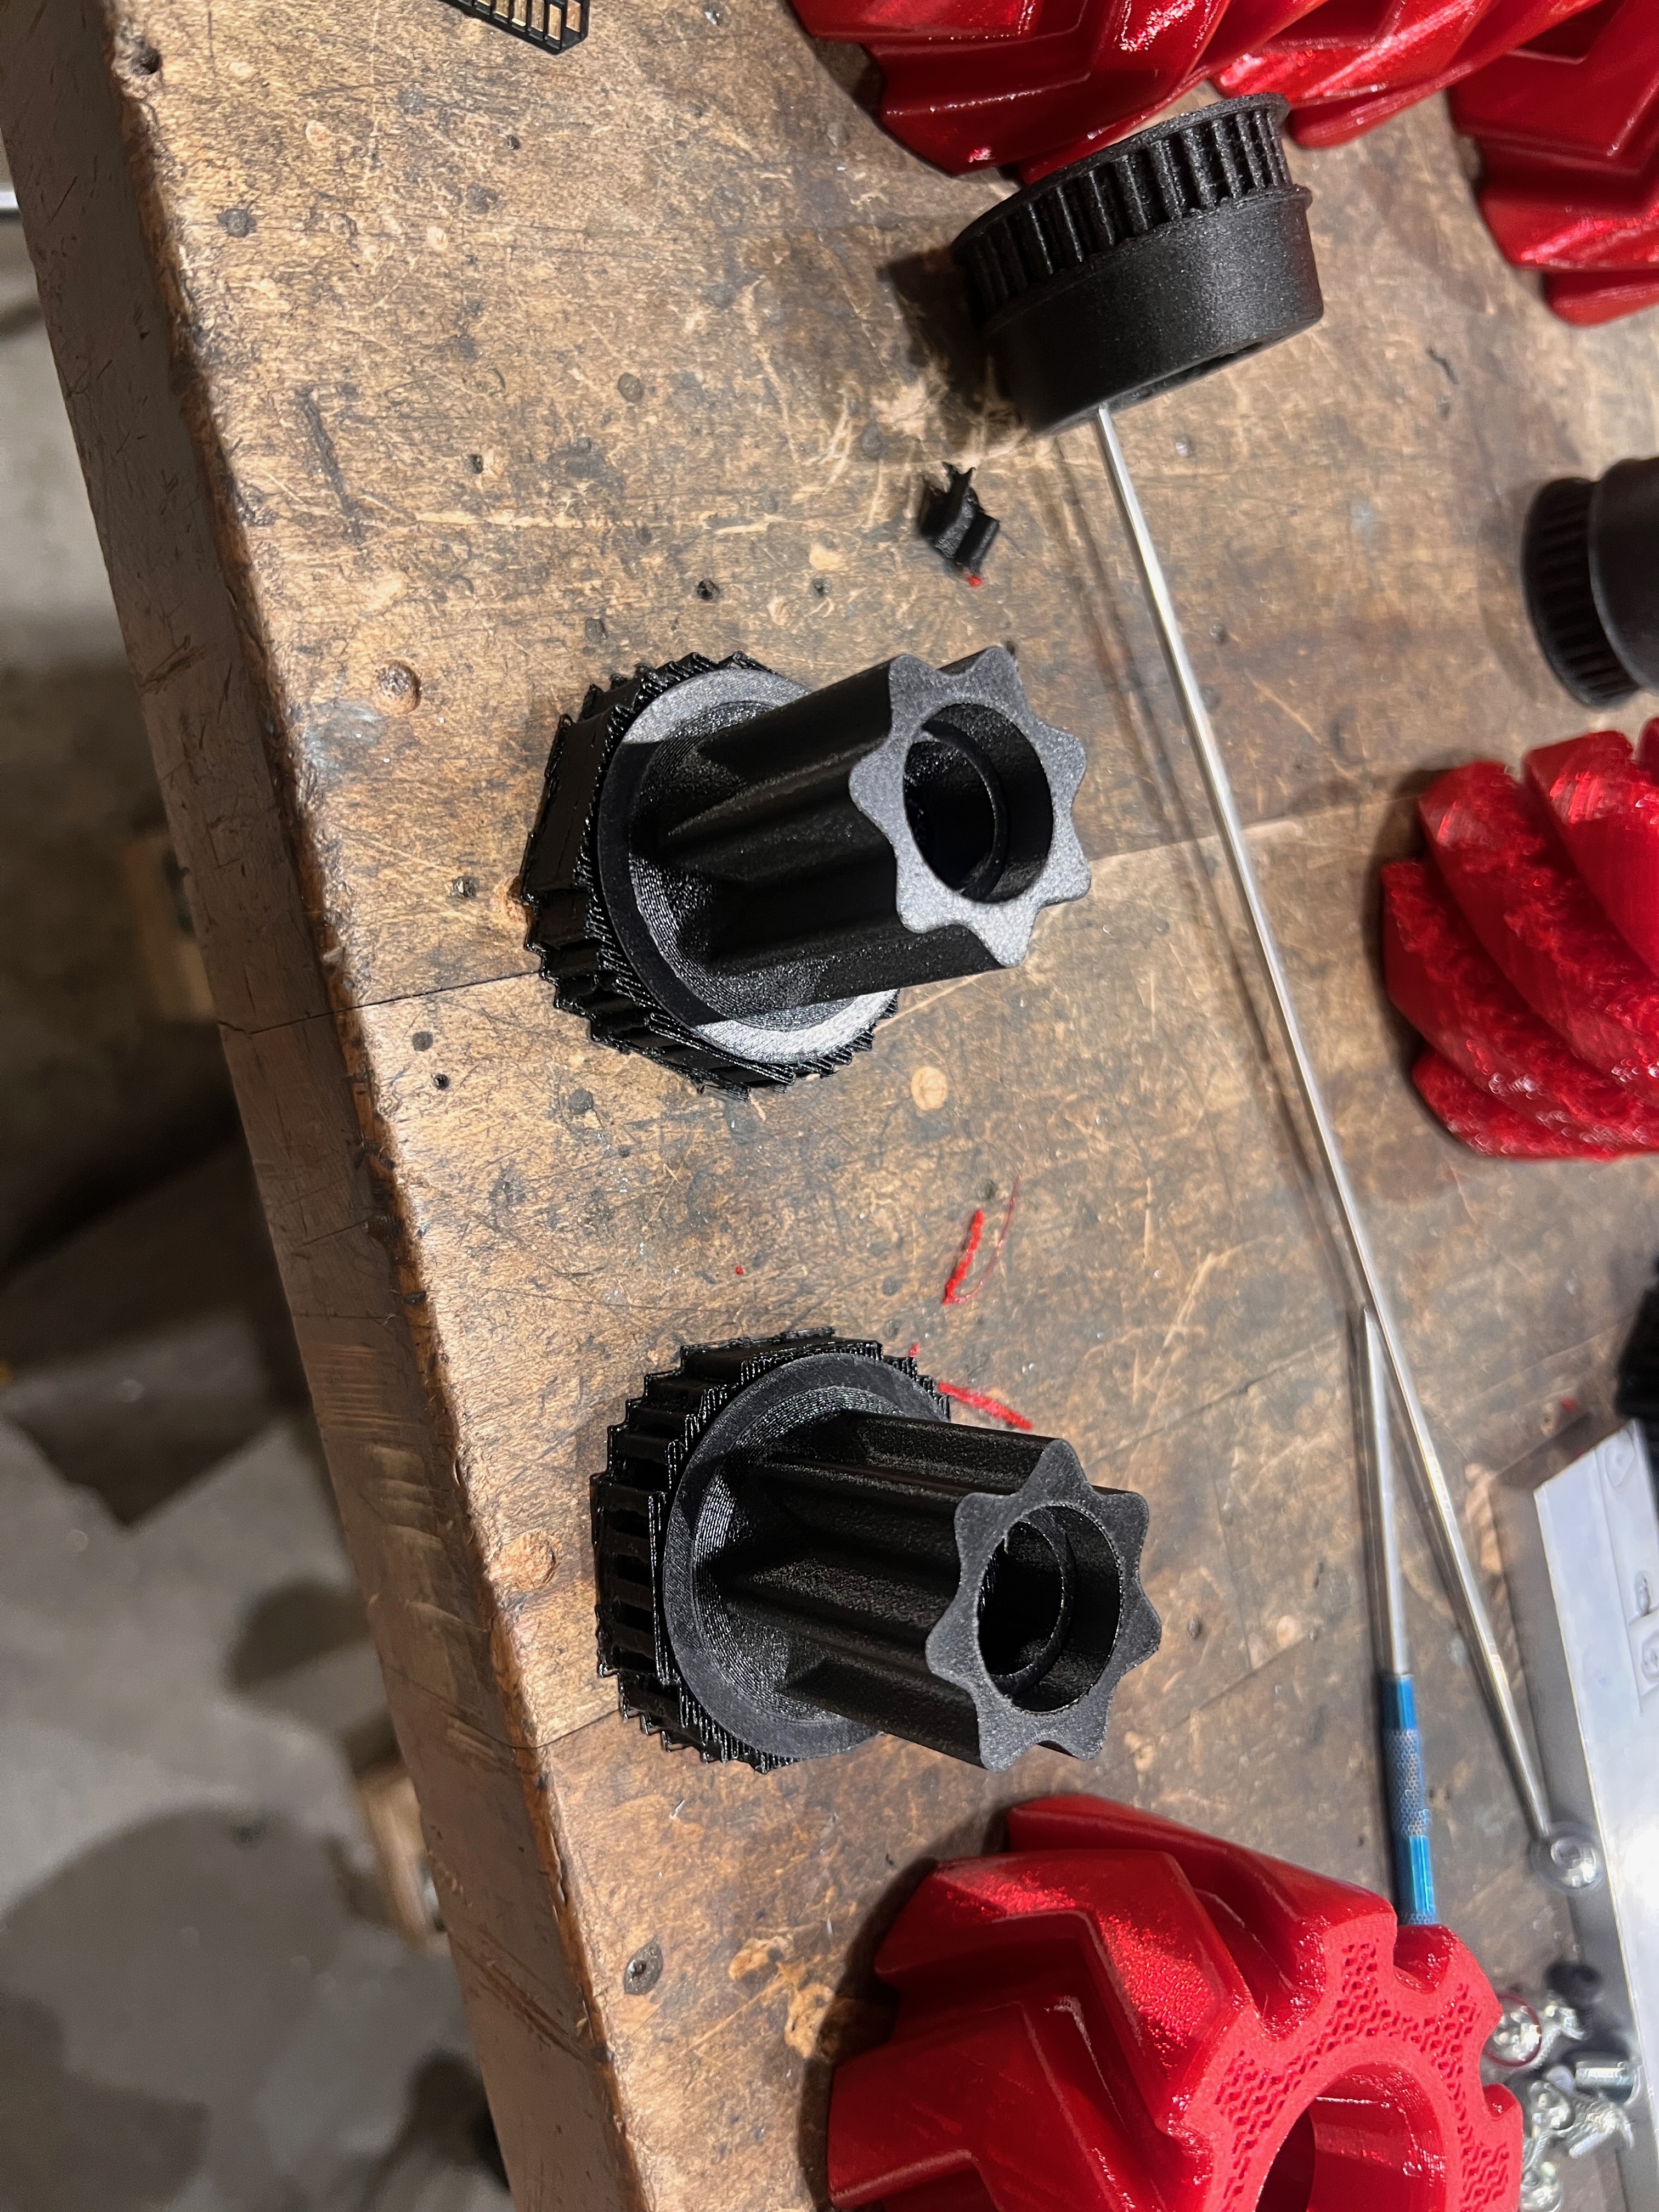
Final wheels are 3d printed tpu with a v groove pattern. Hubs are made of Polycarbonate with chopped carbon fiber. They look great!
Coating
As much as I love that shiny aluminum look, it has a few issues. It’ll get dirty, corrode, scratch, nothing that I want. To fix that I decided it was time to properly learn how to powdercoat. I started off with the truck-board riser plates, sandblasting them with a coarse iron shot, and applying a nice dull black.
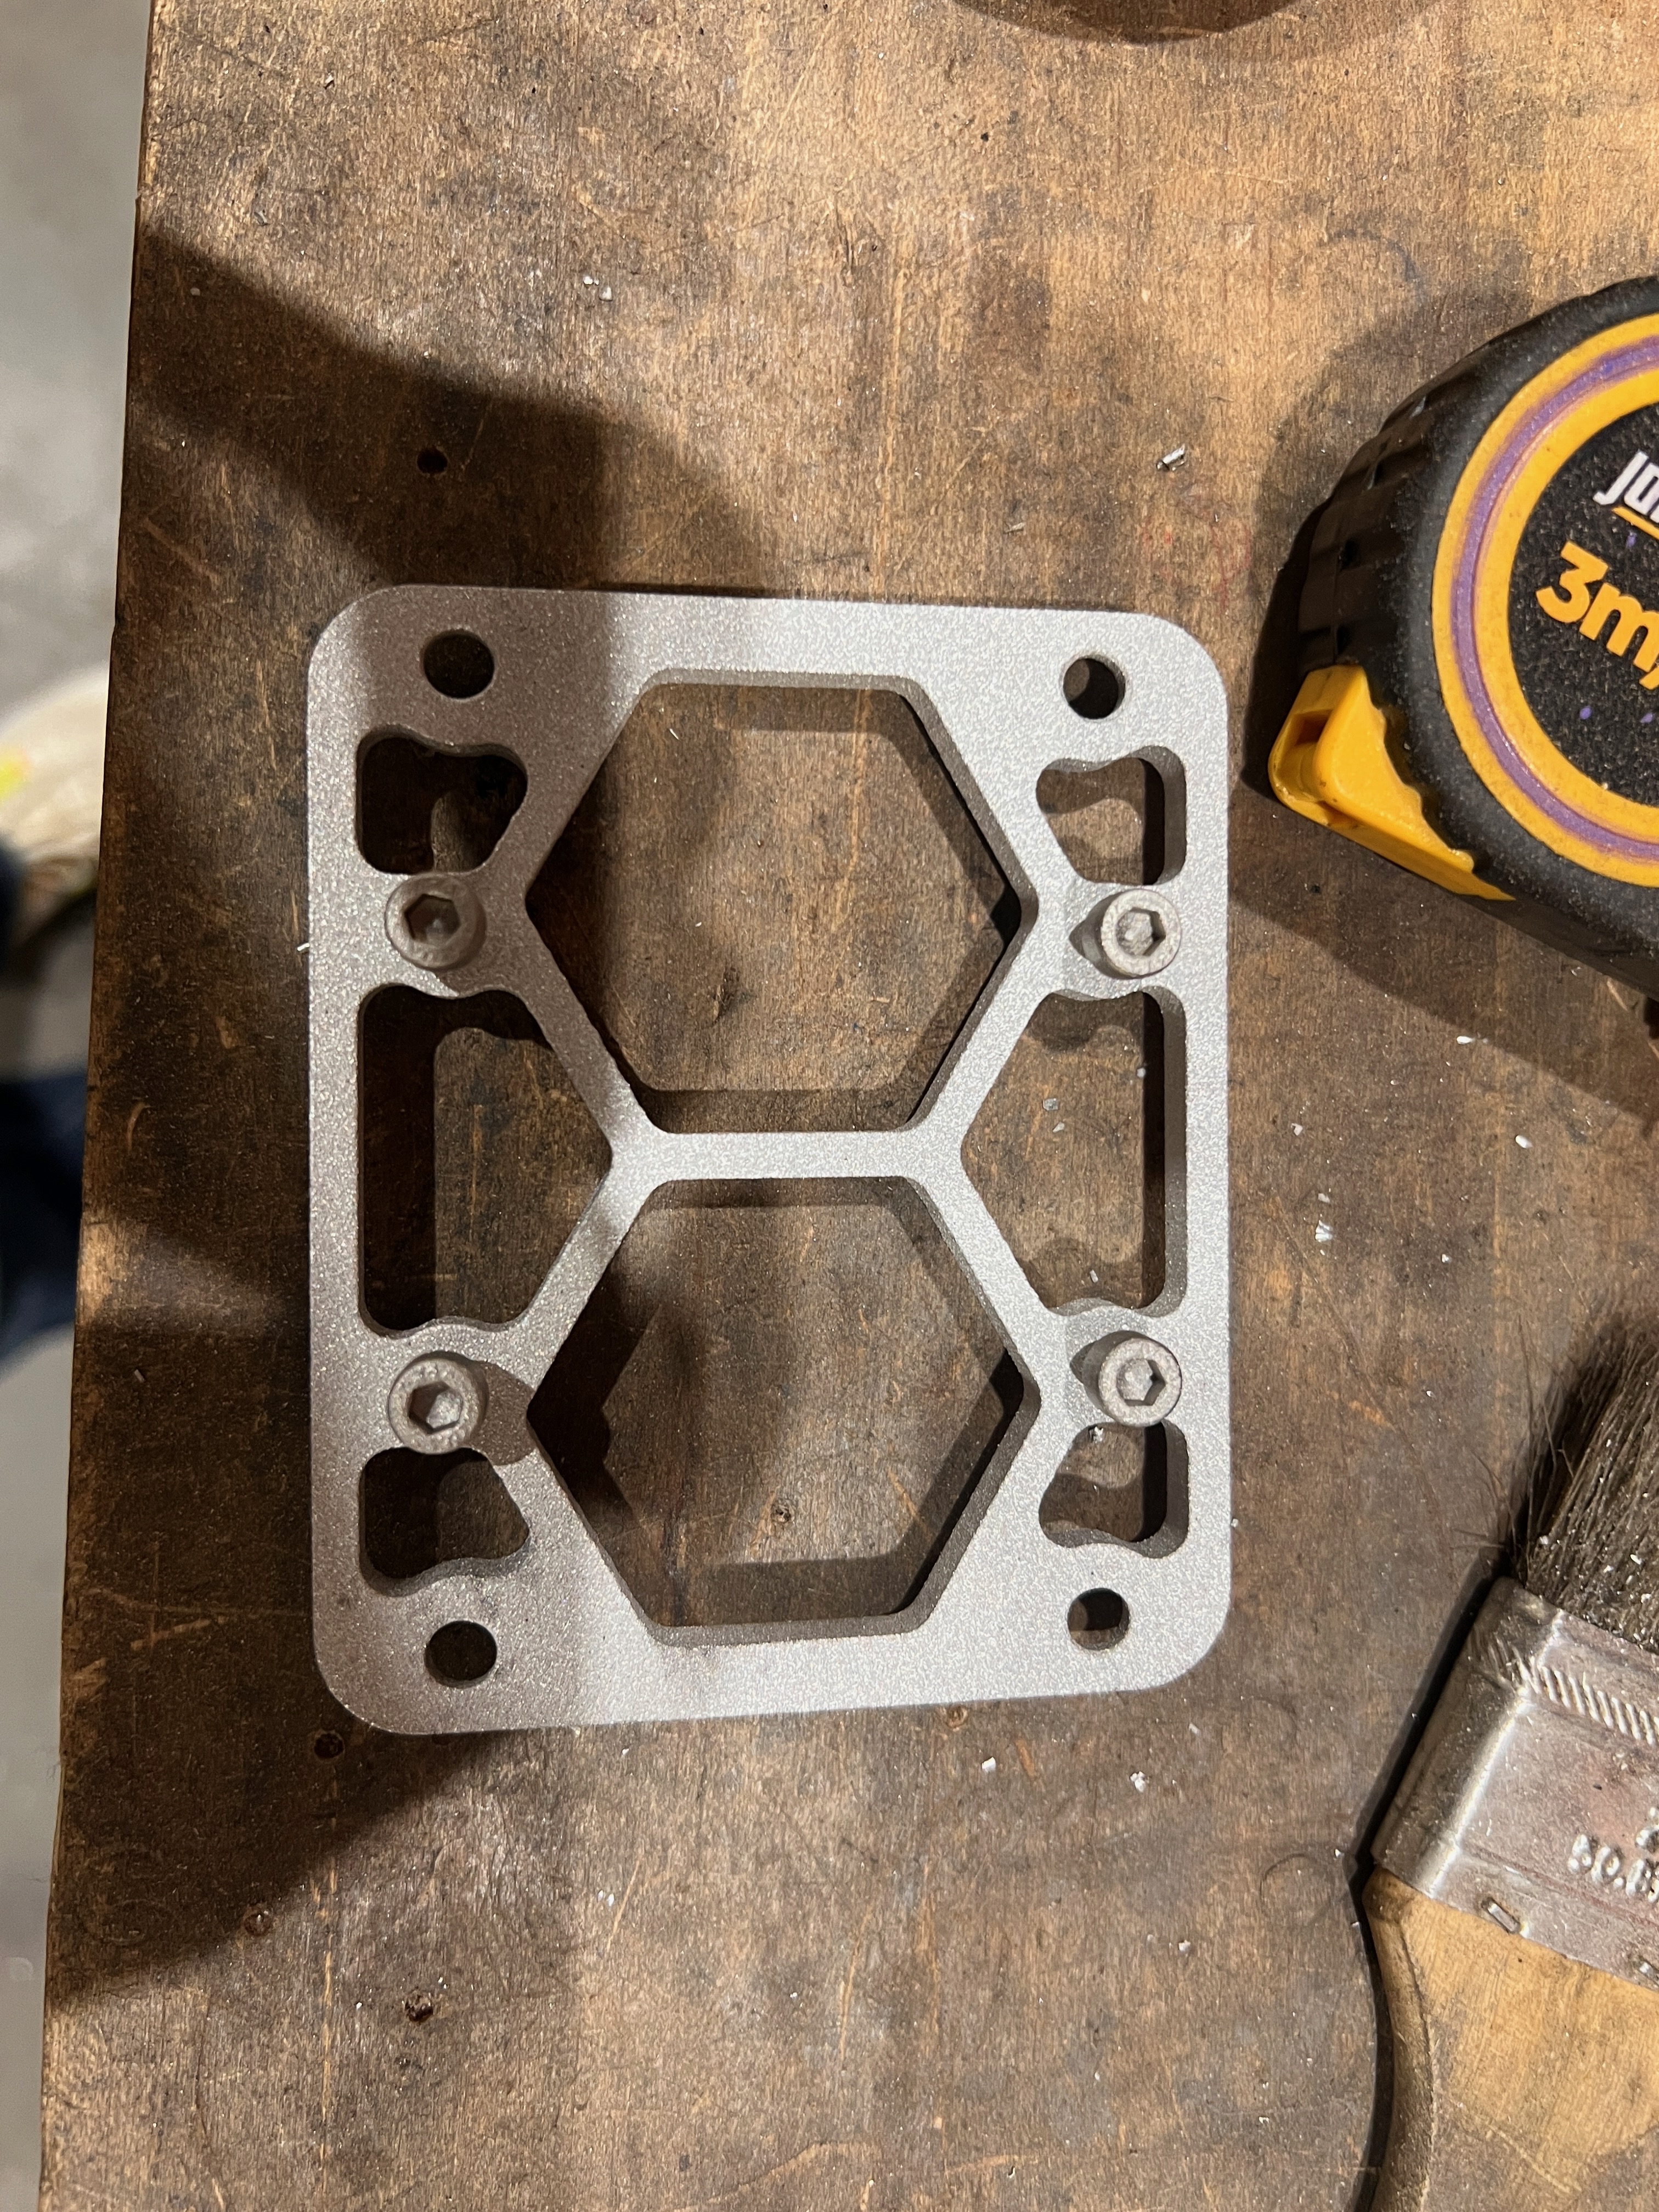
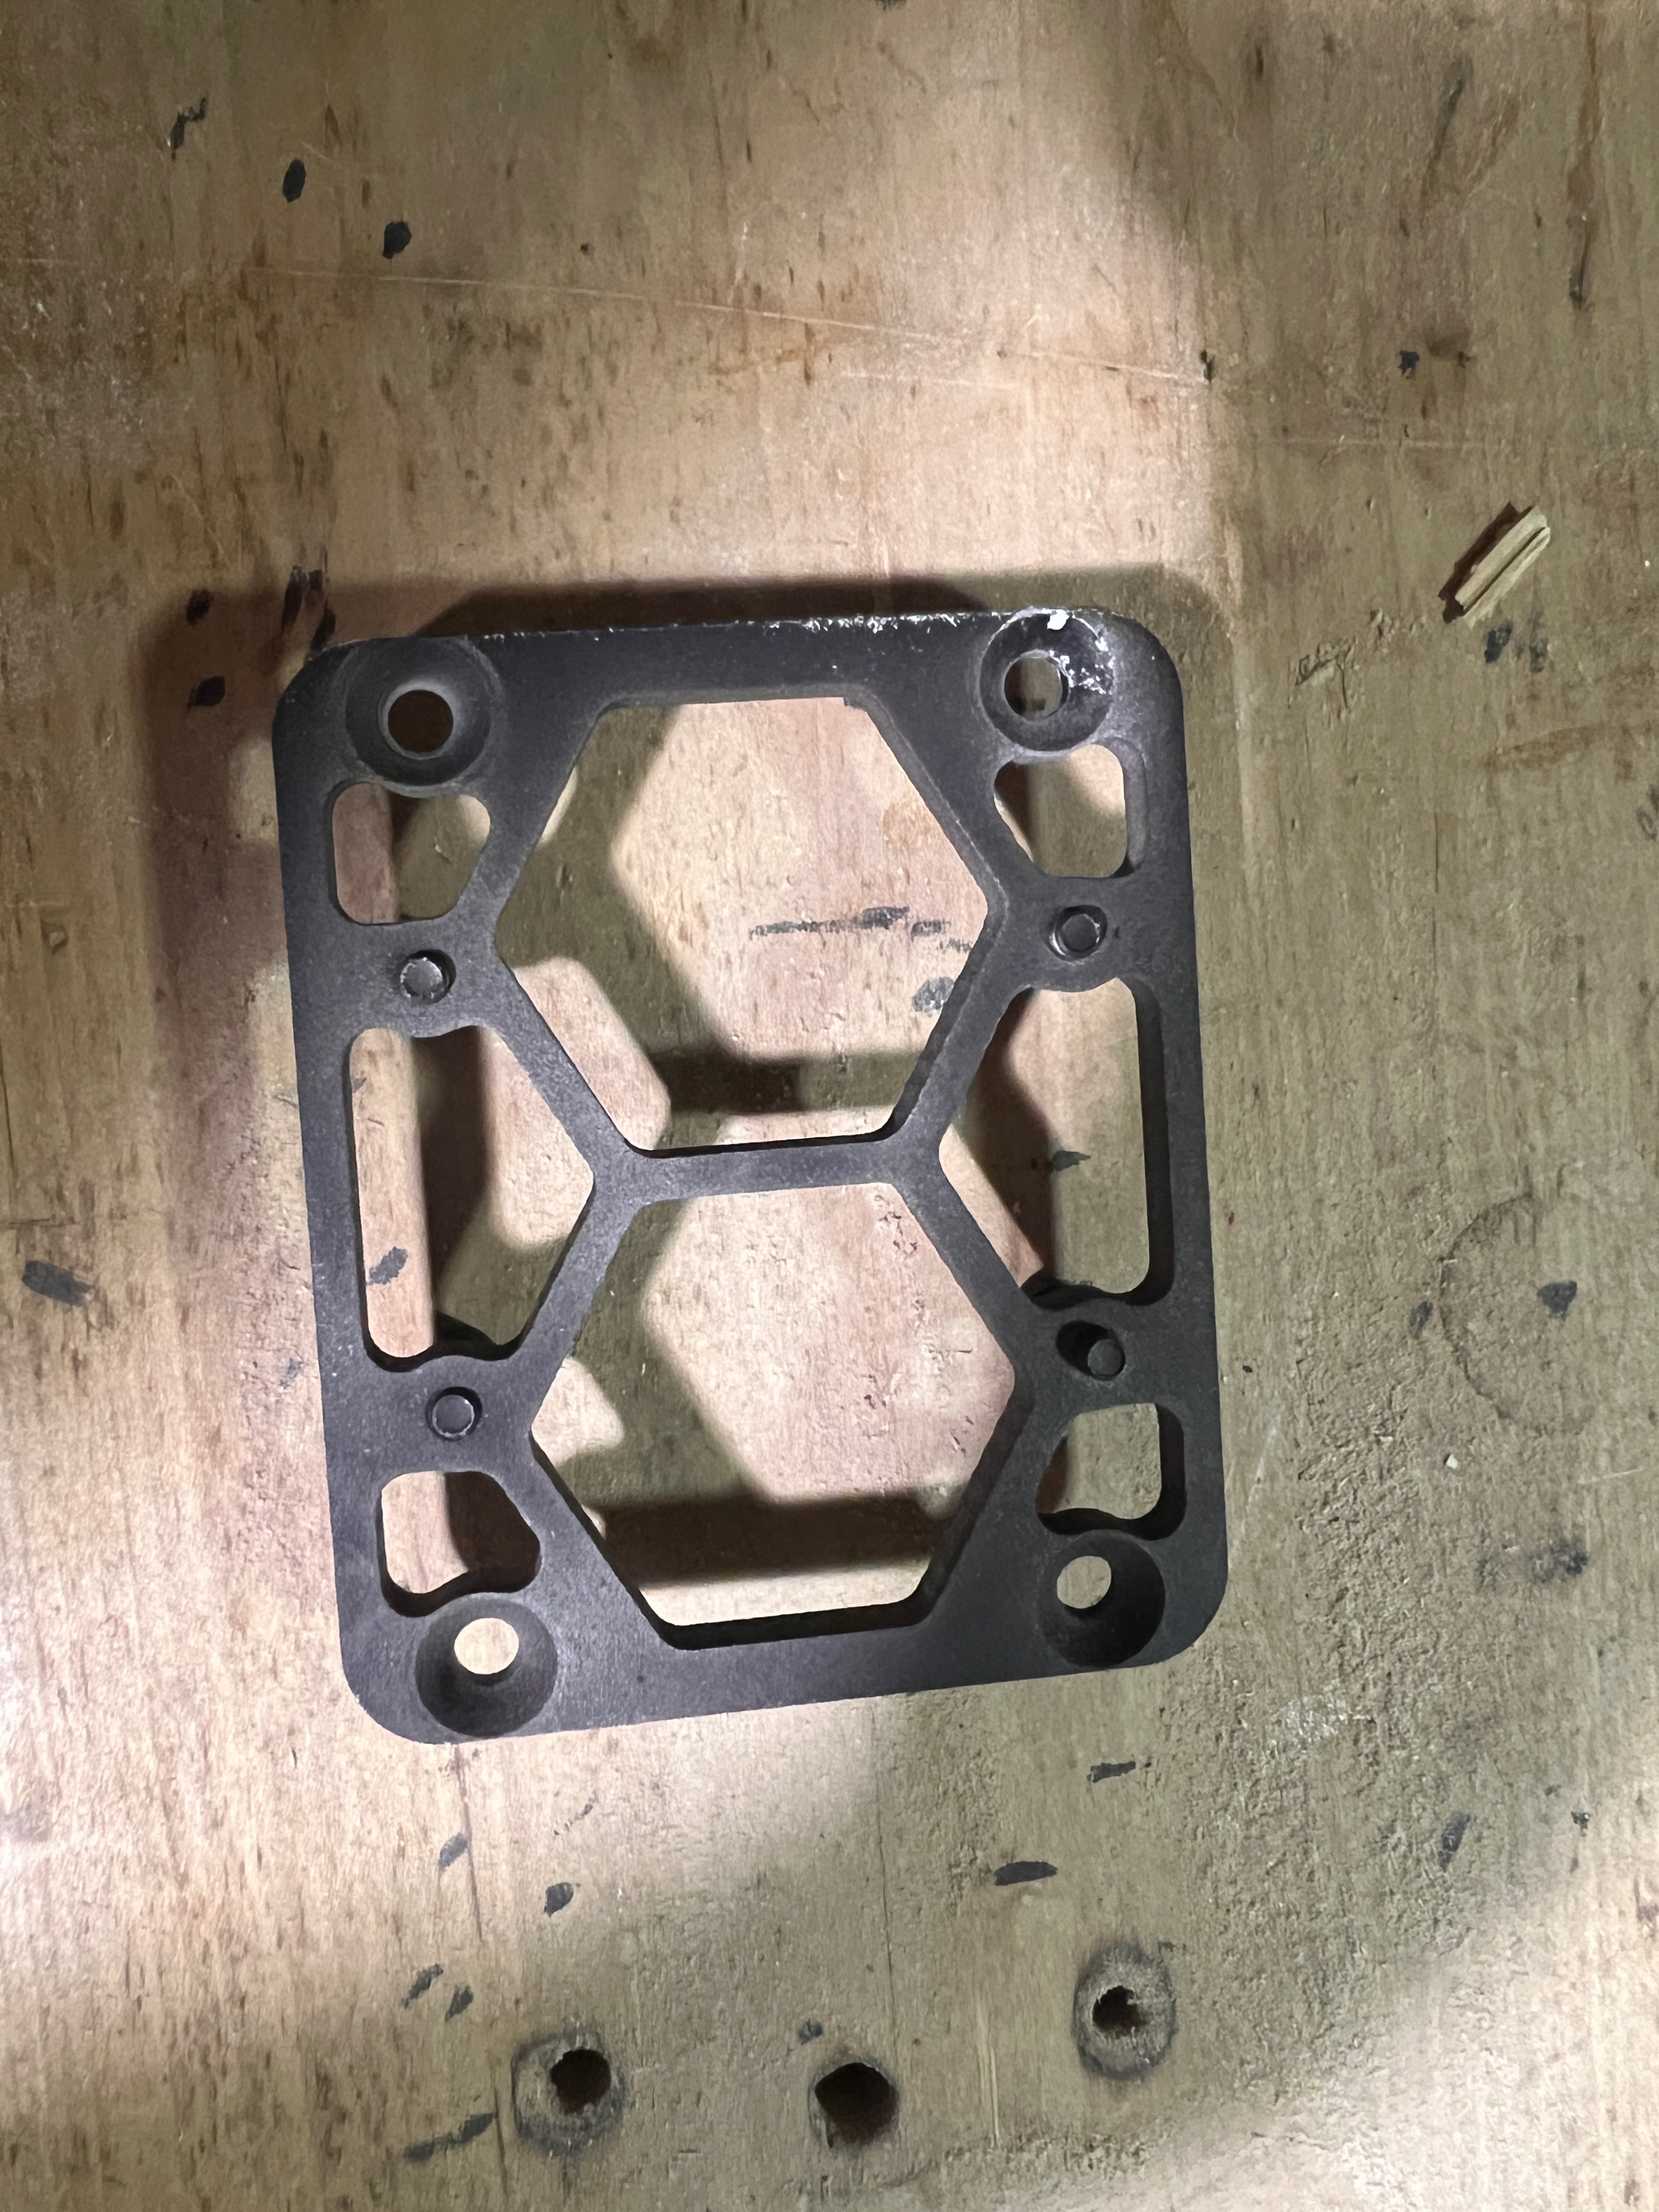
It did not turn out great. Looks like the oven wasn’t too hot, and the grounding was improperly done. Taking another crack at it, I did some more research. Hot coating, a technique that is only vaguely mentioned by hobby makers, is the process of putting on a first coat, and then while the part is still hot putting on a second. Re-baking both layers to get a nice finish. That process helps account for less than optimal hardware(and I was running less than optimal hardware).
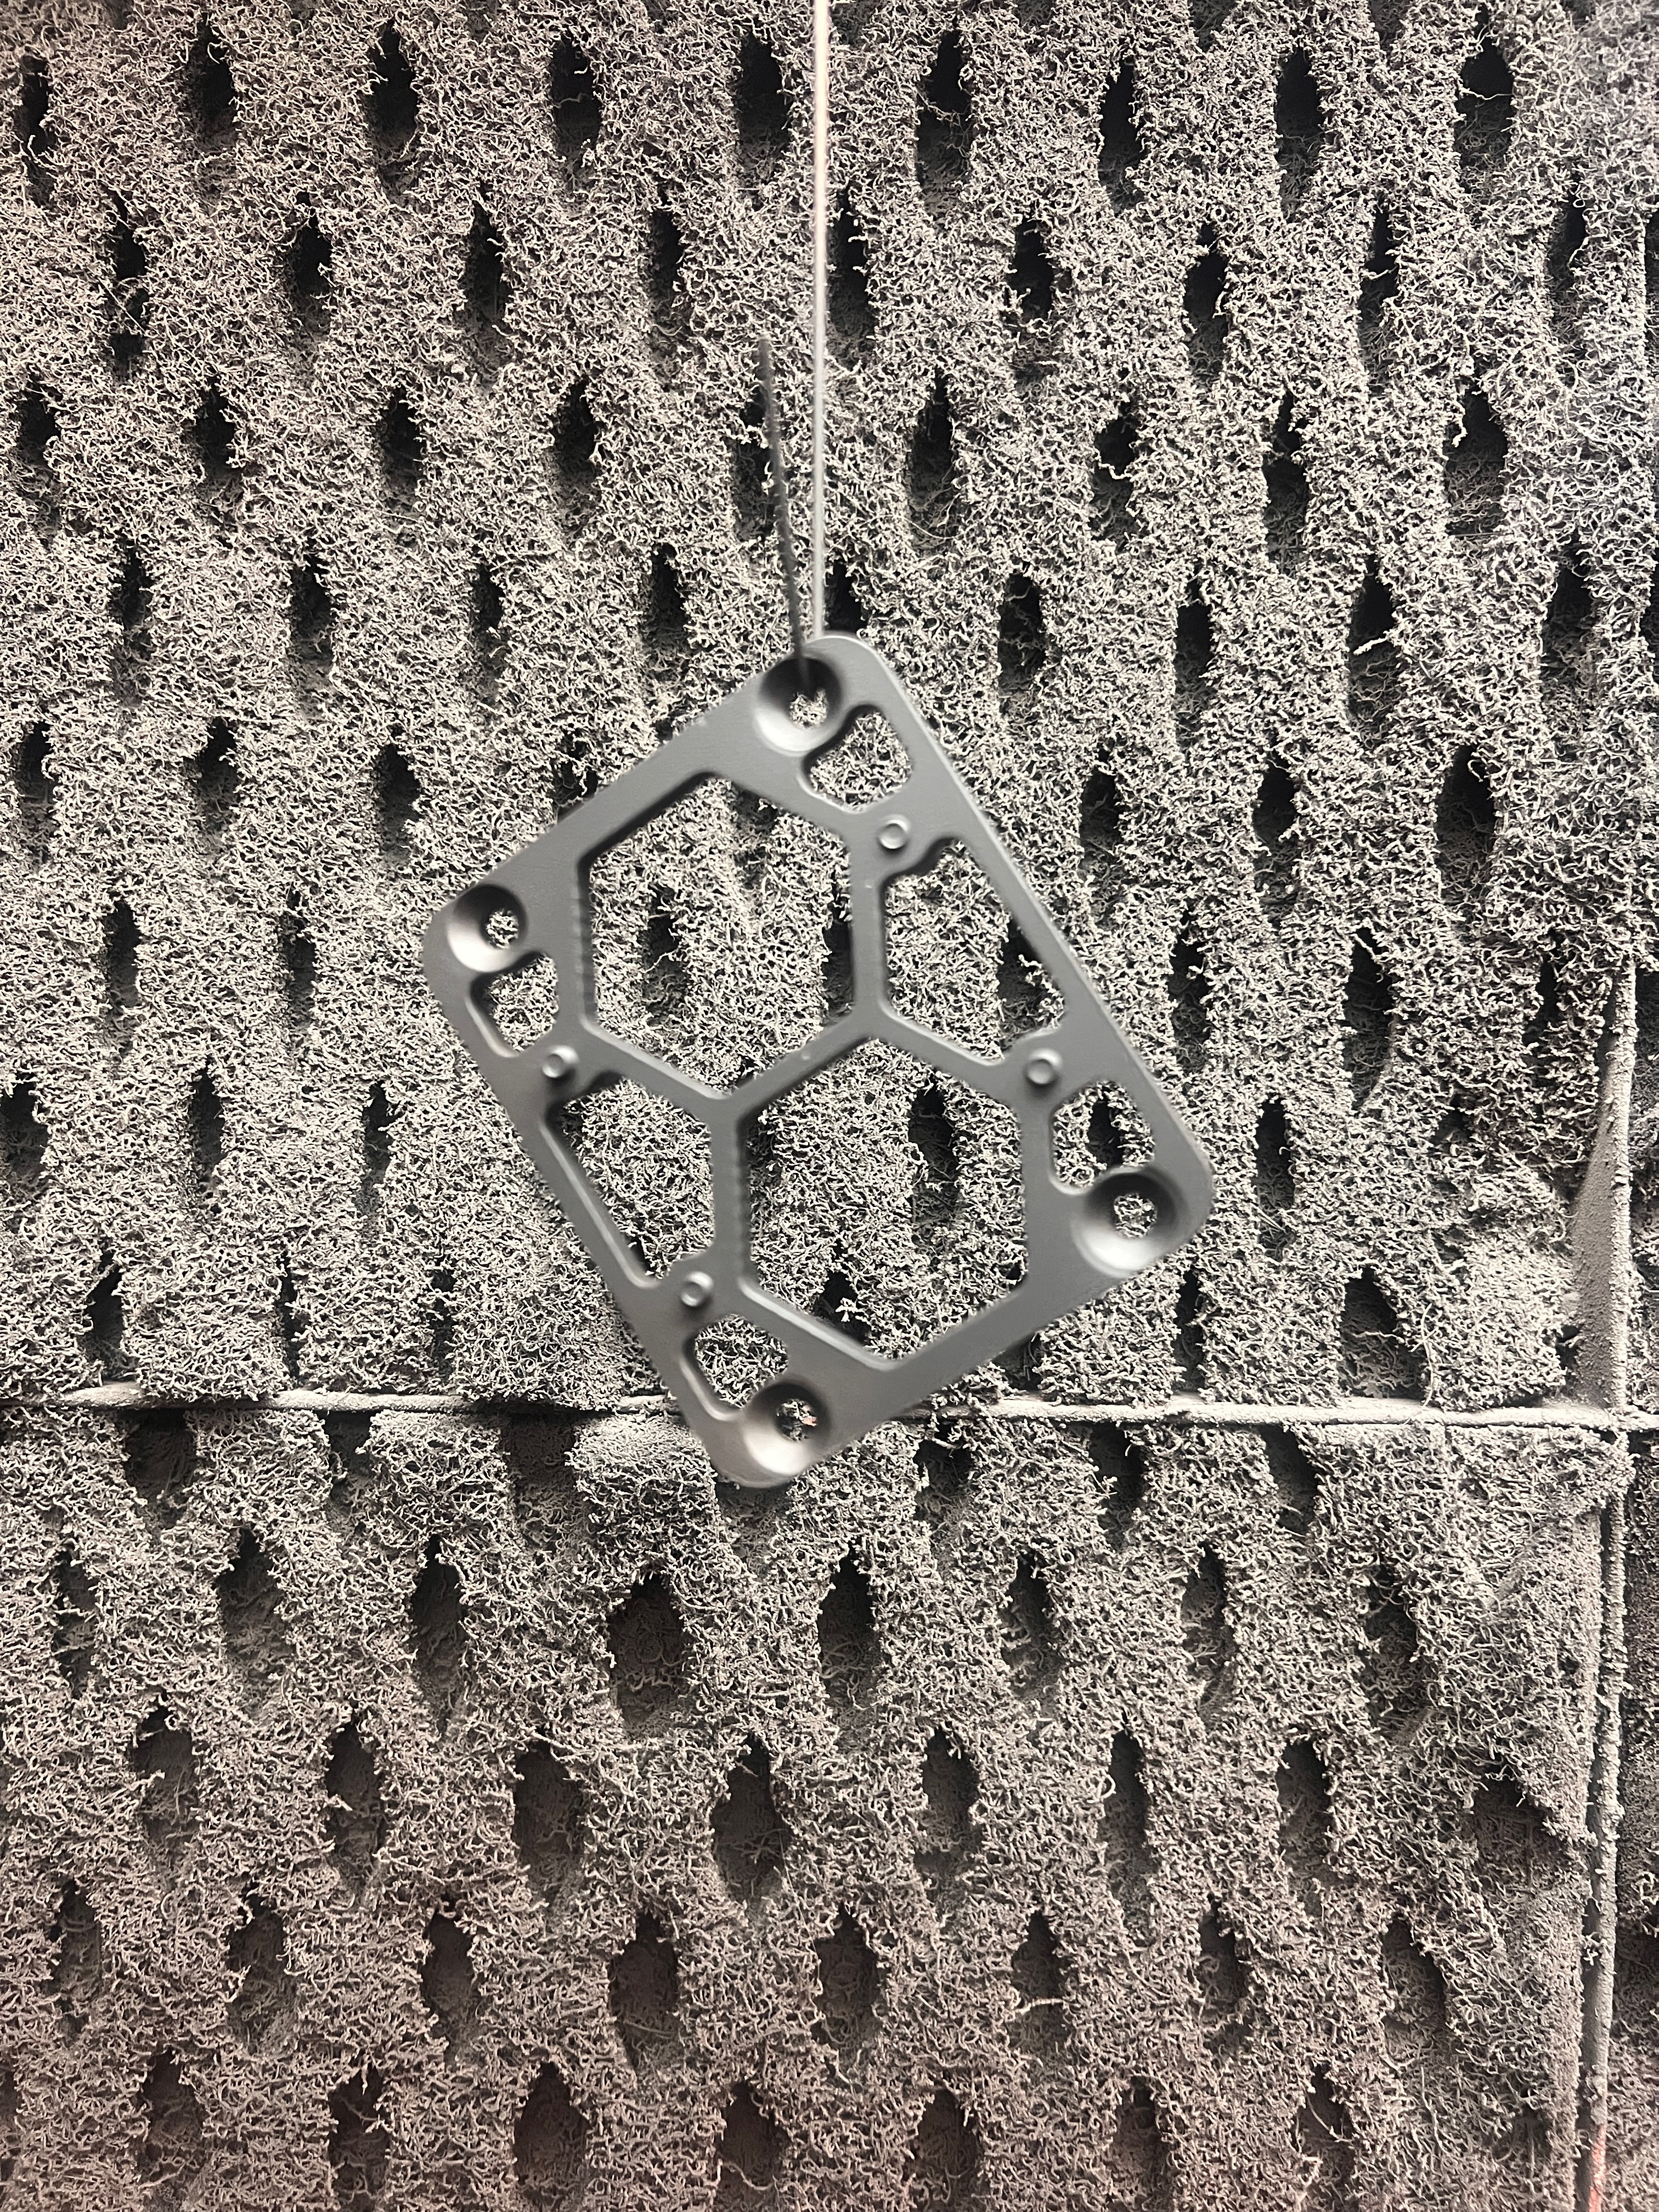
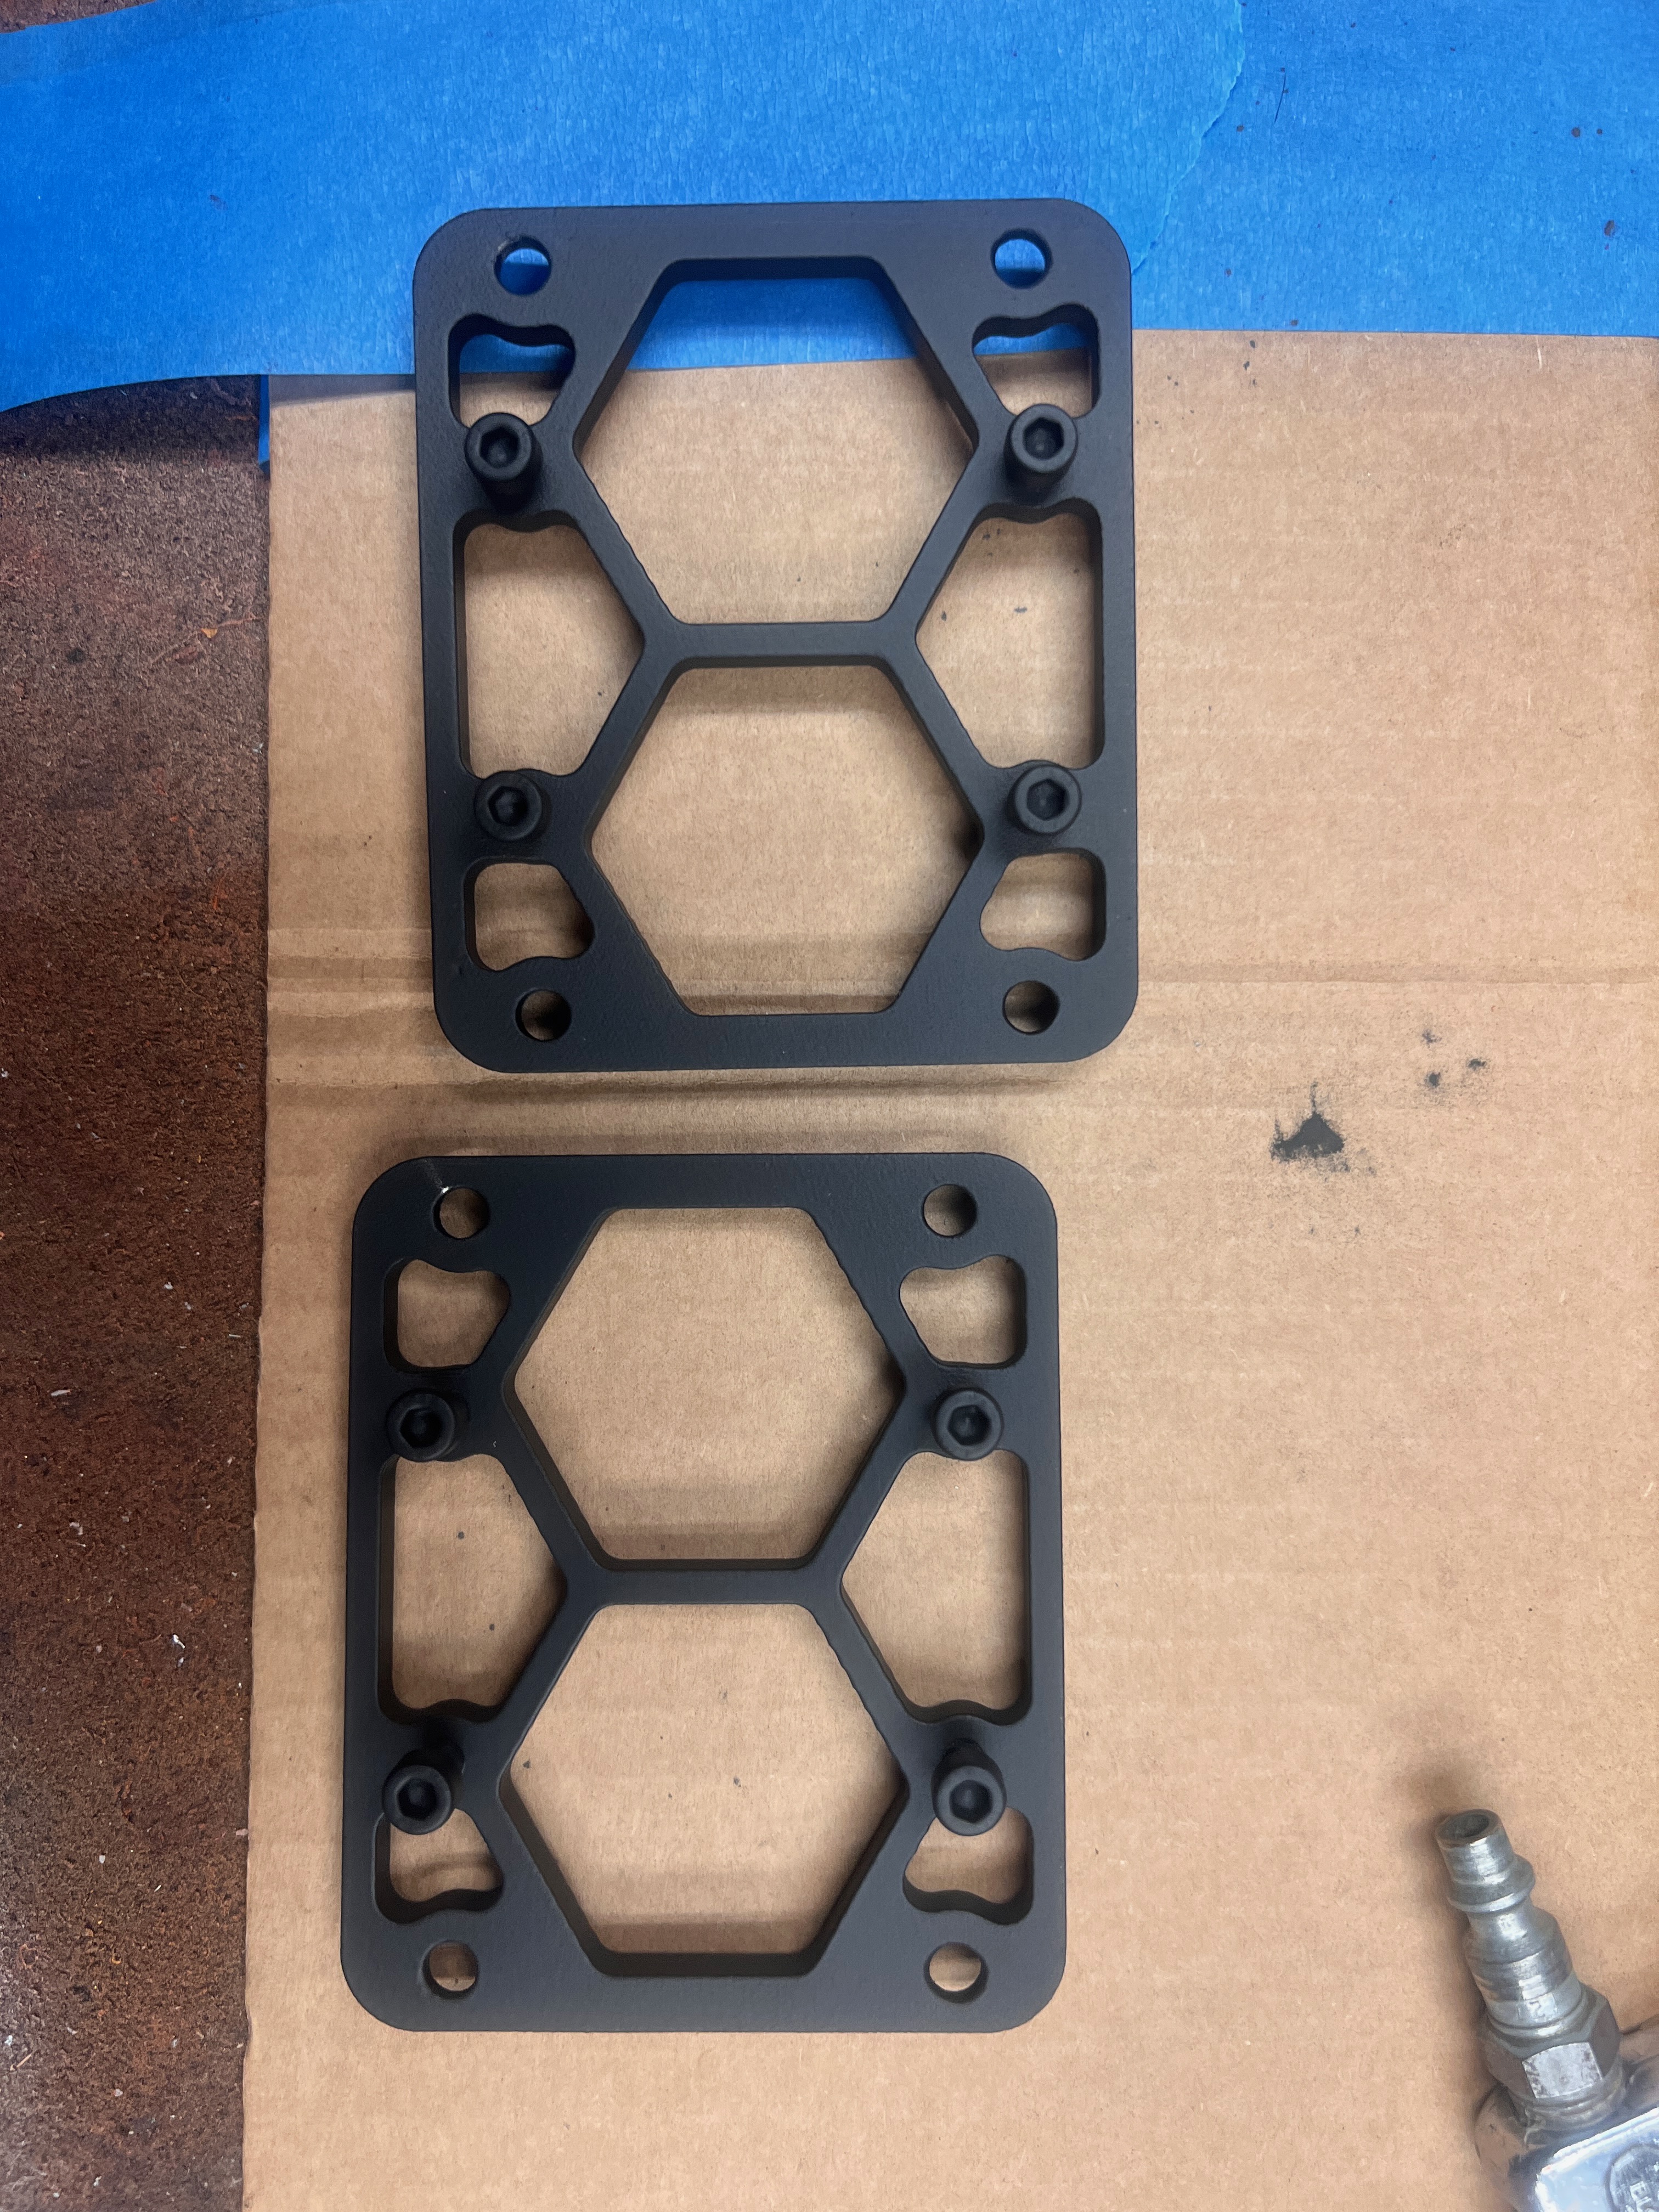
Those looks great. A nice thick and healthy coat! I have a small error on the corners from where I placed wire to coat them. I’ll need to keep that in mind in the future.
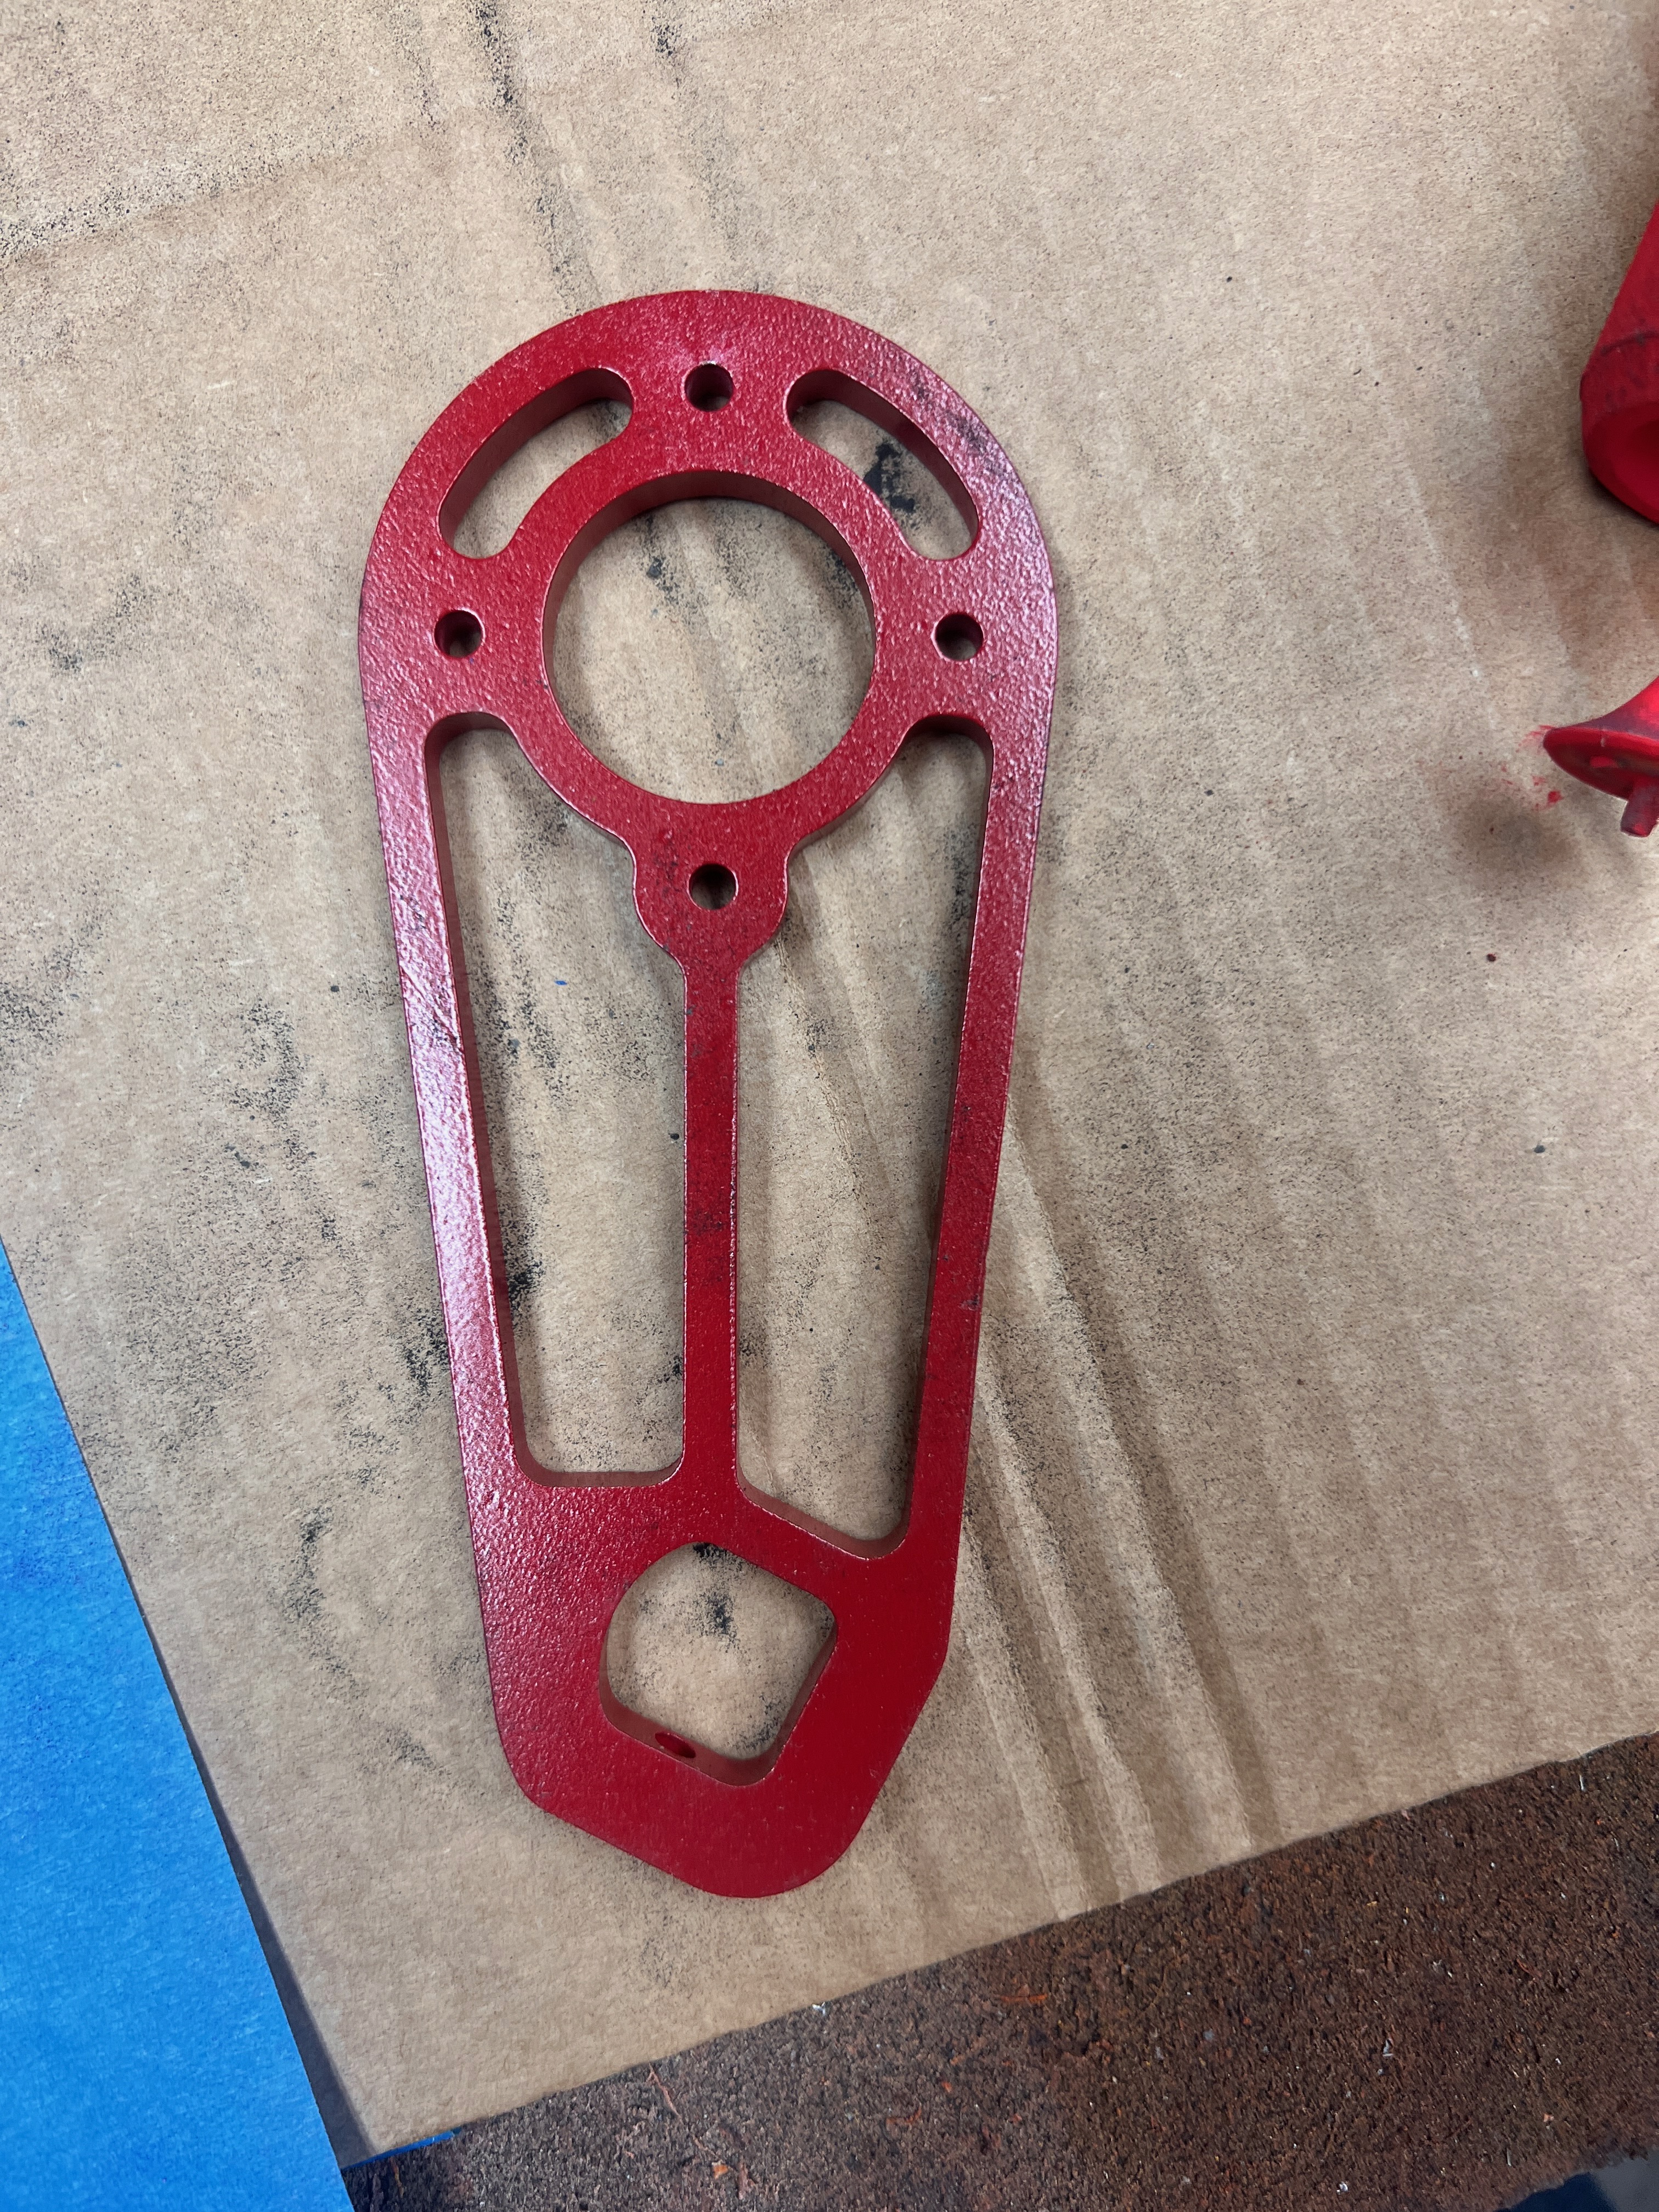
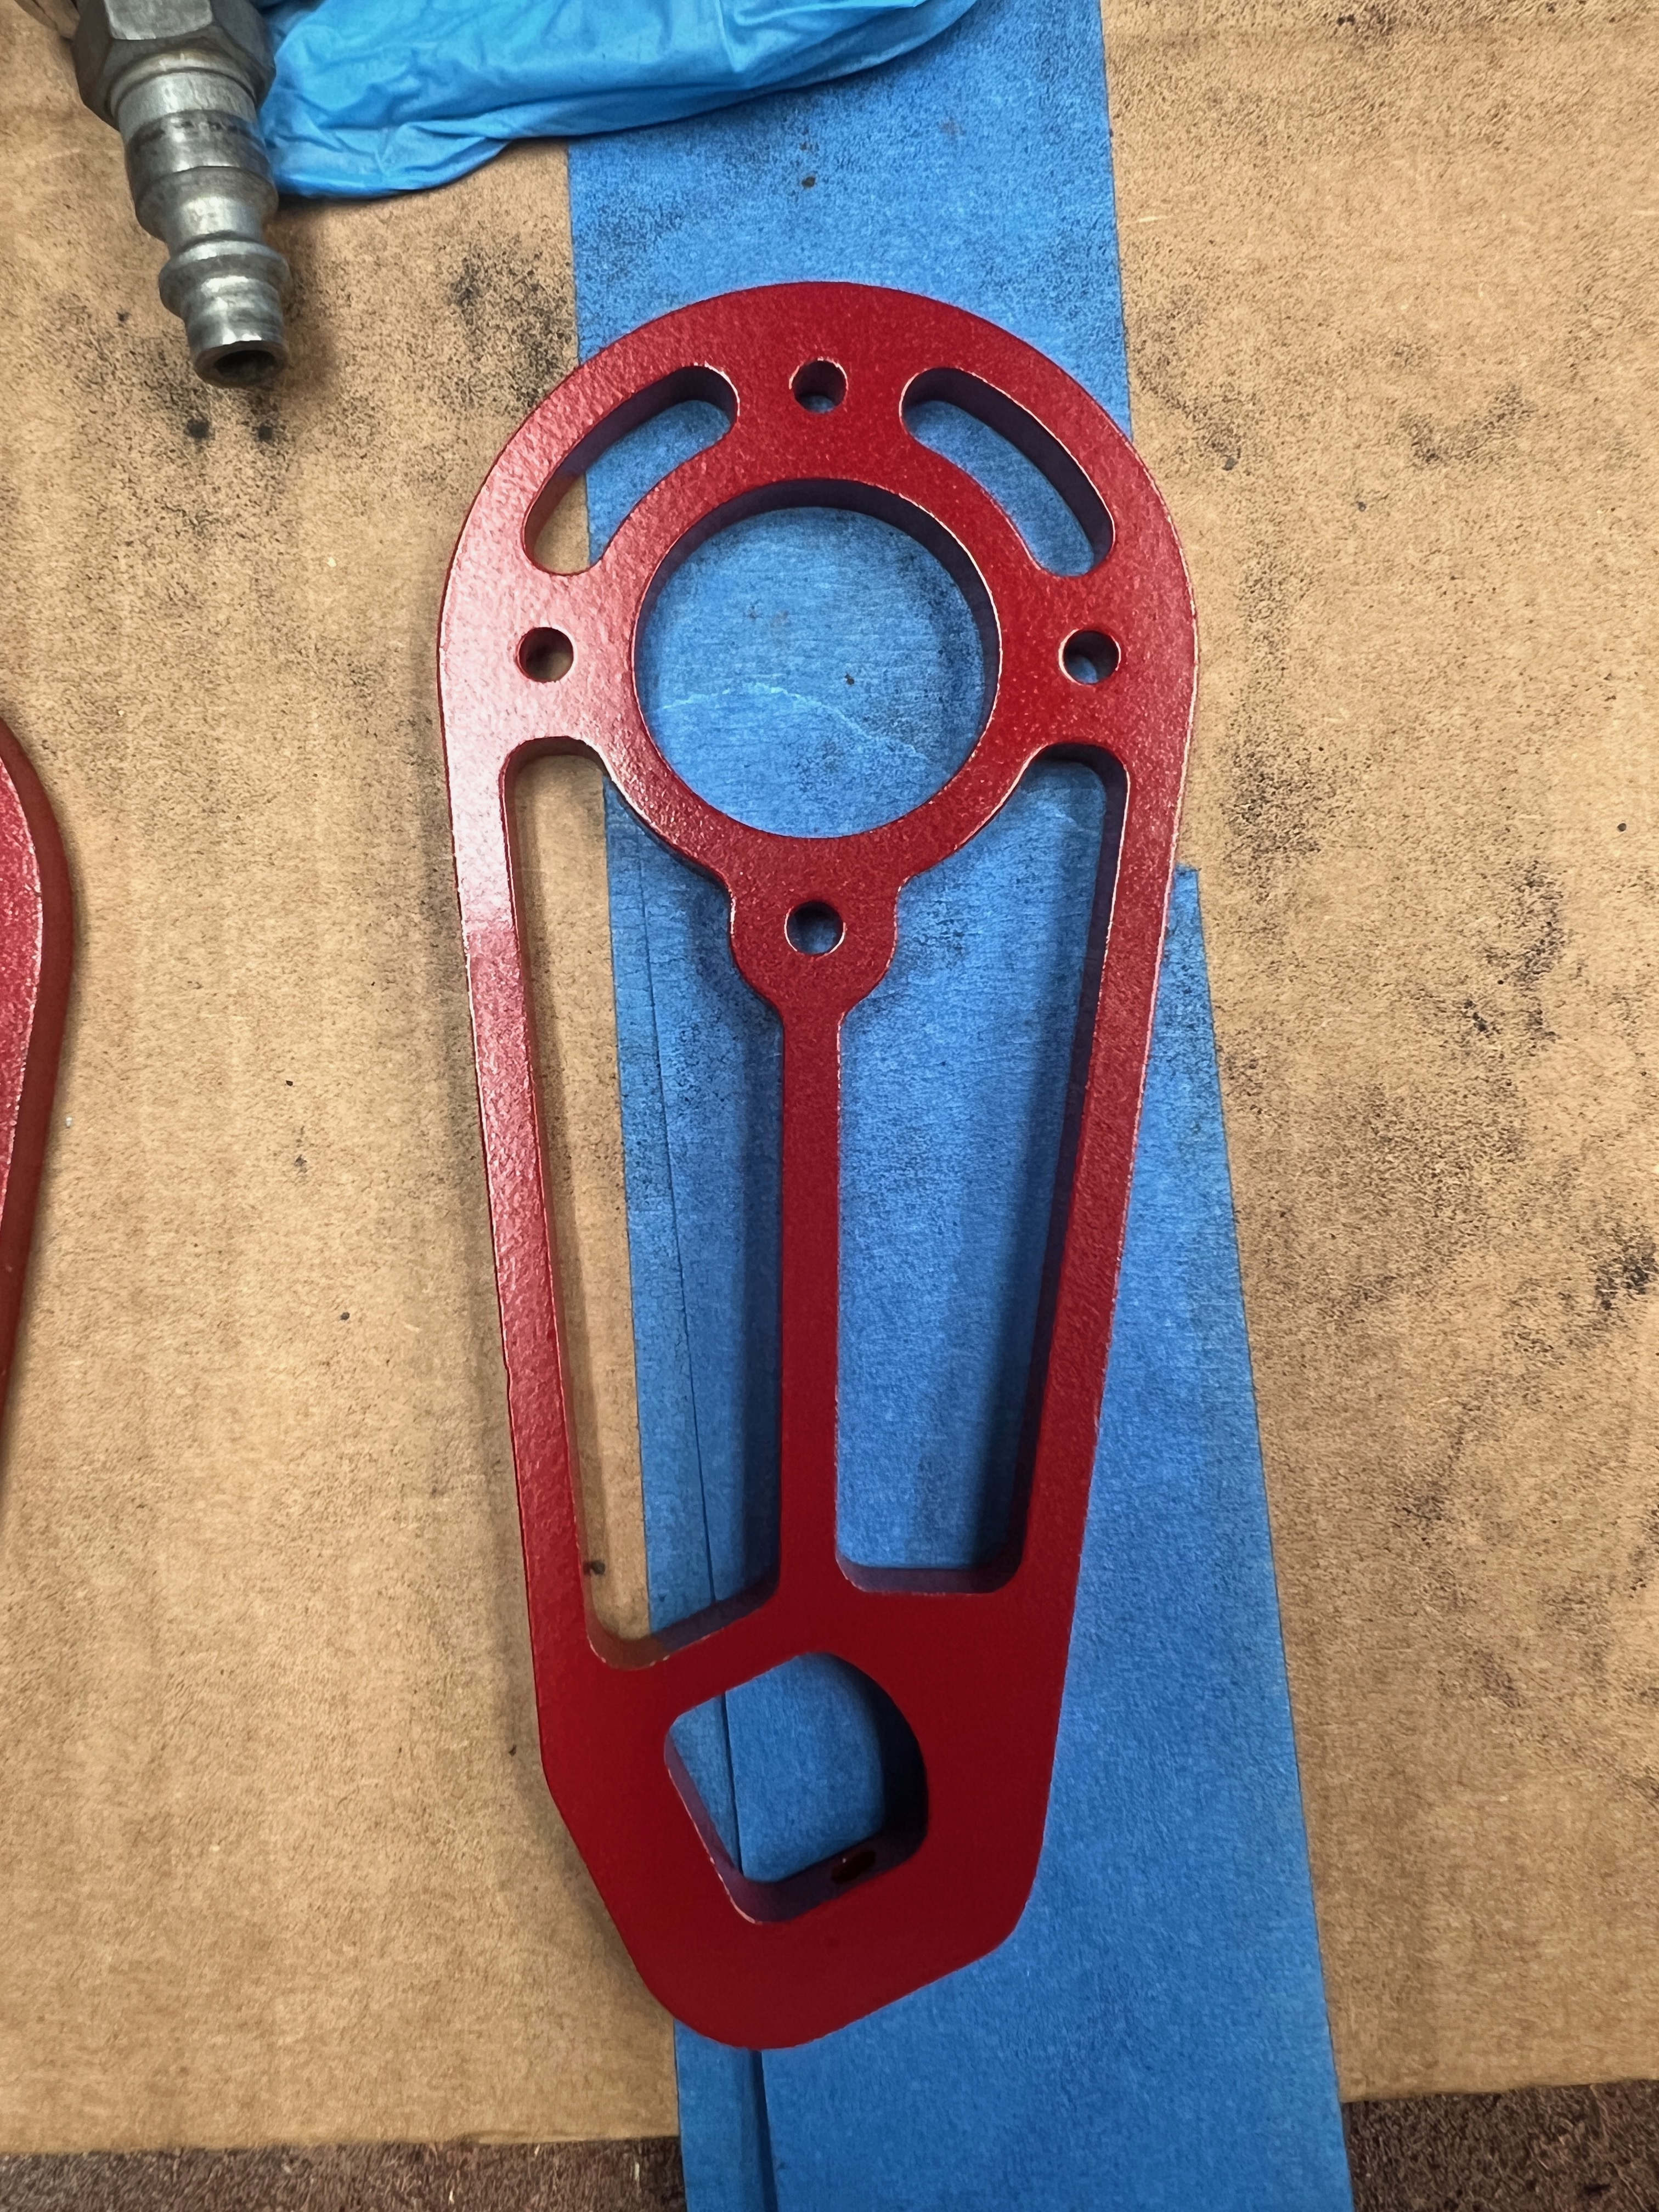
Onto motor mounts and the board now! I ran out of the non-reflective black I did the test coats on. I did have some jet black lying around. For the motor mounts I wanted the max possible contrast, so I used shiny red to give it a nice pop. It turned out very very nice.
Electronics
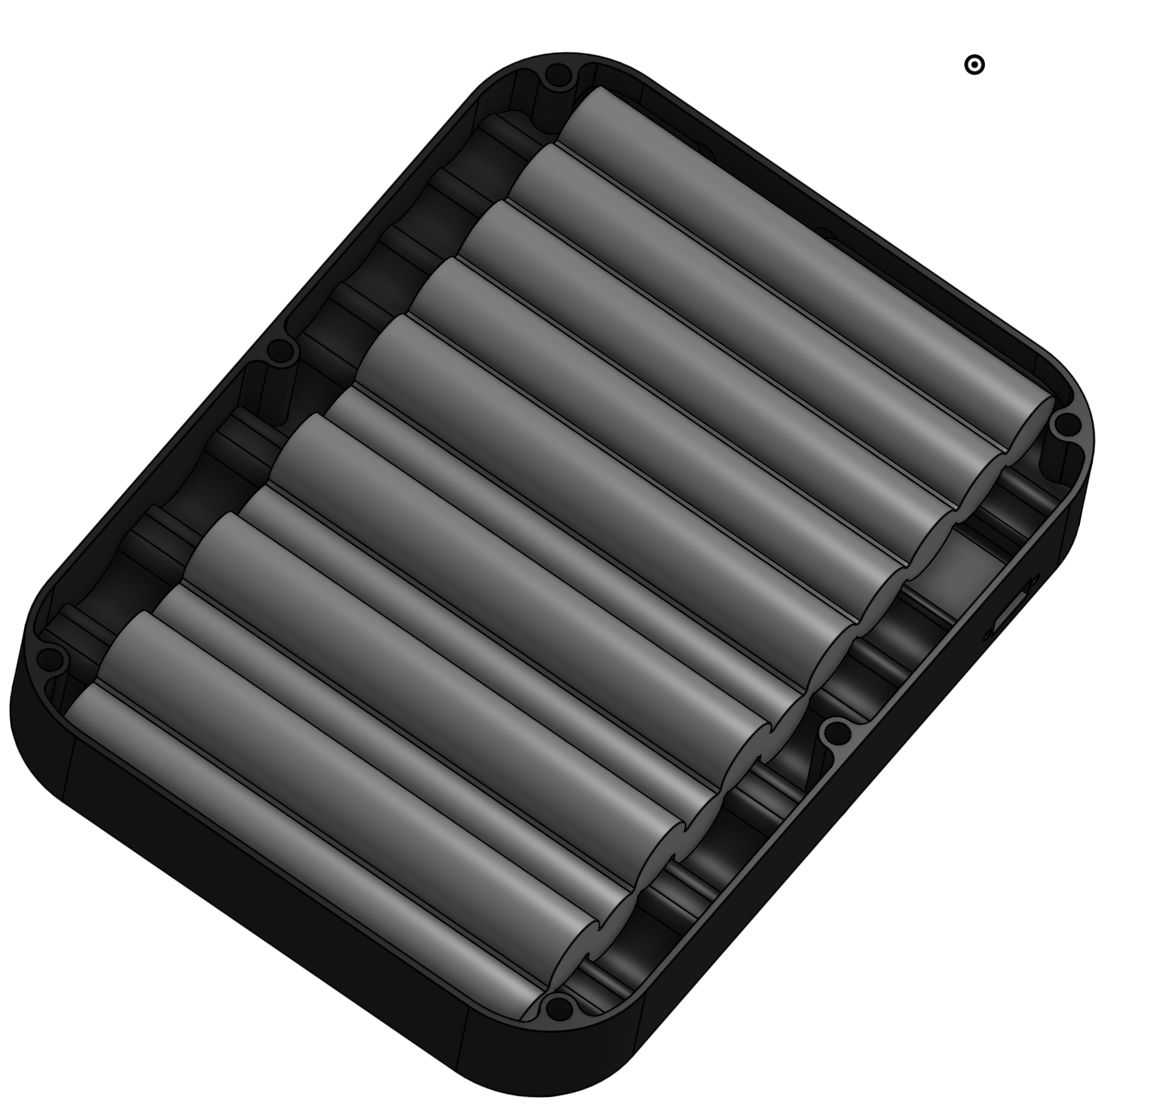
The very last thing, motors and motor controllers seem great, but the battery system is the final part. Working with 21700 samsung cells, with a 12s2p configuration. Current wiring and battery pitures are below.
