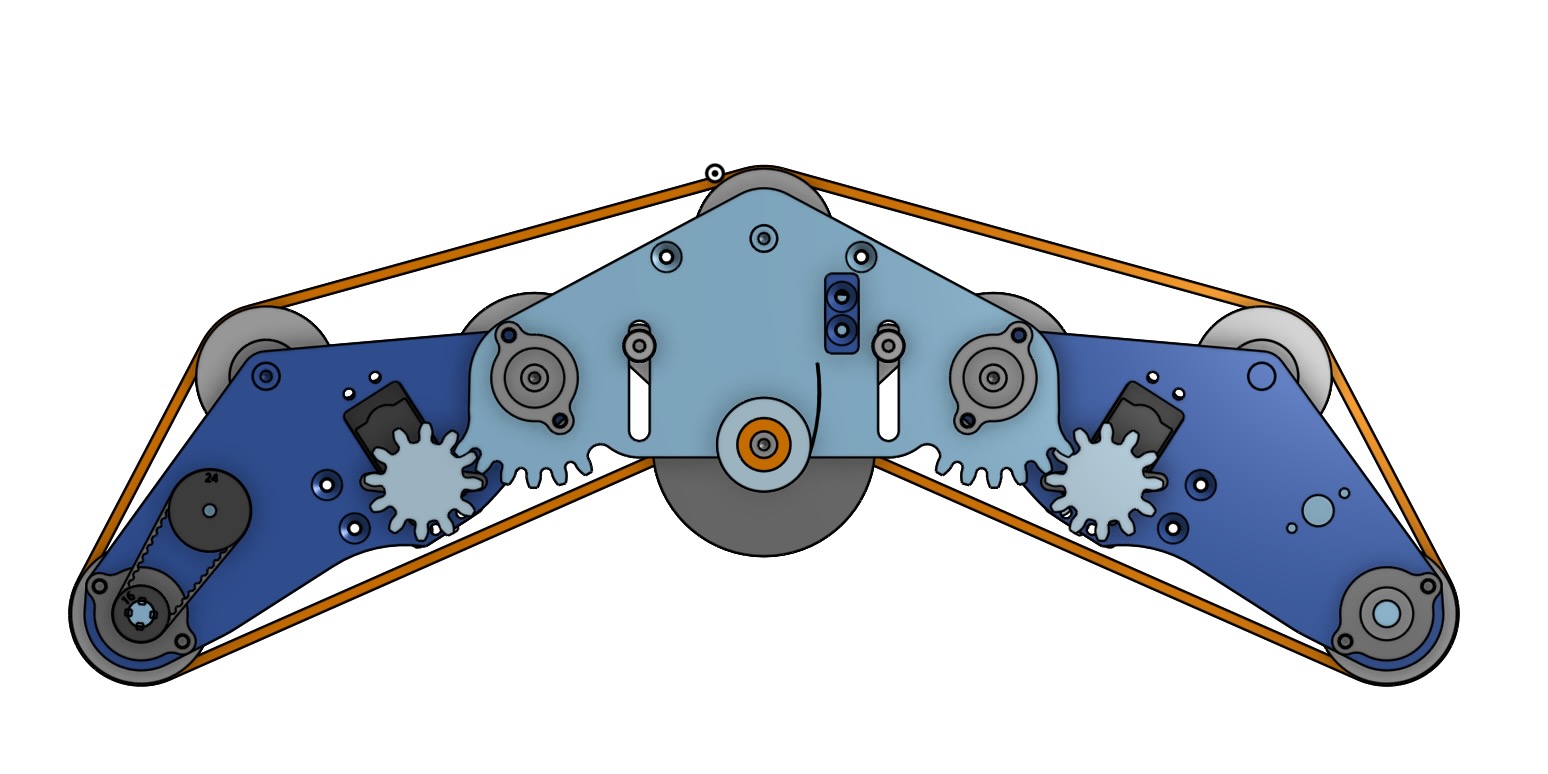
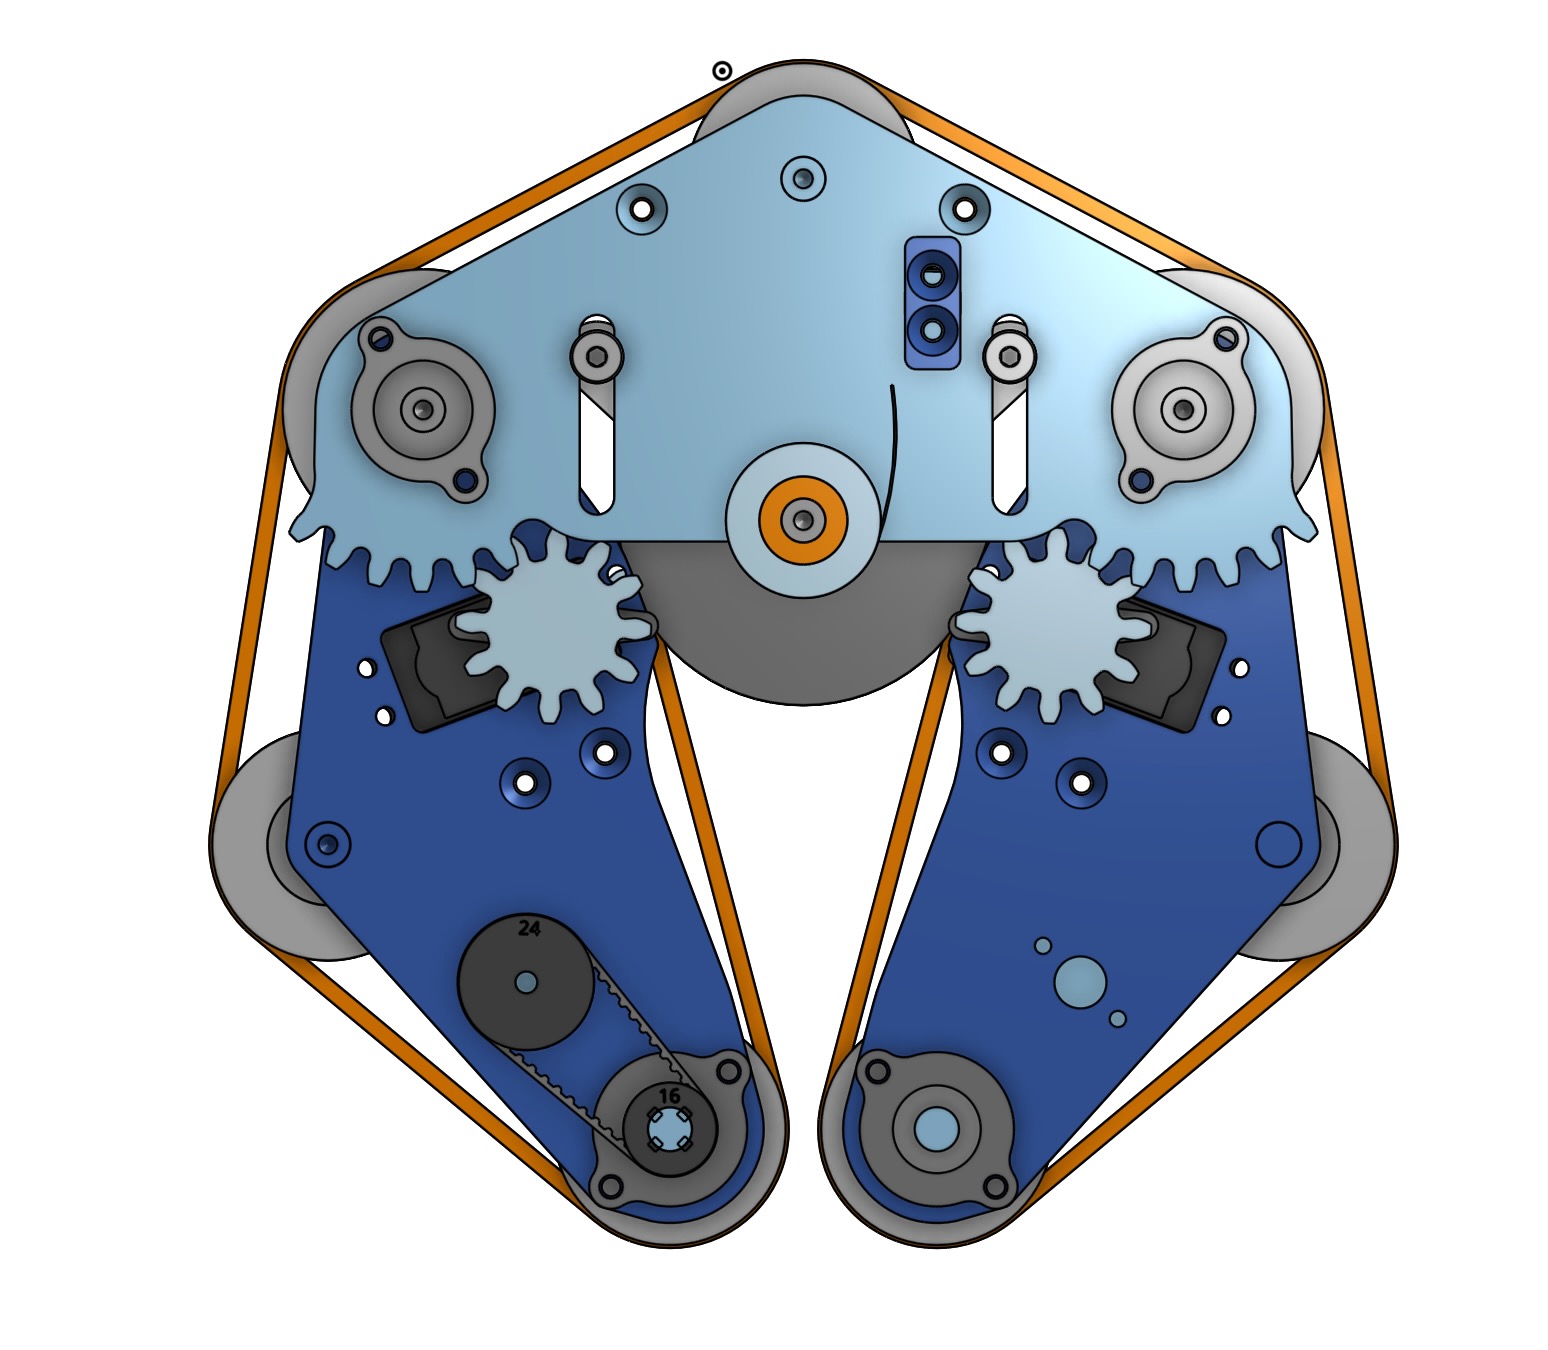
Rolly Polly
Transforming robot, wrap a line around enough circles and you approximate another circle!
Run-In
Reassembled, the whole thing was feeling a bit tight. That’s when I rememebered one of the greatest truths of bearings. Bearings are not perfect.
The best way to fix that is run in. Spinning bearings close to your target speed under load will force the imperfections to slowly wear down, while also ridding any incorret application of grease. Spinning both diretions is key as it is very easy to create non-uniform wear.
Additonally, the TPU material used to print the pulleys(chosen for it’s extremly impact resistant properties), has an extremly high coeffecient of friction. Allowing for run in on their surfaces, especially the large smooth tensioning pulley, signifigantly loowered the input power to move the system. This will be an important note for future replacement parts.
System run-in did point out some shortcommings on my end. It appears that a few spacers were of the incorret size swapping of spacer size allowed for a few spacers to “walk” along the shaft under load. Readustments should be made to fix that spacer stack.
Upgraded Motors
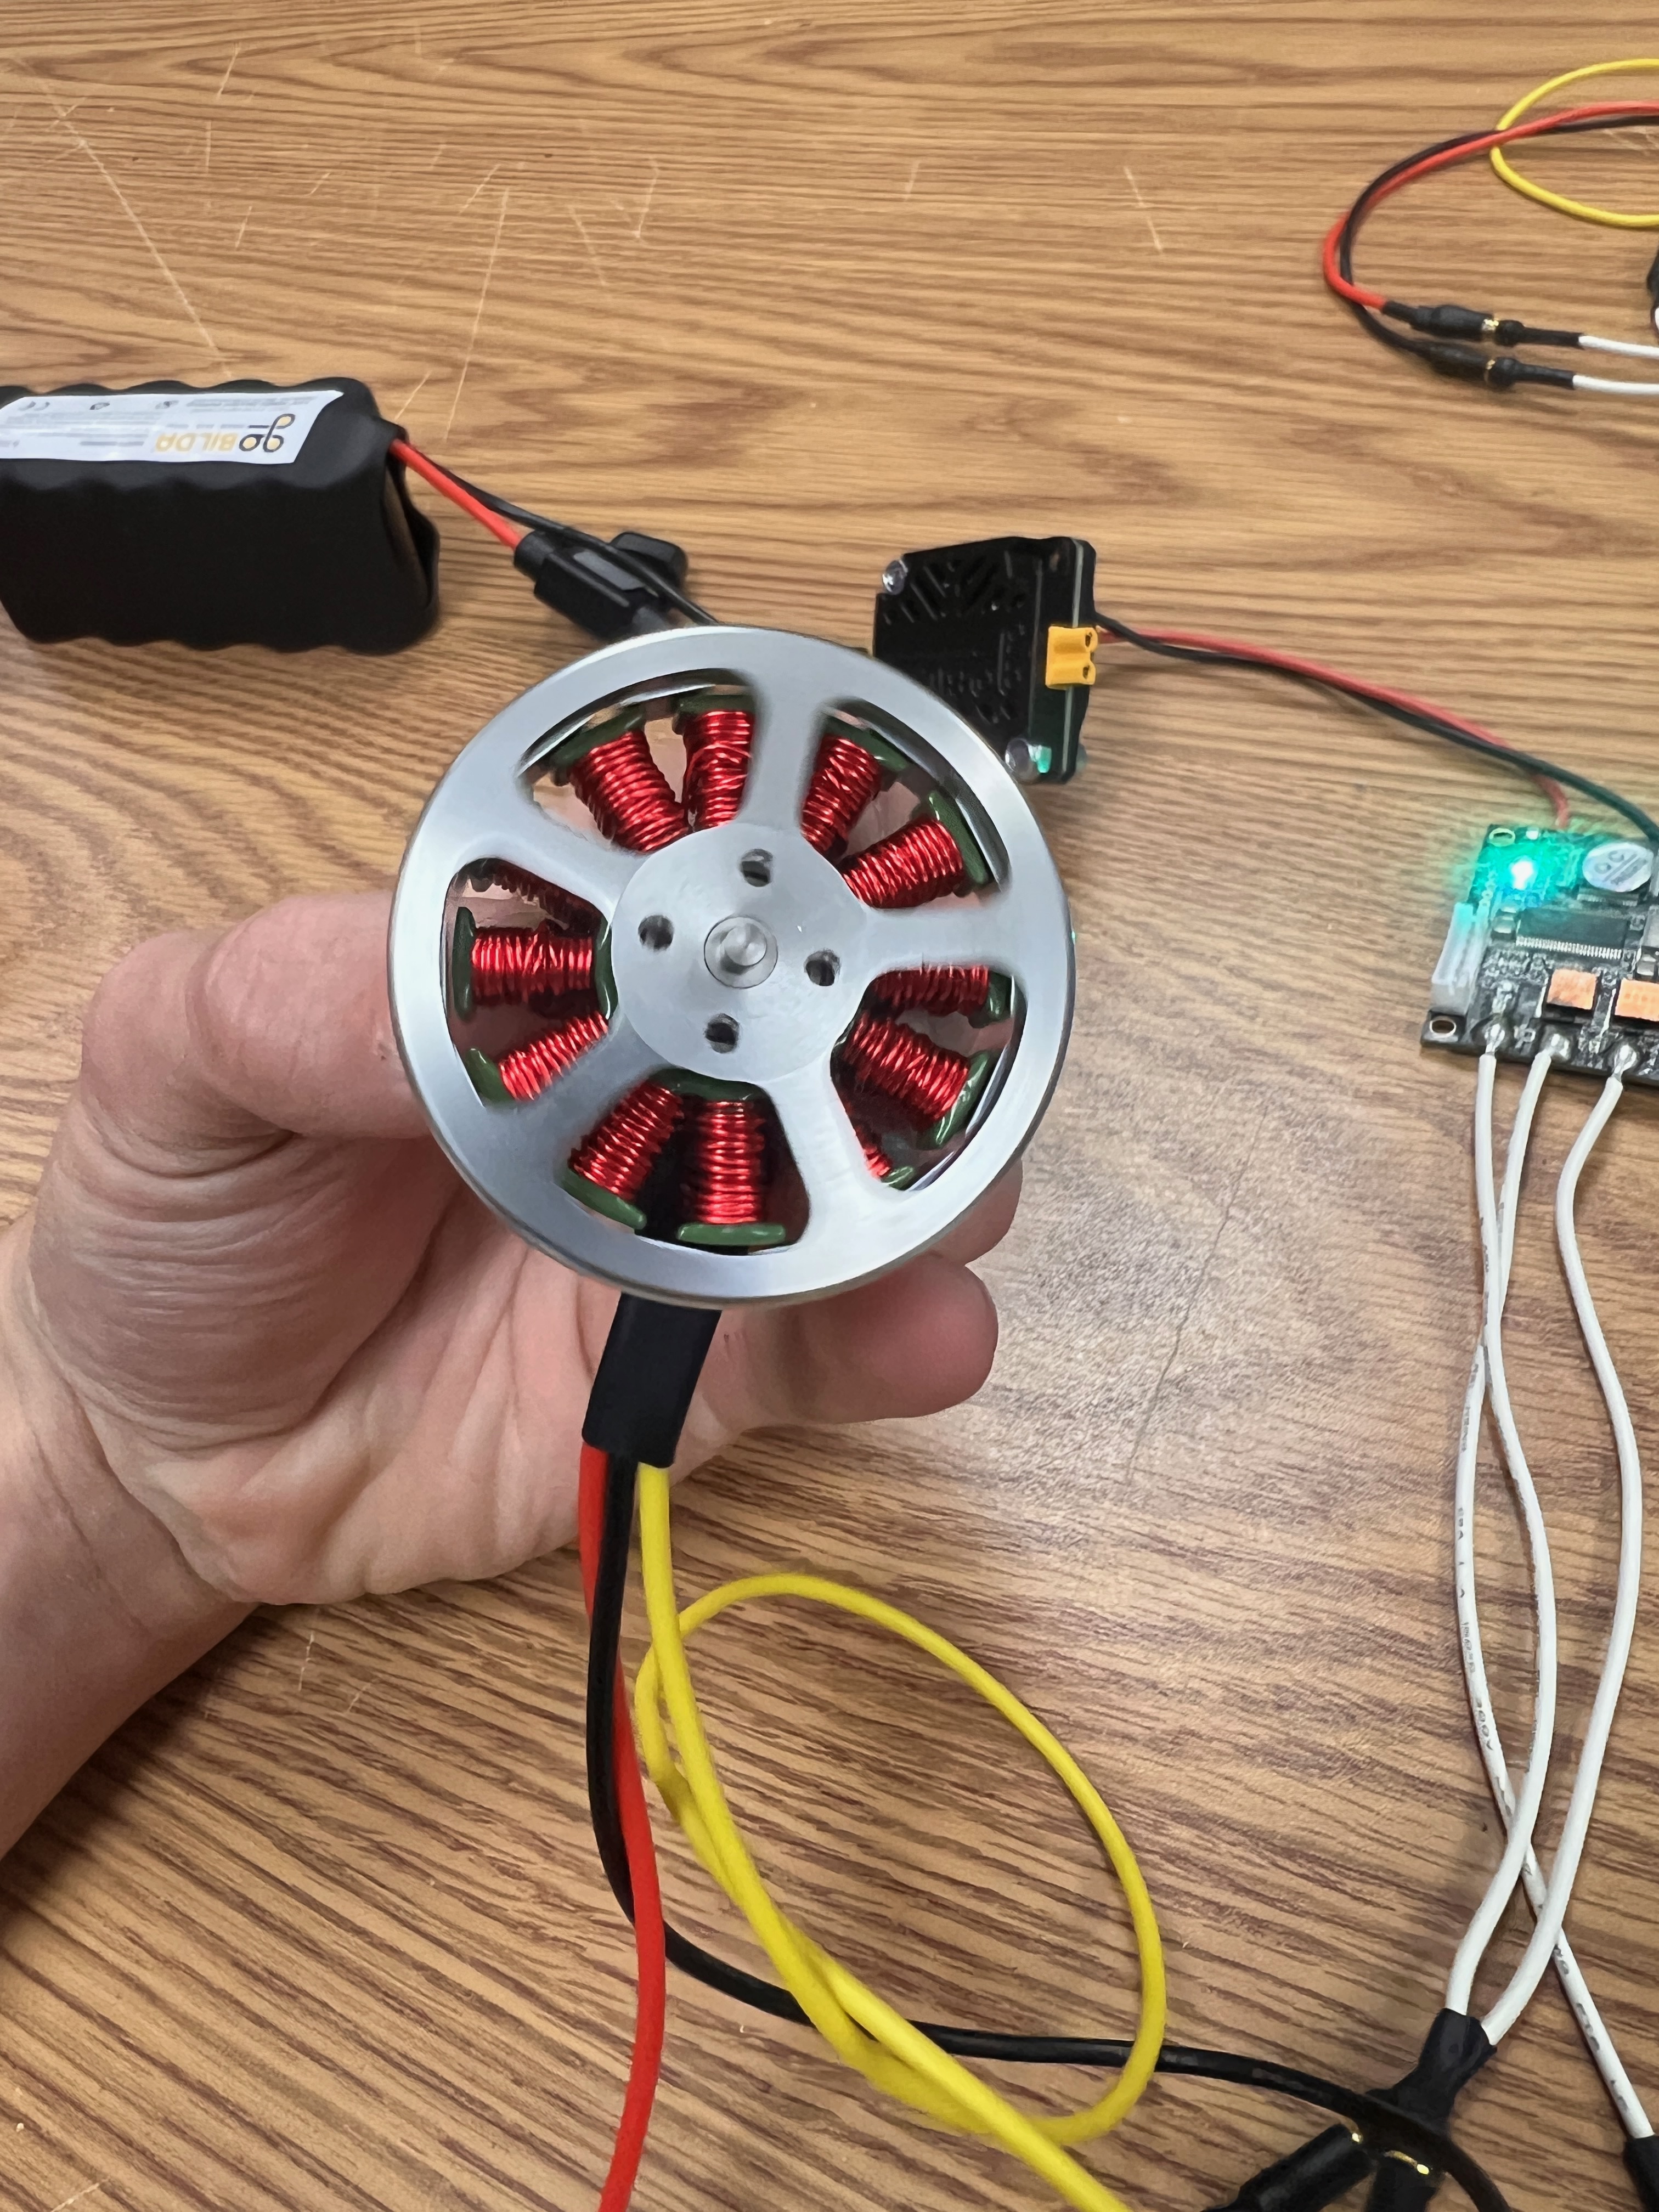
Trying to make it quick(plus utilize the great holiday sales that let weird things come to my door for cheaper), I went shopping for 2 lower kv motors. Landing on some Amazon 360 kv drone motors, they were the most cost effective(but very overkill option) I needed to move all these belts.
Integrating these much larger motors into cad was a bit more difficult, they just barely fit. Using some 3d printed moutning and 3d cnc’d geometry, they squeezed in without having to do any major modifications to the robot. Just swapping two plates out. Programming them was a breeze with two vesc motor controllers, and the integrated perfectly with the raspberry pi control stack that I had used when I TA’d 16220.

V1 Assembled
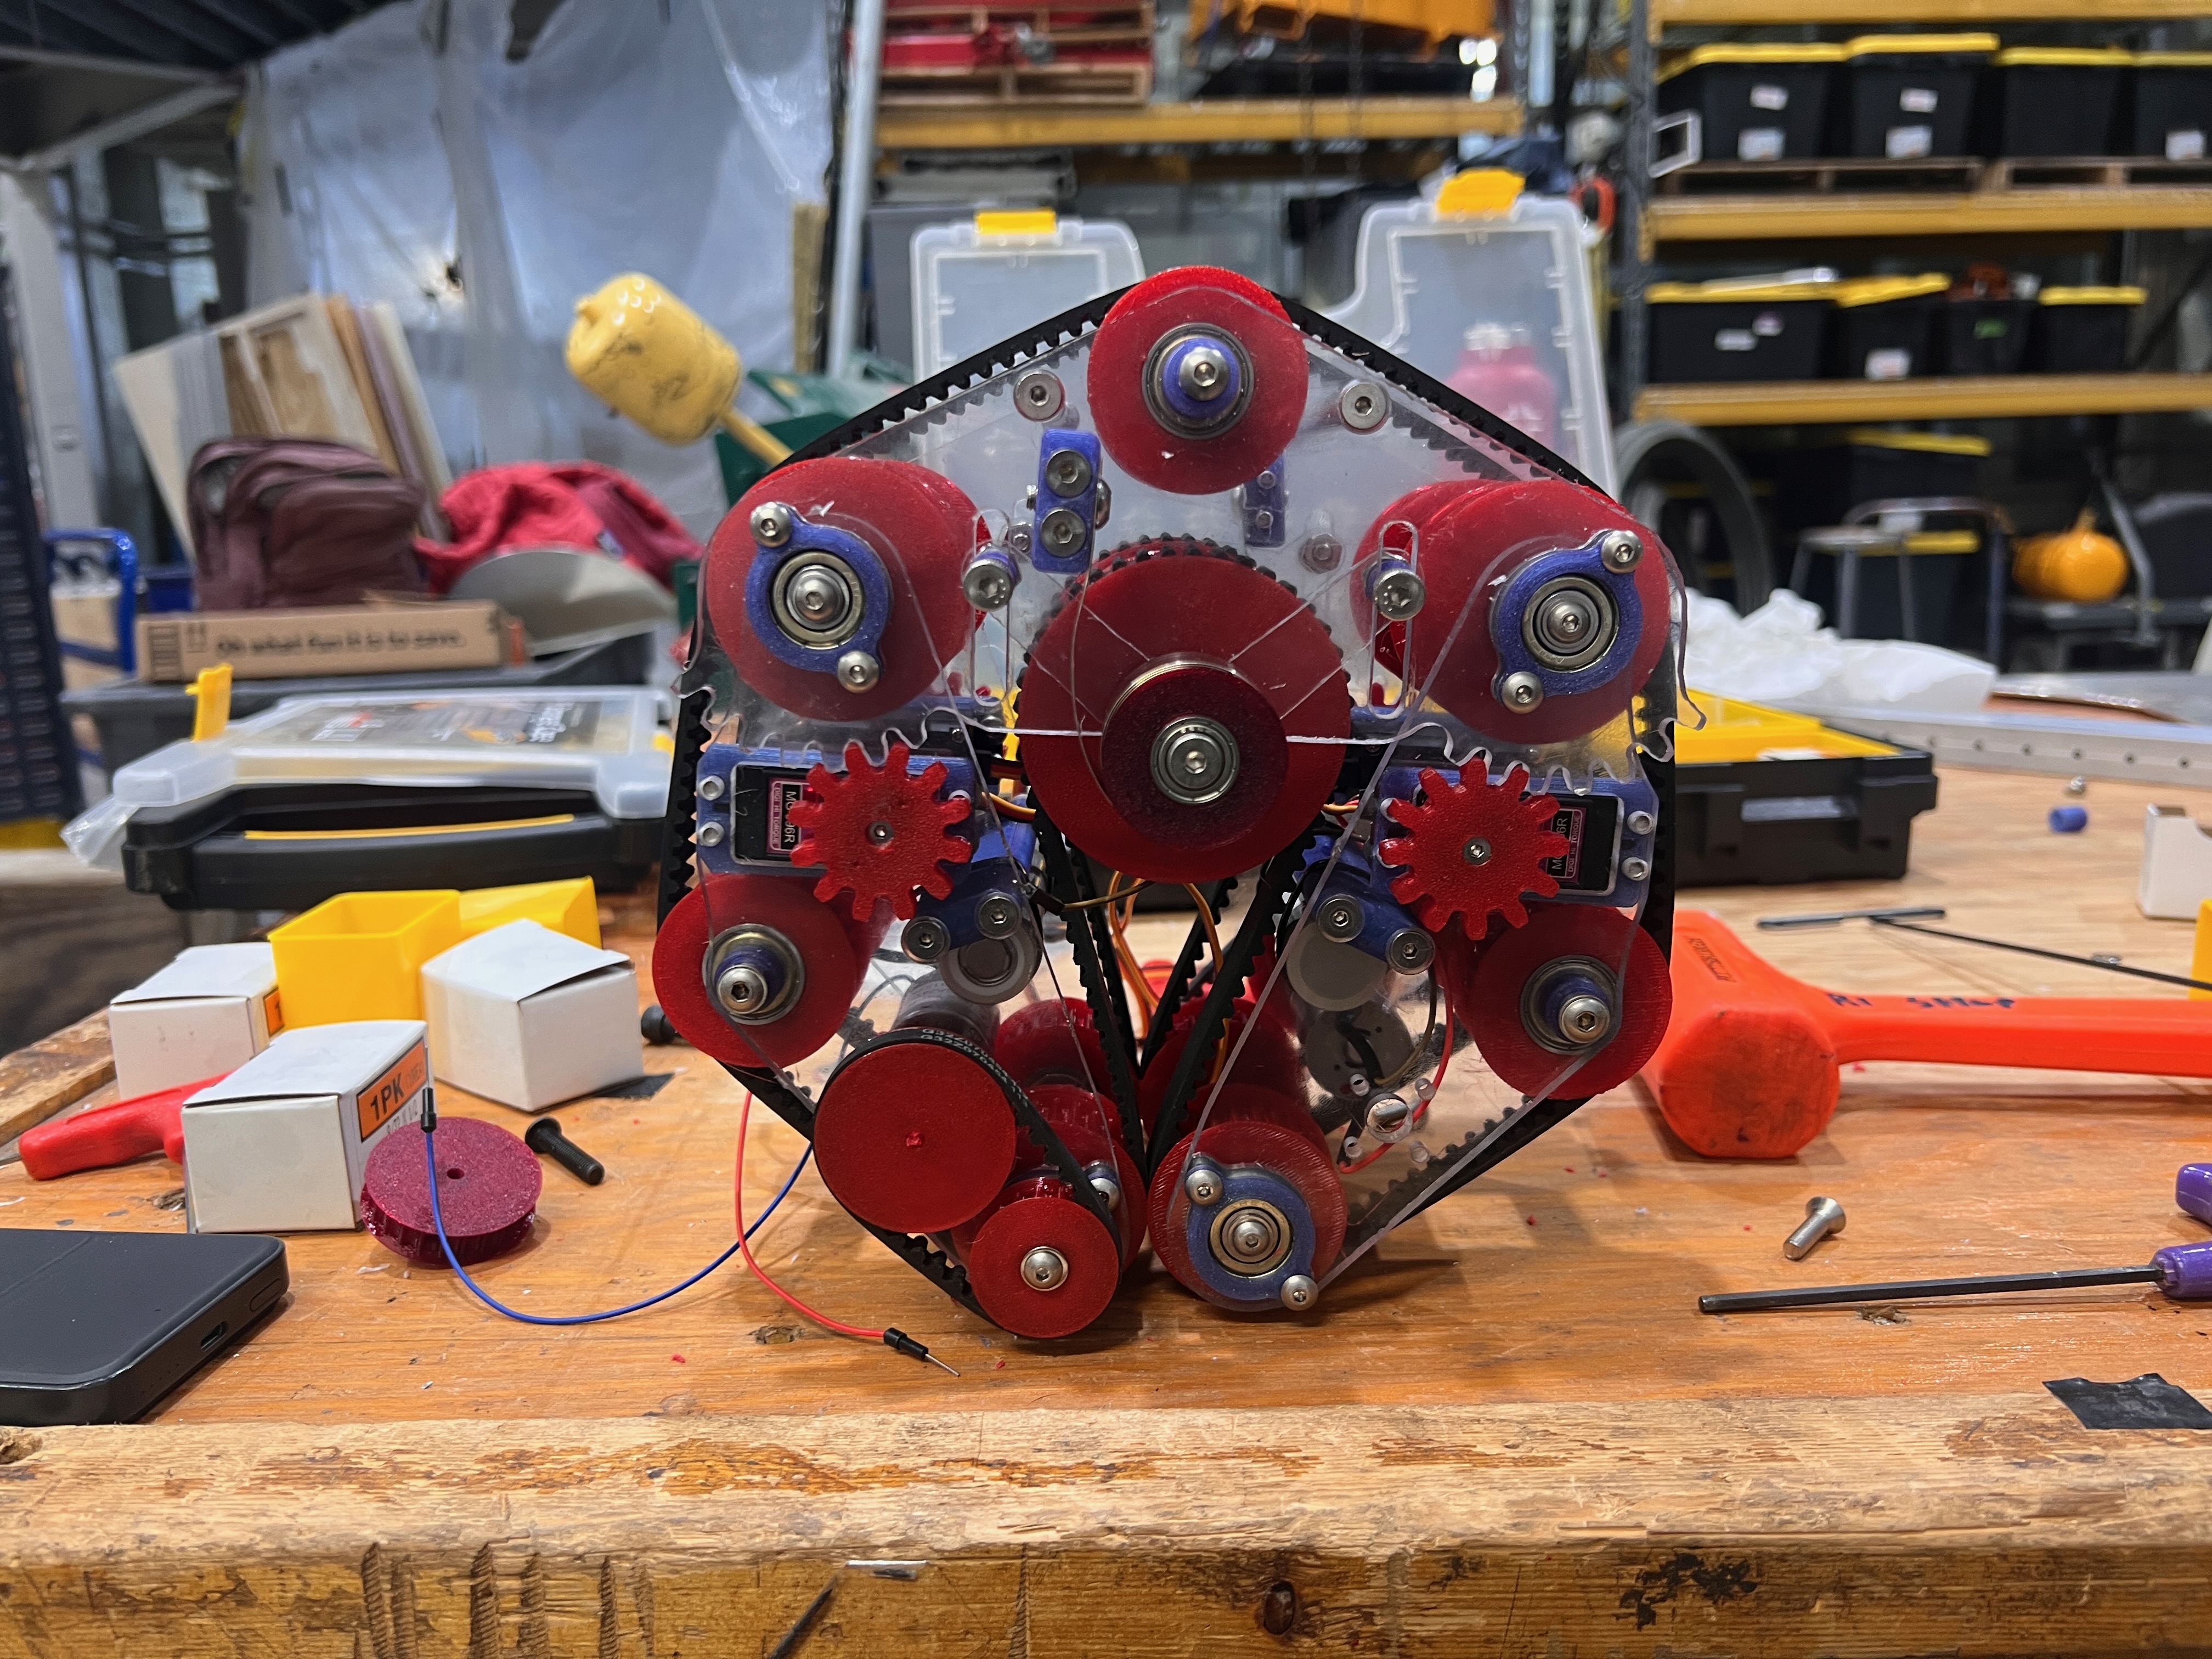
V1 rolly polly Assembled! Red timing belt pulleys from tpu. Everything else from leftover polycarbonate and pla. Seems great, the use of cheap chinese bearings and the extremly low powered motors(less than 2.5 watts) leaves the object unable to move. That was presumed to happen however, and better to check the fit of it before investing in some more powerful motors. Doing some small tweaks and adjusting cad in the next version.
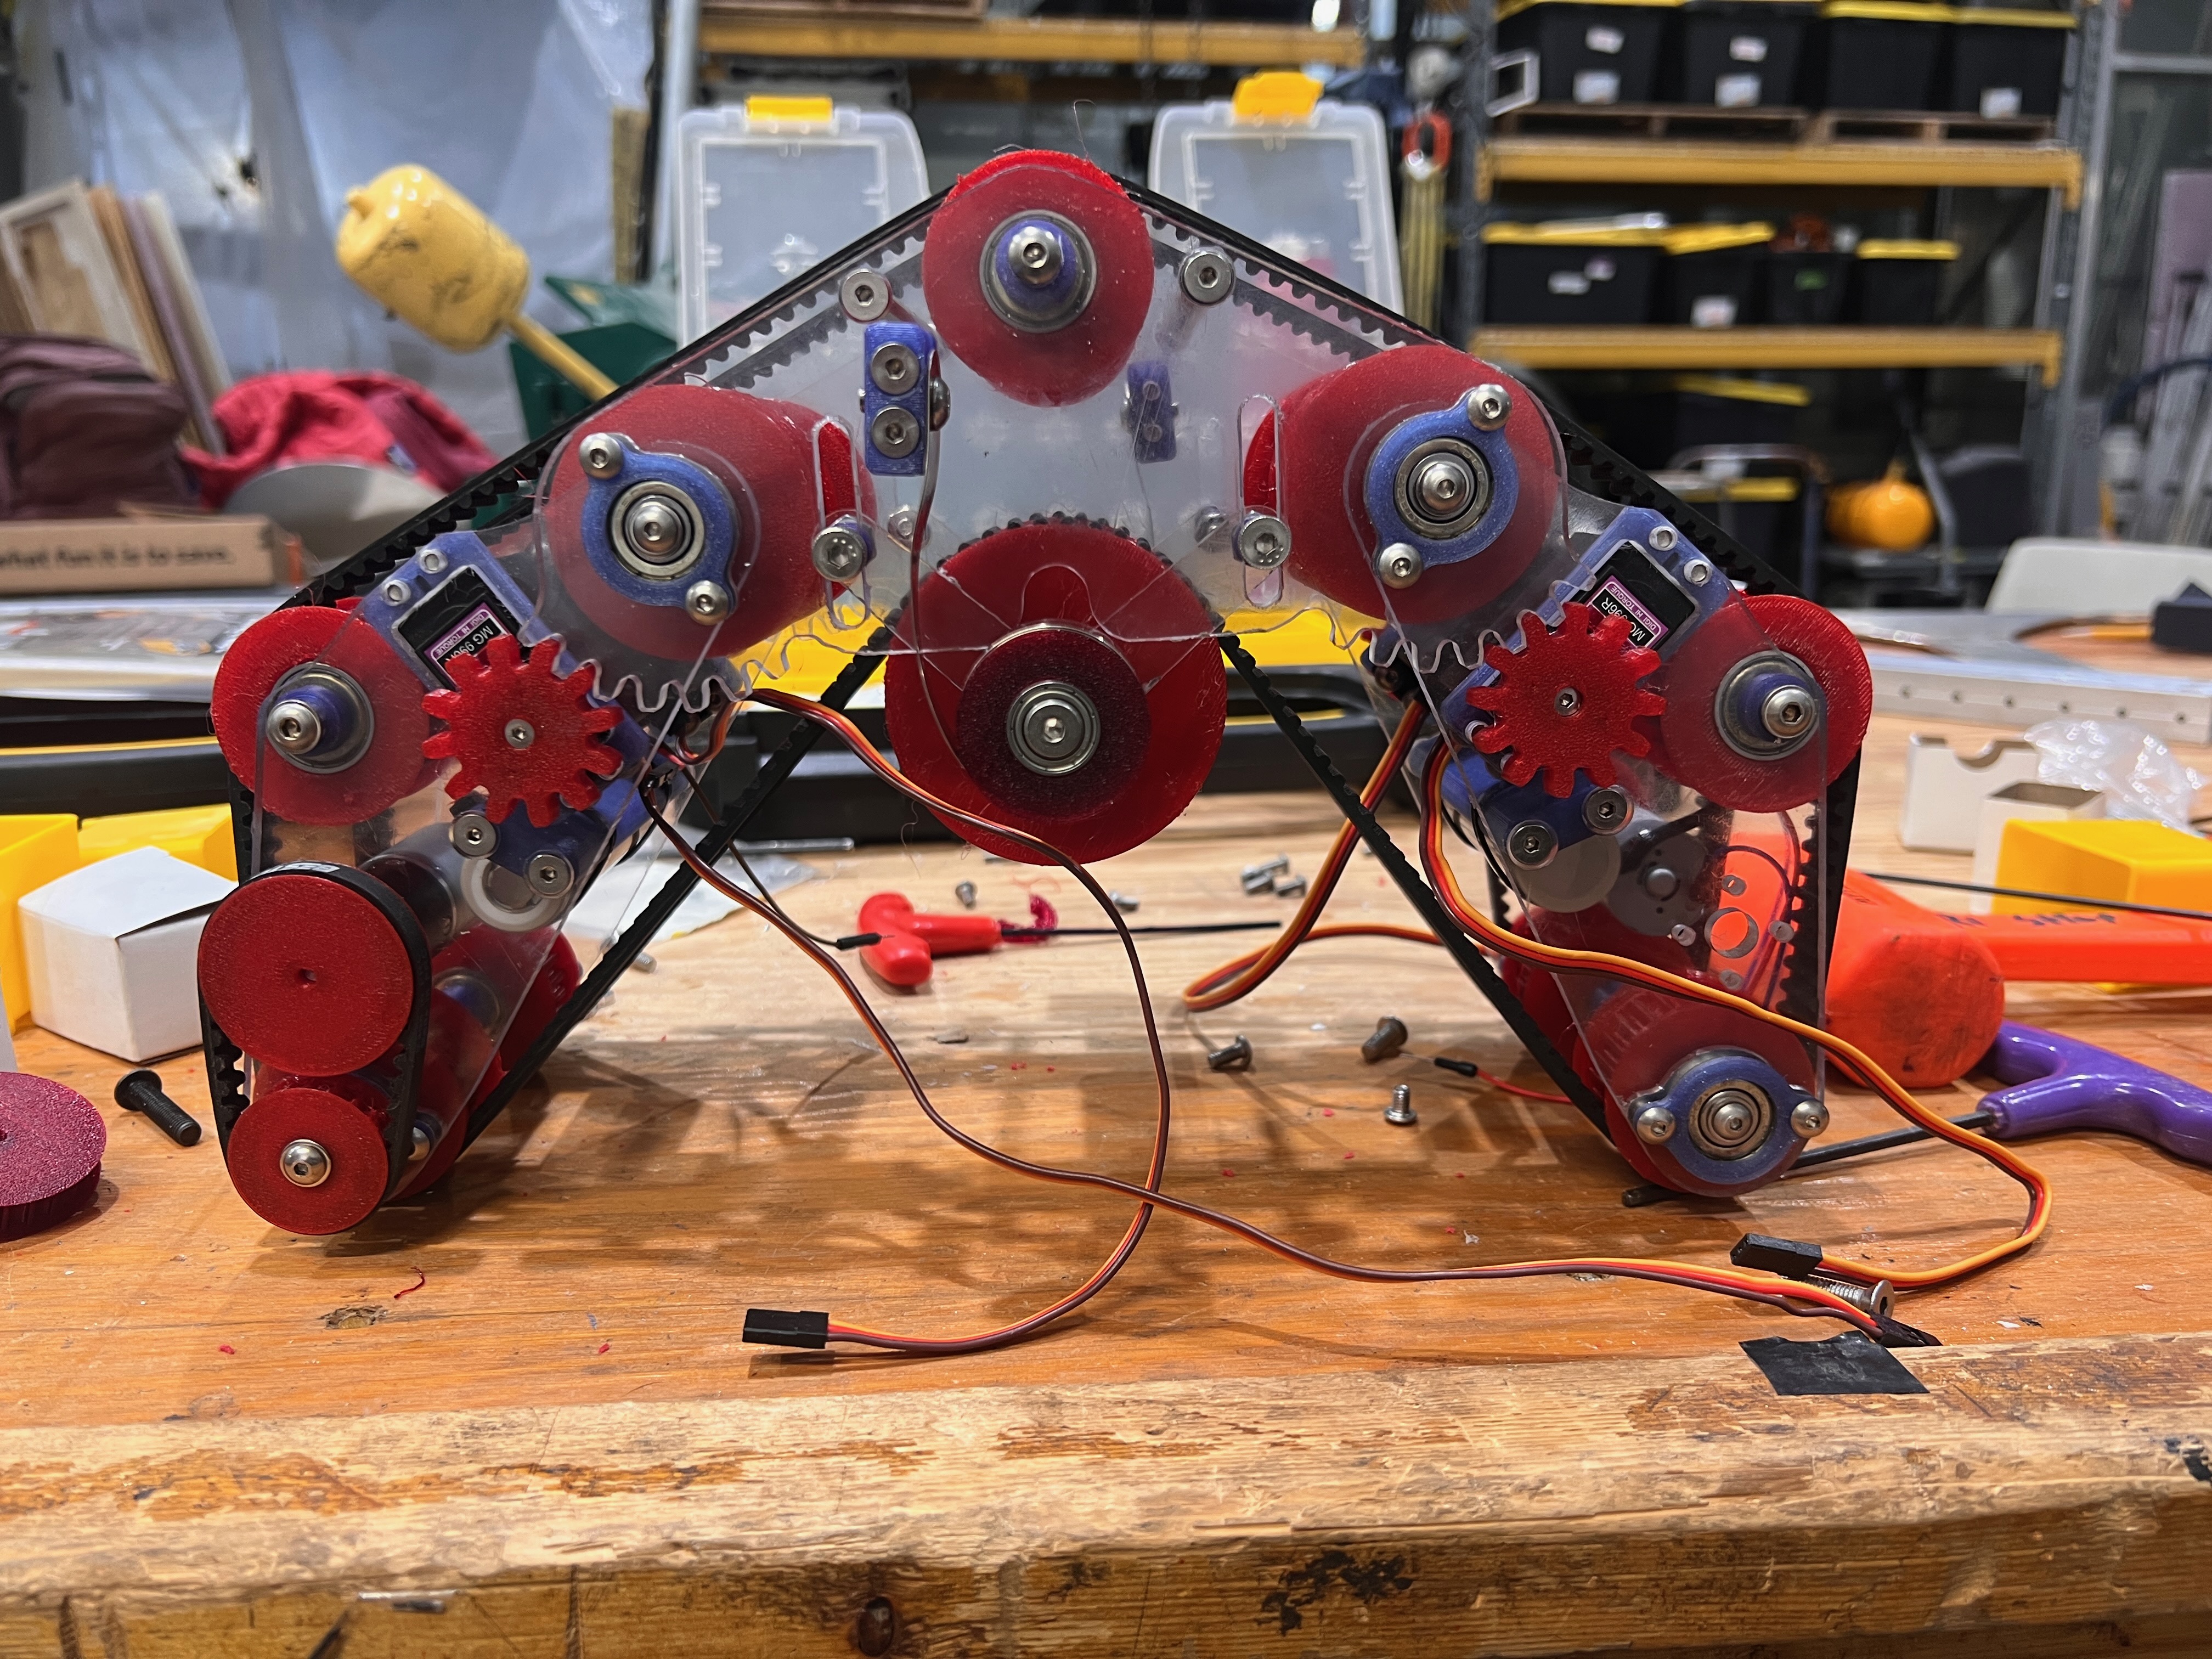
Manufacturing
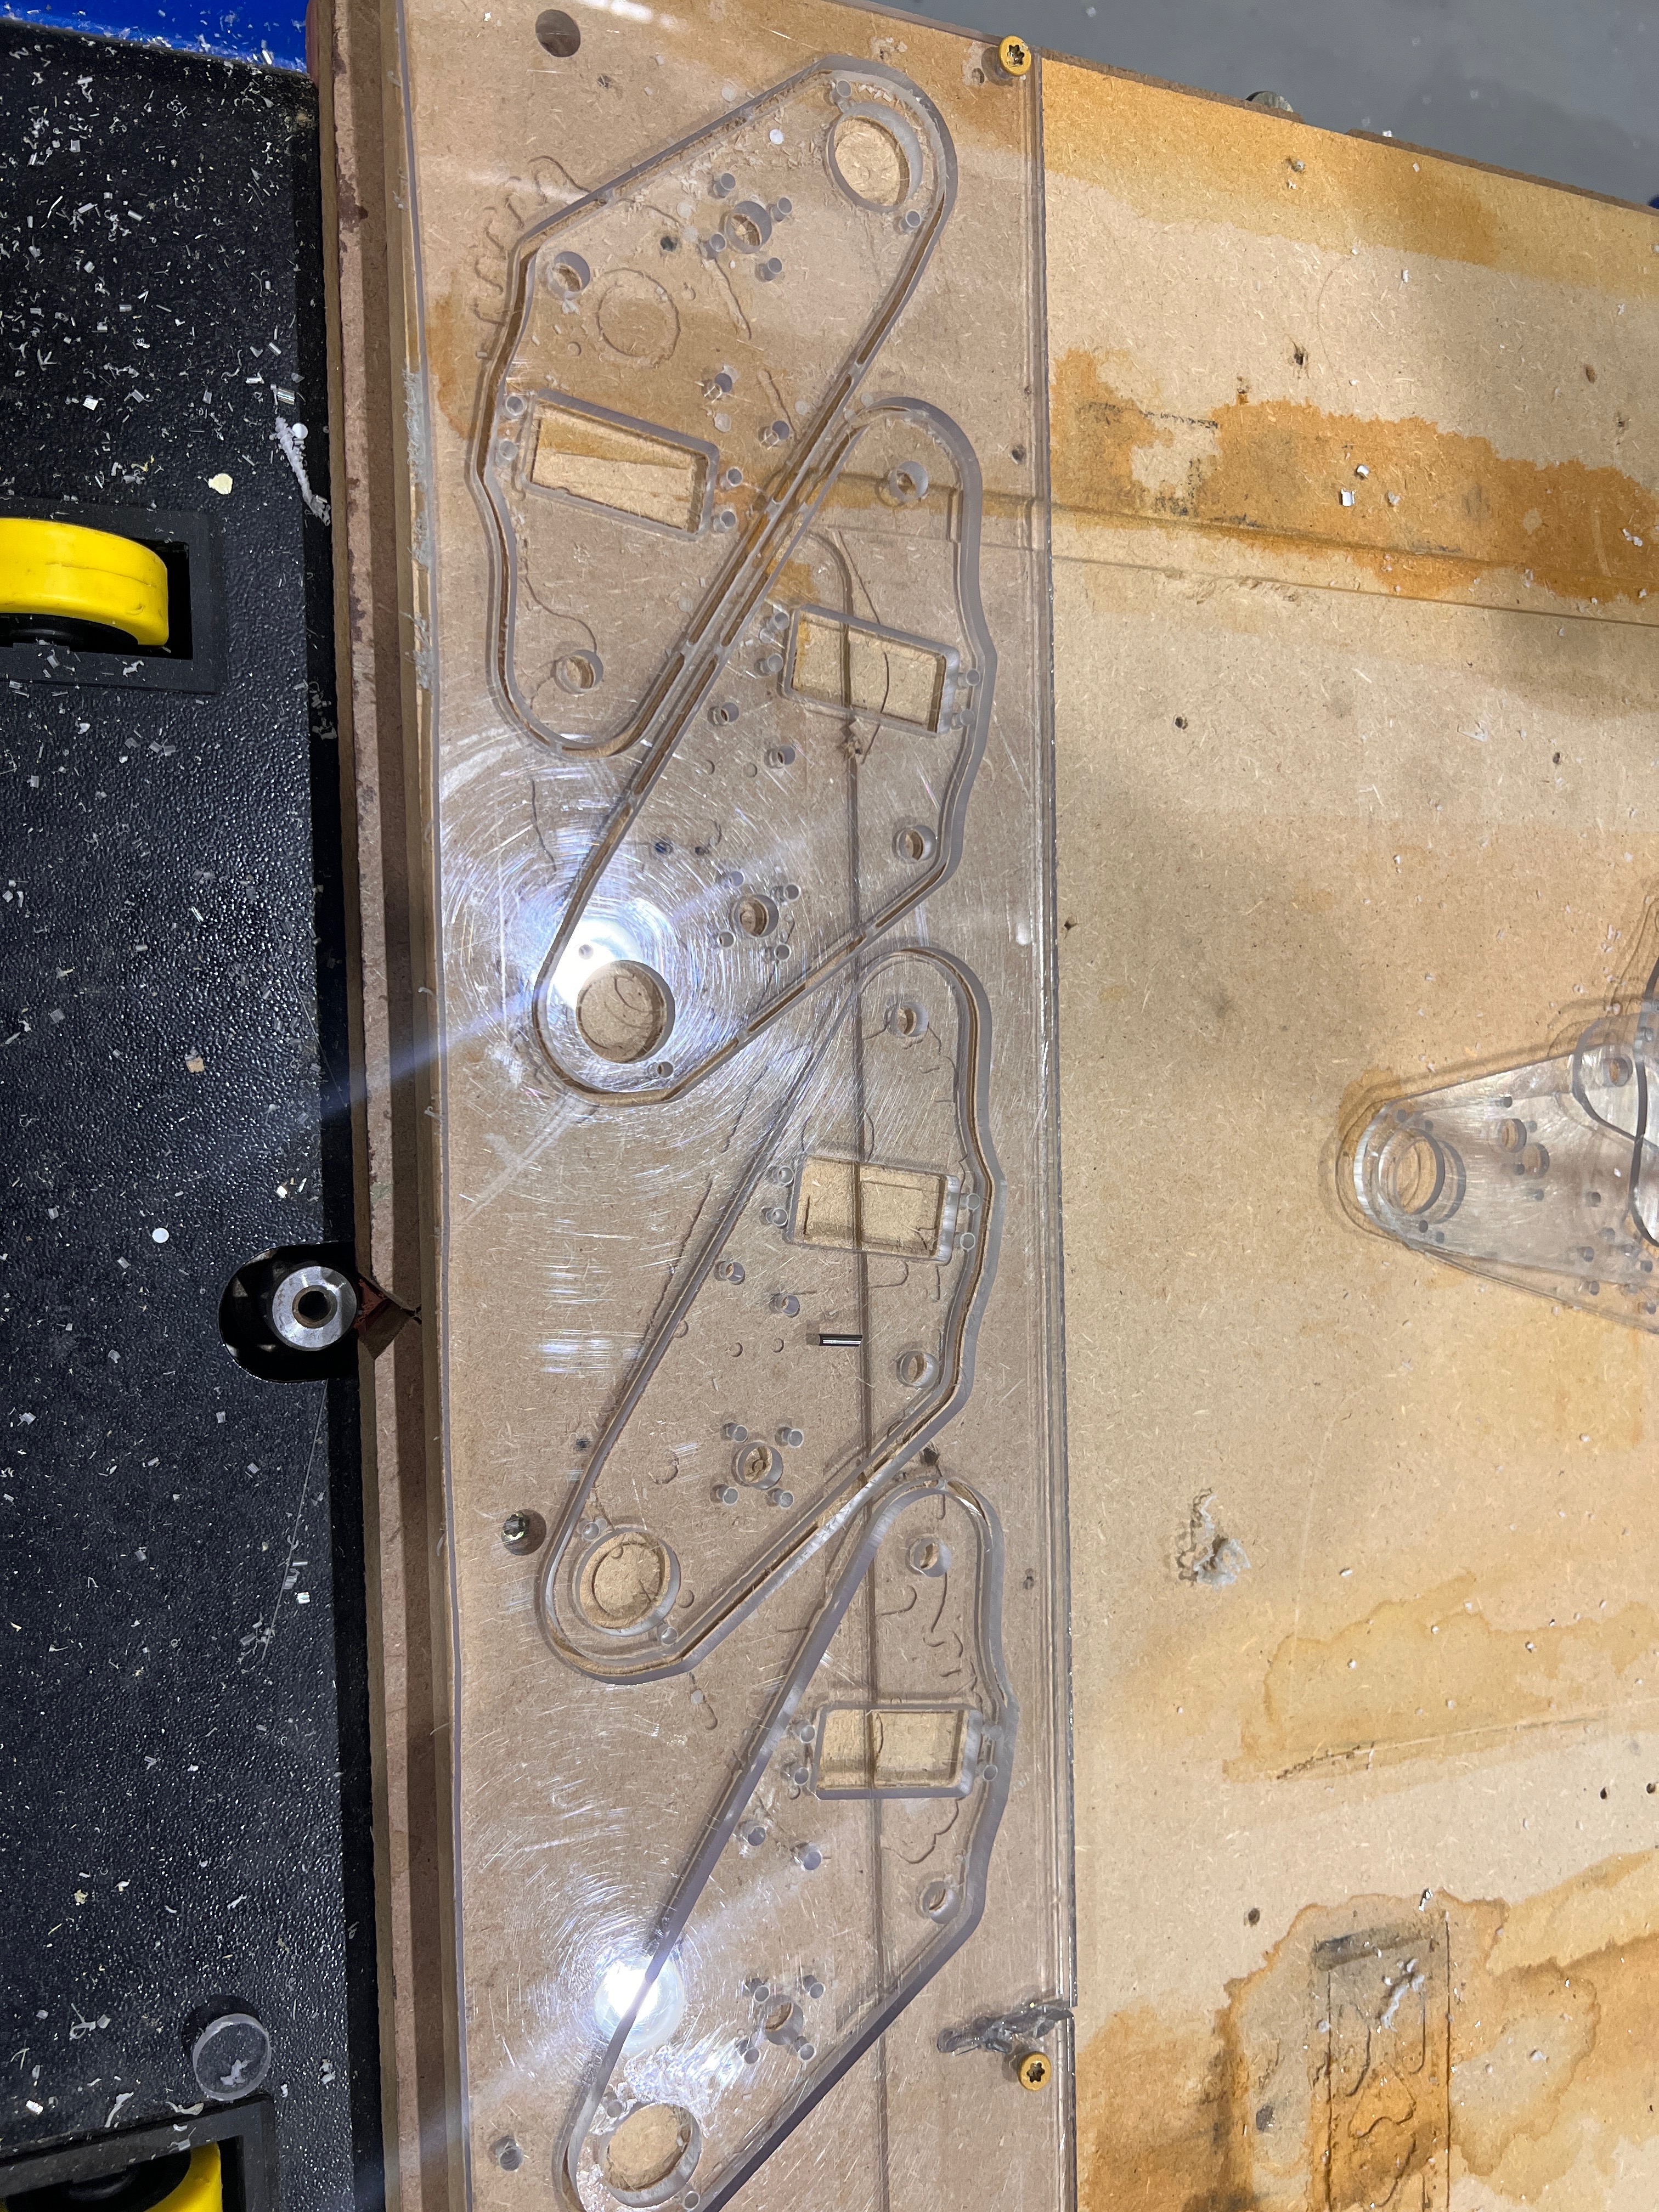
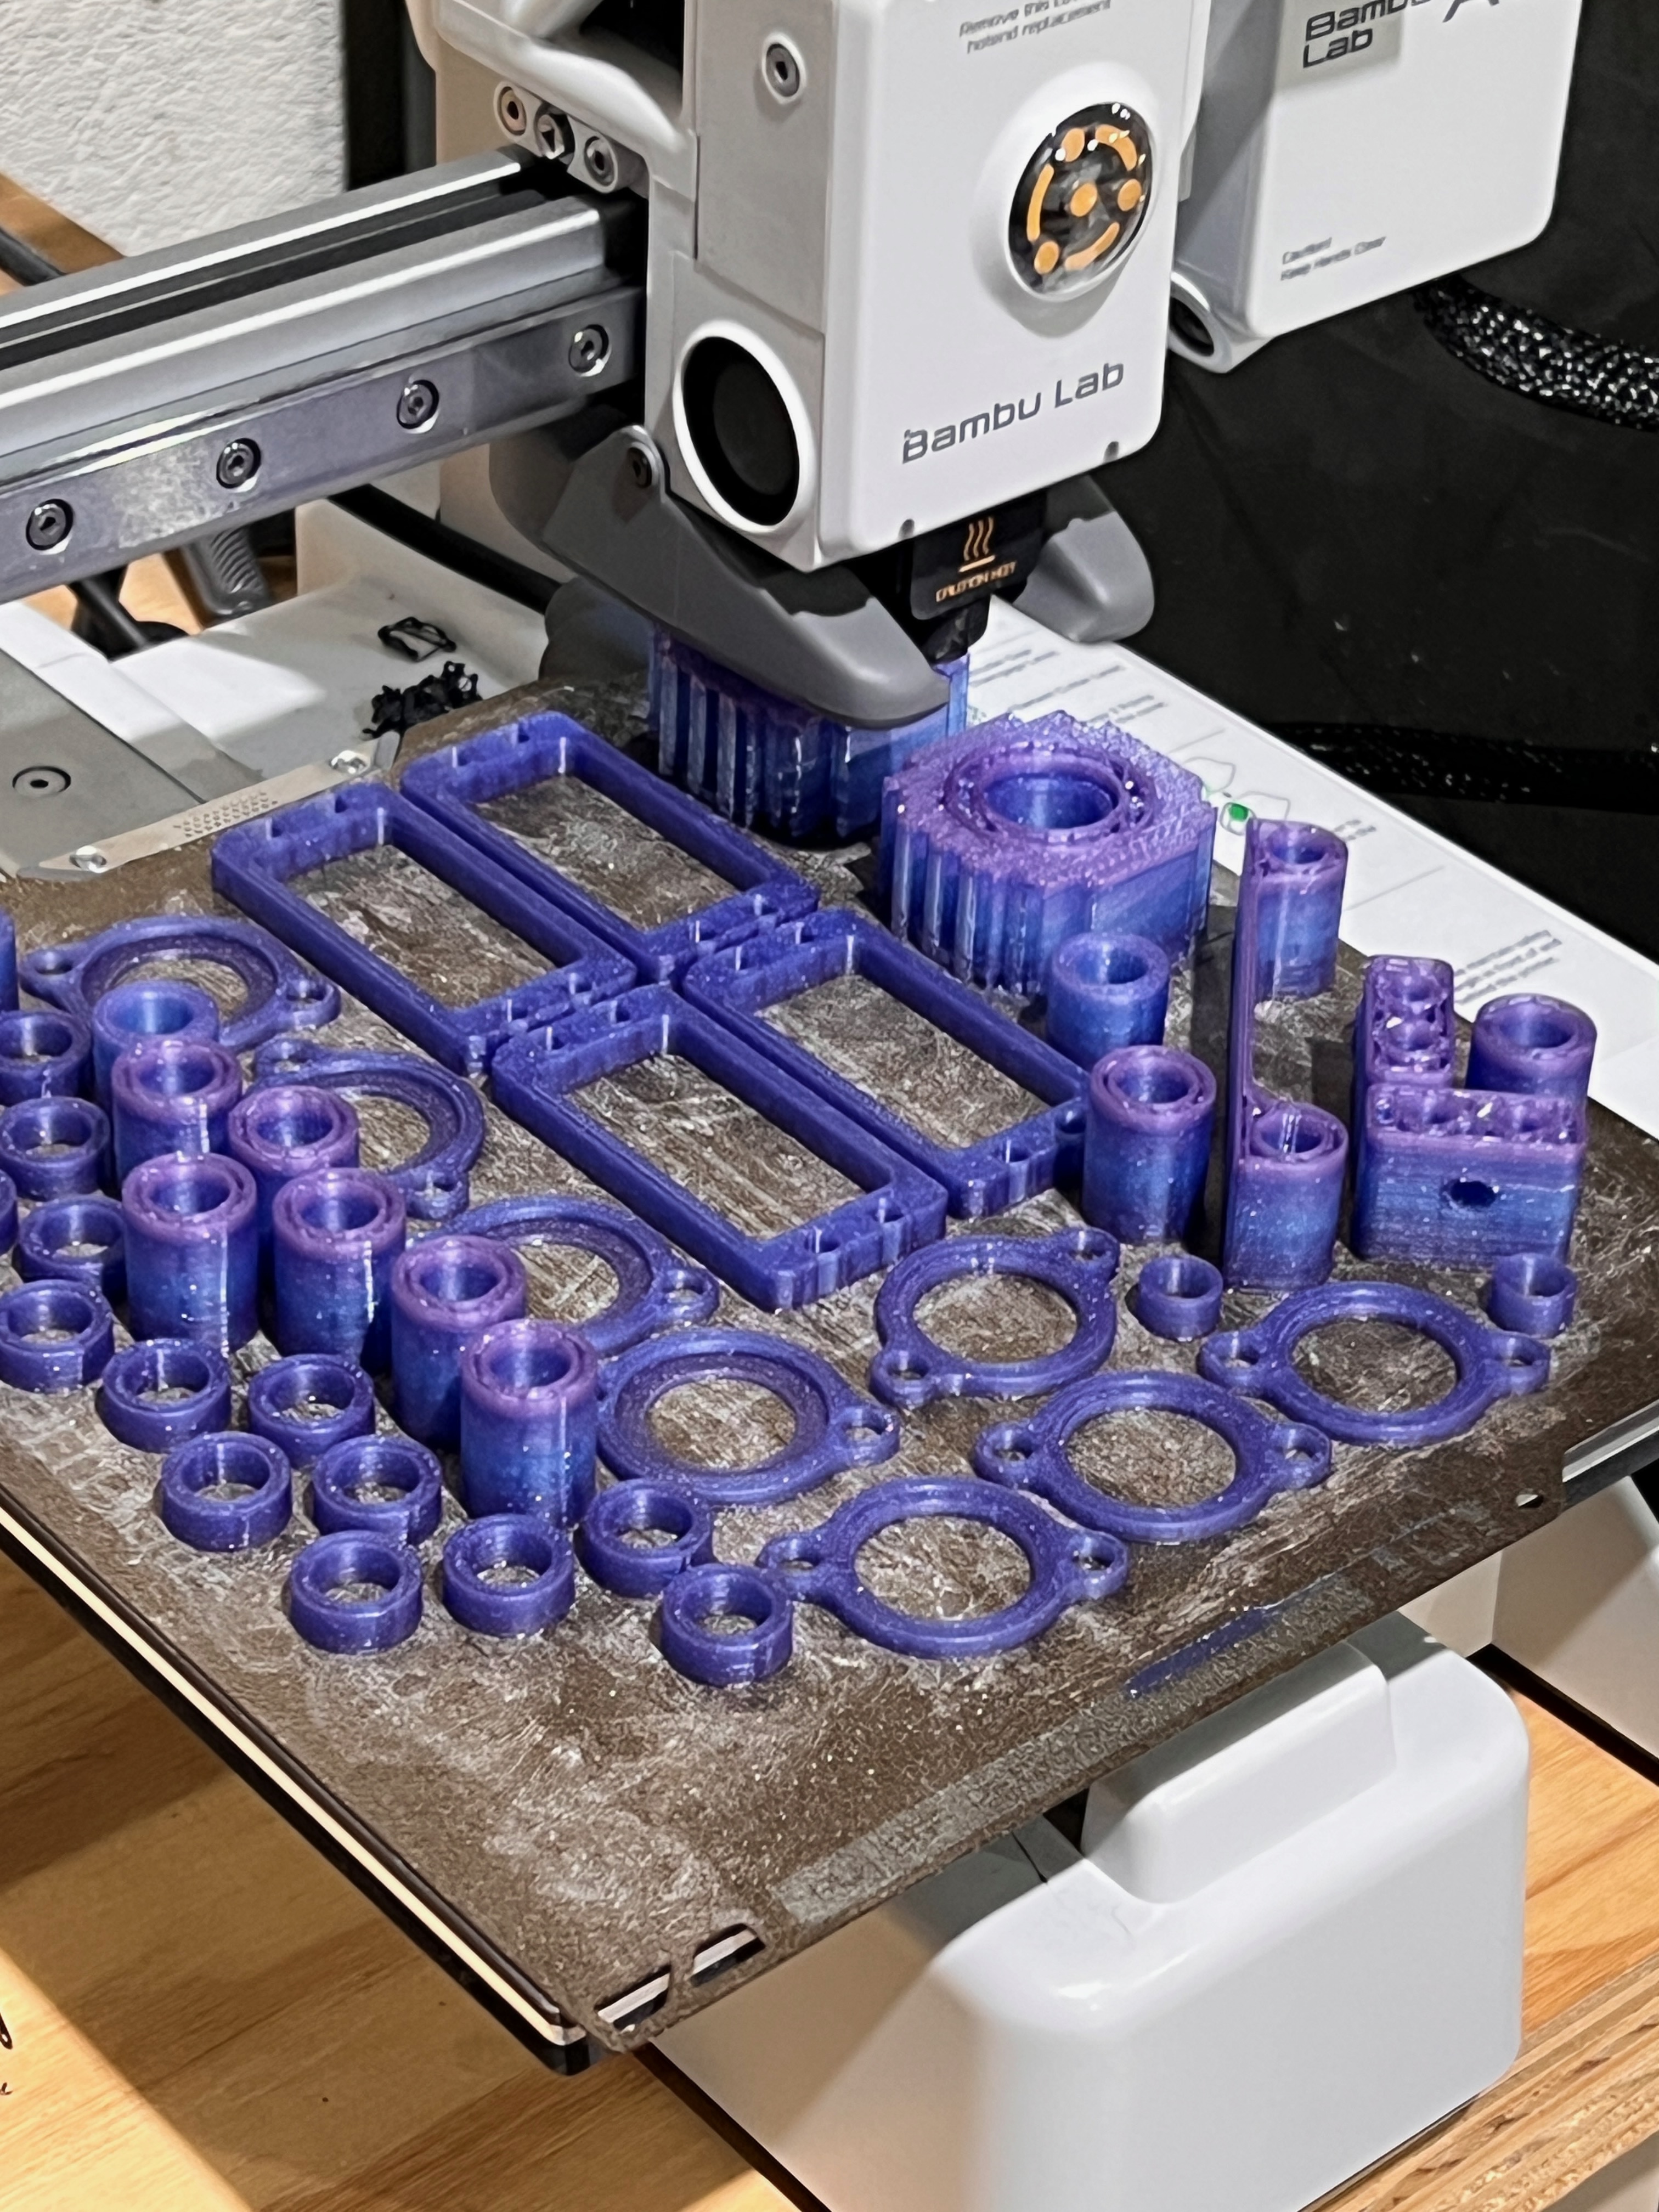
Making parts. Going for speed, most is 3d printed and made on a cnc router. Shaft design and manufacturing was by far the largest slowdown. Initial cad concept was to do multiple keyed shafts to interface with plastic. Switched to a simple d shaft profile for time. Besides the driven shafts on each side, everything else is simple 8mm hollow aluminum tube cut to length and tapped.
V1 Cad
V1 rolly design: Simple cad model to test out ideas. Using random hardware around to test the physical ability for servos to change the shape of the robot while allowing motion to be transferred using a set of long belts.
