Lego Gun
It's not what you think. Robot for Lab 10 of intro to robotics.
Finale competition
Here’s a video of the final competition taken by cmu! Sadly we came in second. This was likely because the competition ran way to long as those running it kept on trying to extend it and extend it. This made my team’s robot operator have to run for his class presentation, and our backup could not keep up. Good job all around by everyone!
Magazines
Here’s where this idea really shines. Being able to reload in large amounts is perfect. Adding a dovetail and some magnets for consistent aligning, along with a pin to release the fired pieces, and you have a great little mechanism that maximizes success.
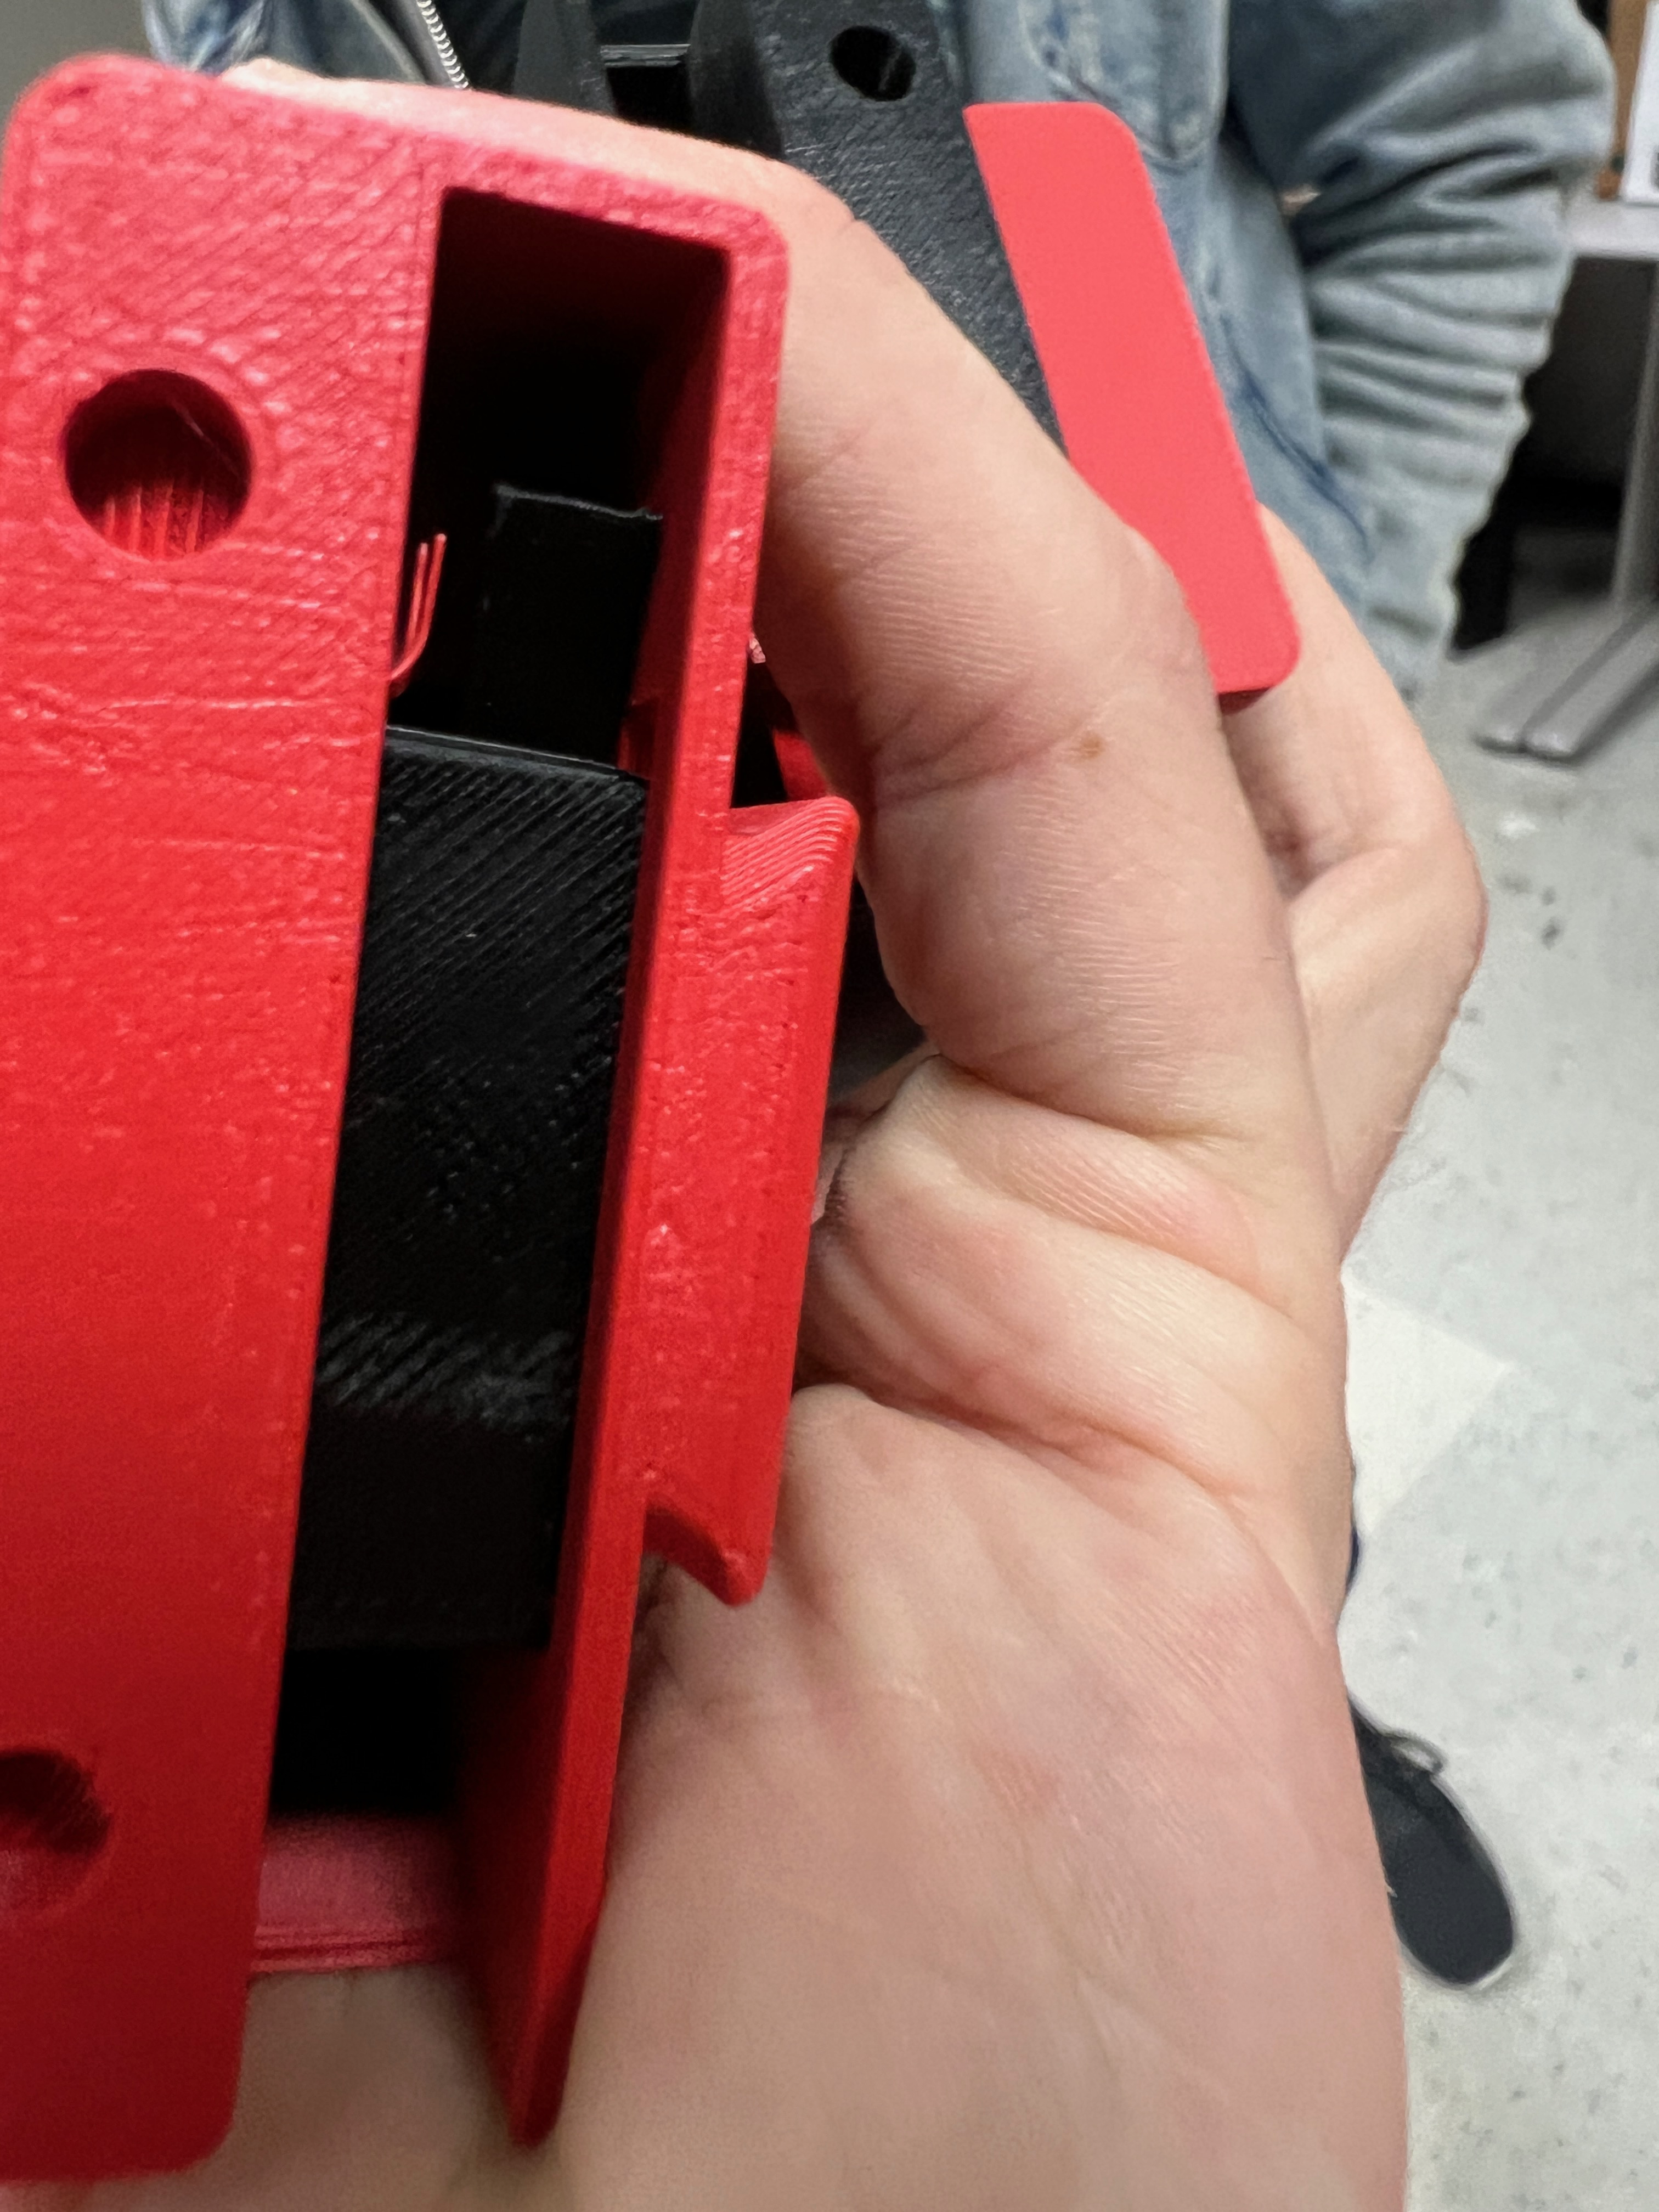
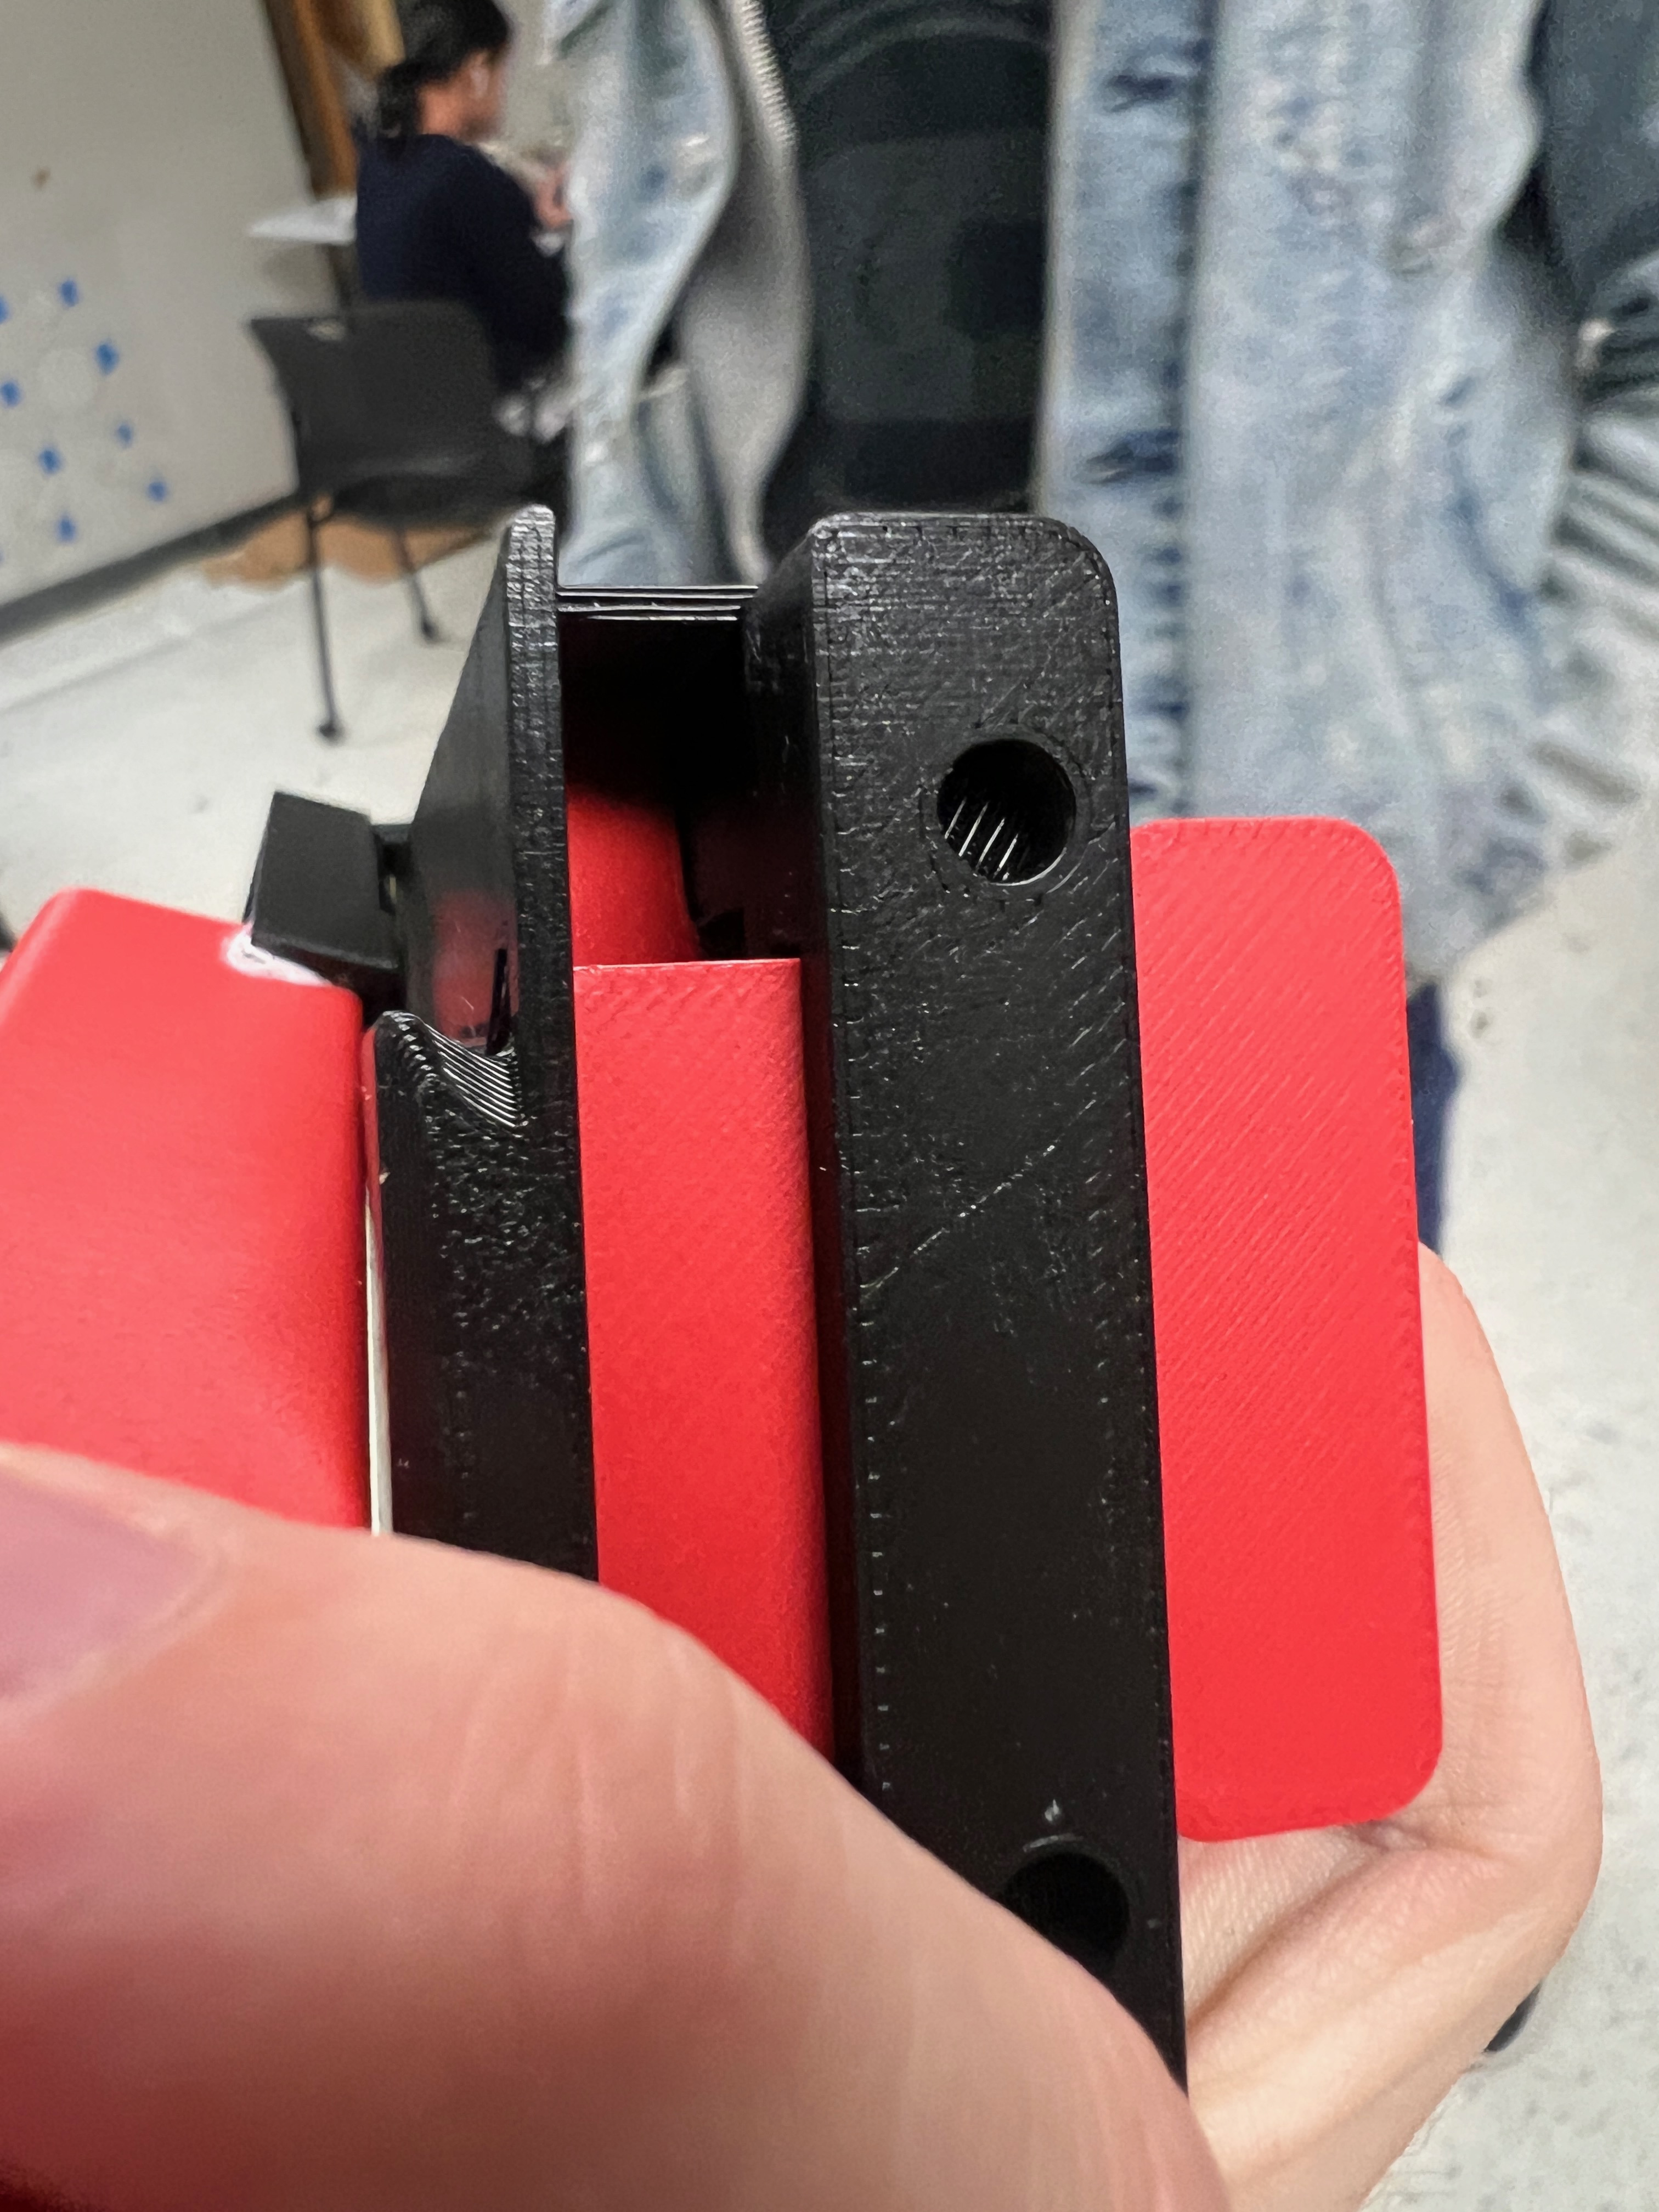
The first big problem however is that you can’t just use gravity to feed. The tilting motion for most targets makes it so that the longer pieces become quite difficult. This possible could have been fixed by having the turret align with the horizontal or slightly less than horizontal, but that would have greatly increased cycling time and dealt a serious blow to the robots consistency.
The better fix was to introduce a spring, just like how toy varients already do. The problem is that these springs are a ompletly custom torsion like spring, and not something that I could buy on such a short time frame. The easy solution however, was to just go to the 3d printer! Printing out a similar “zig zag” shape resulted in mostly fantastic results.
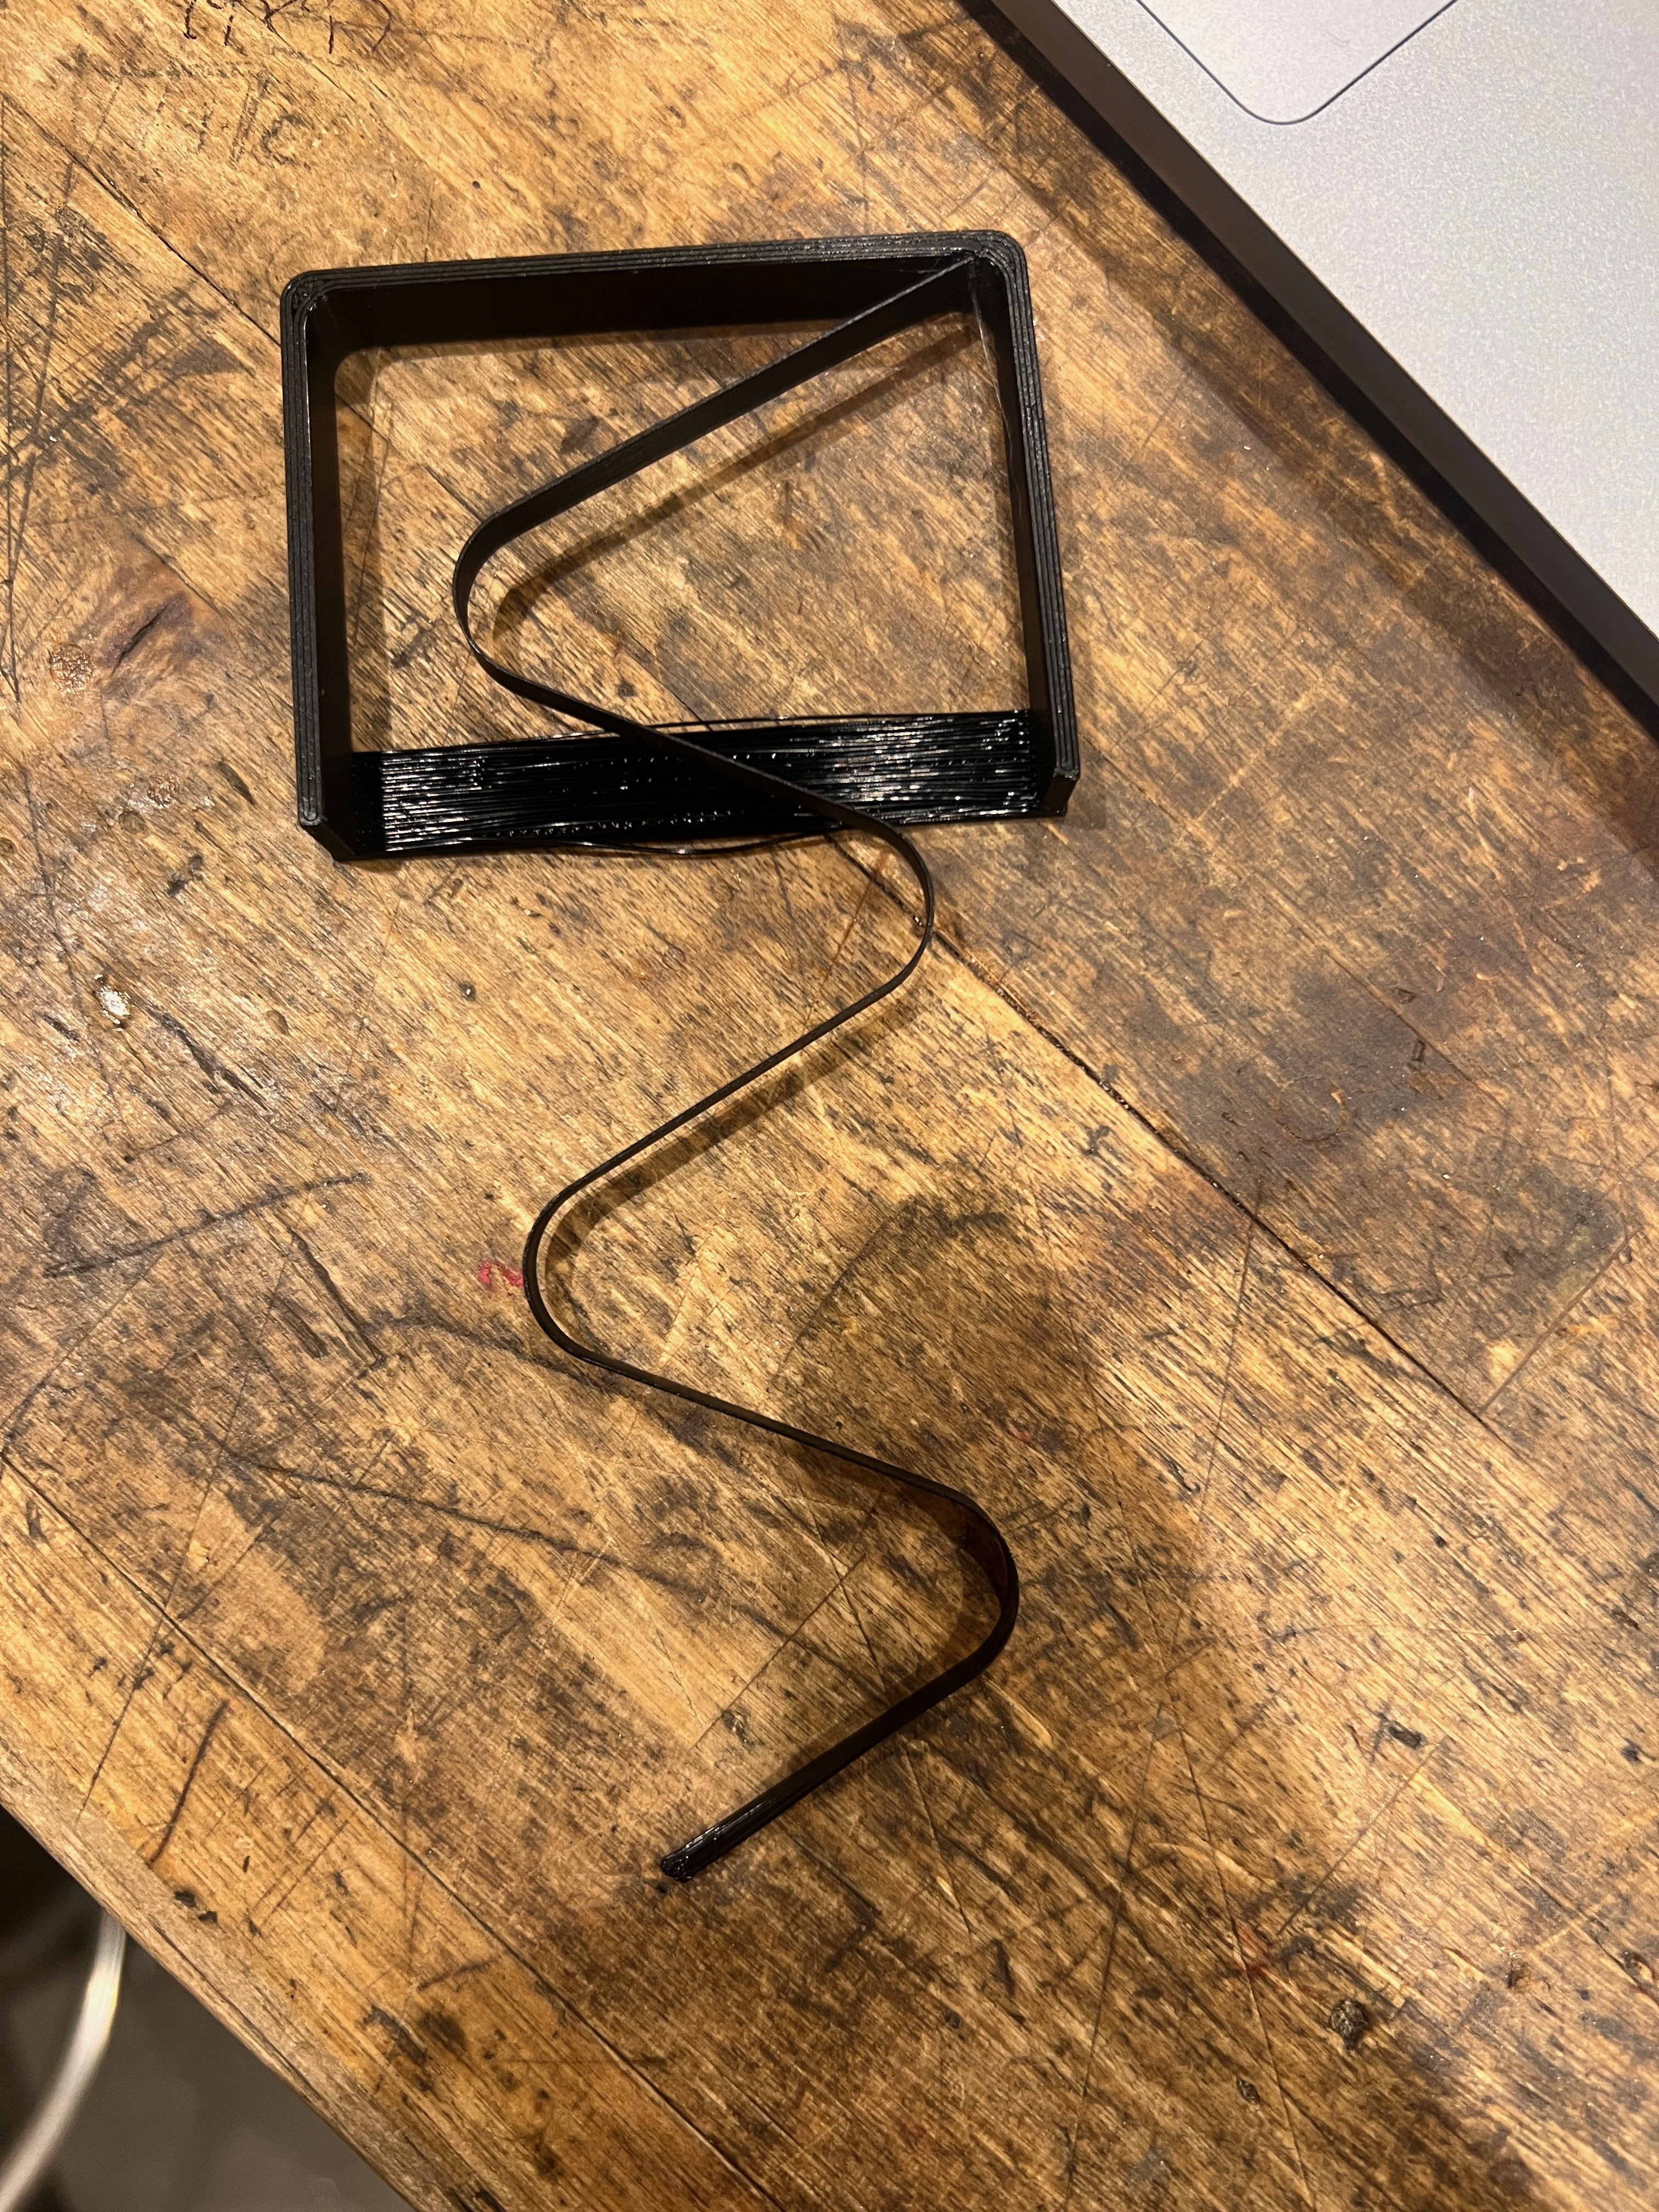
To put them all together, we used a touch of glue, which held plenty well and created these incredible clips!

Jamming(accidental double firing)
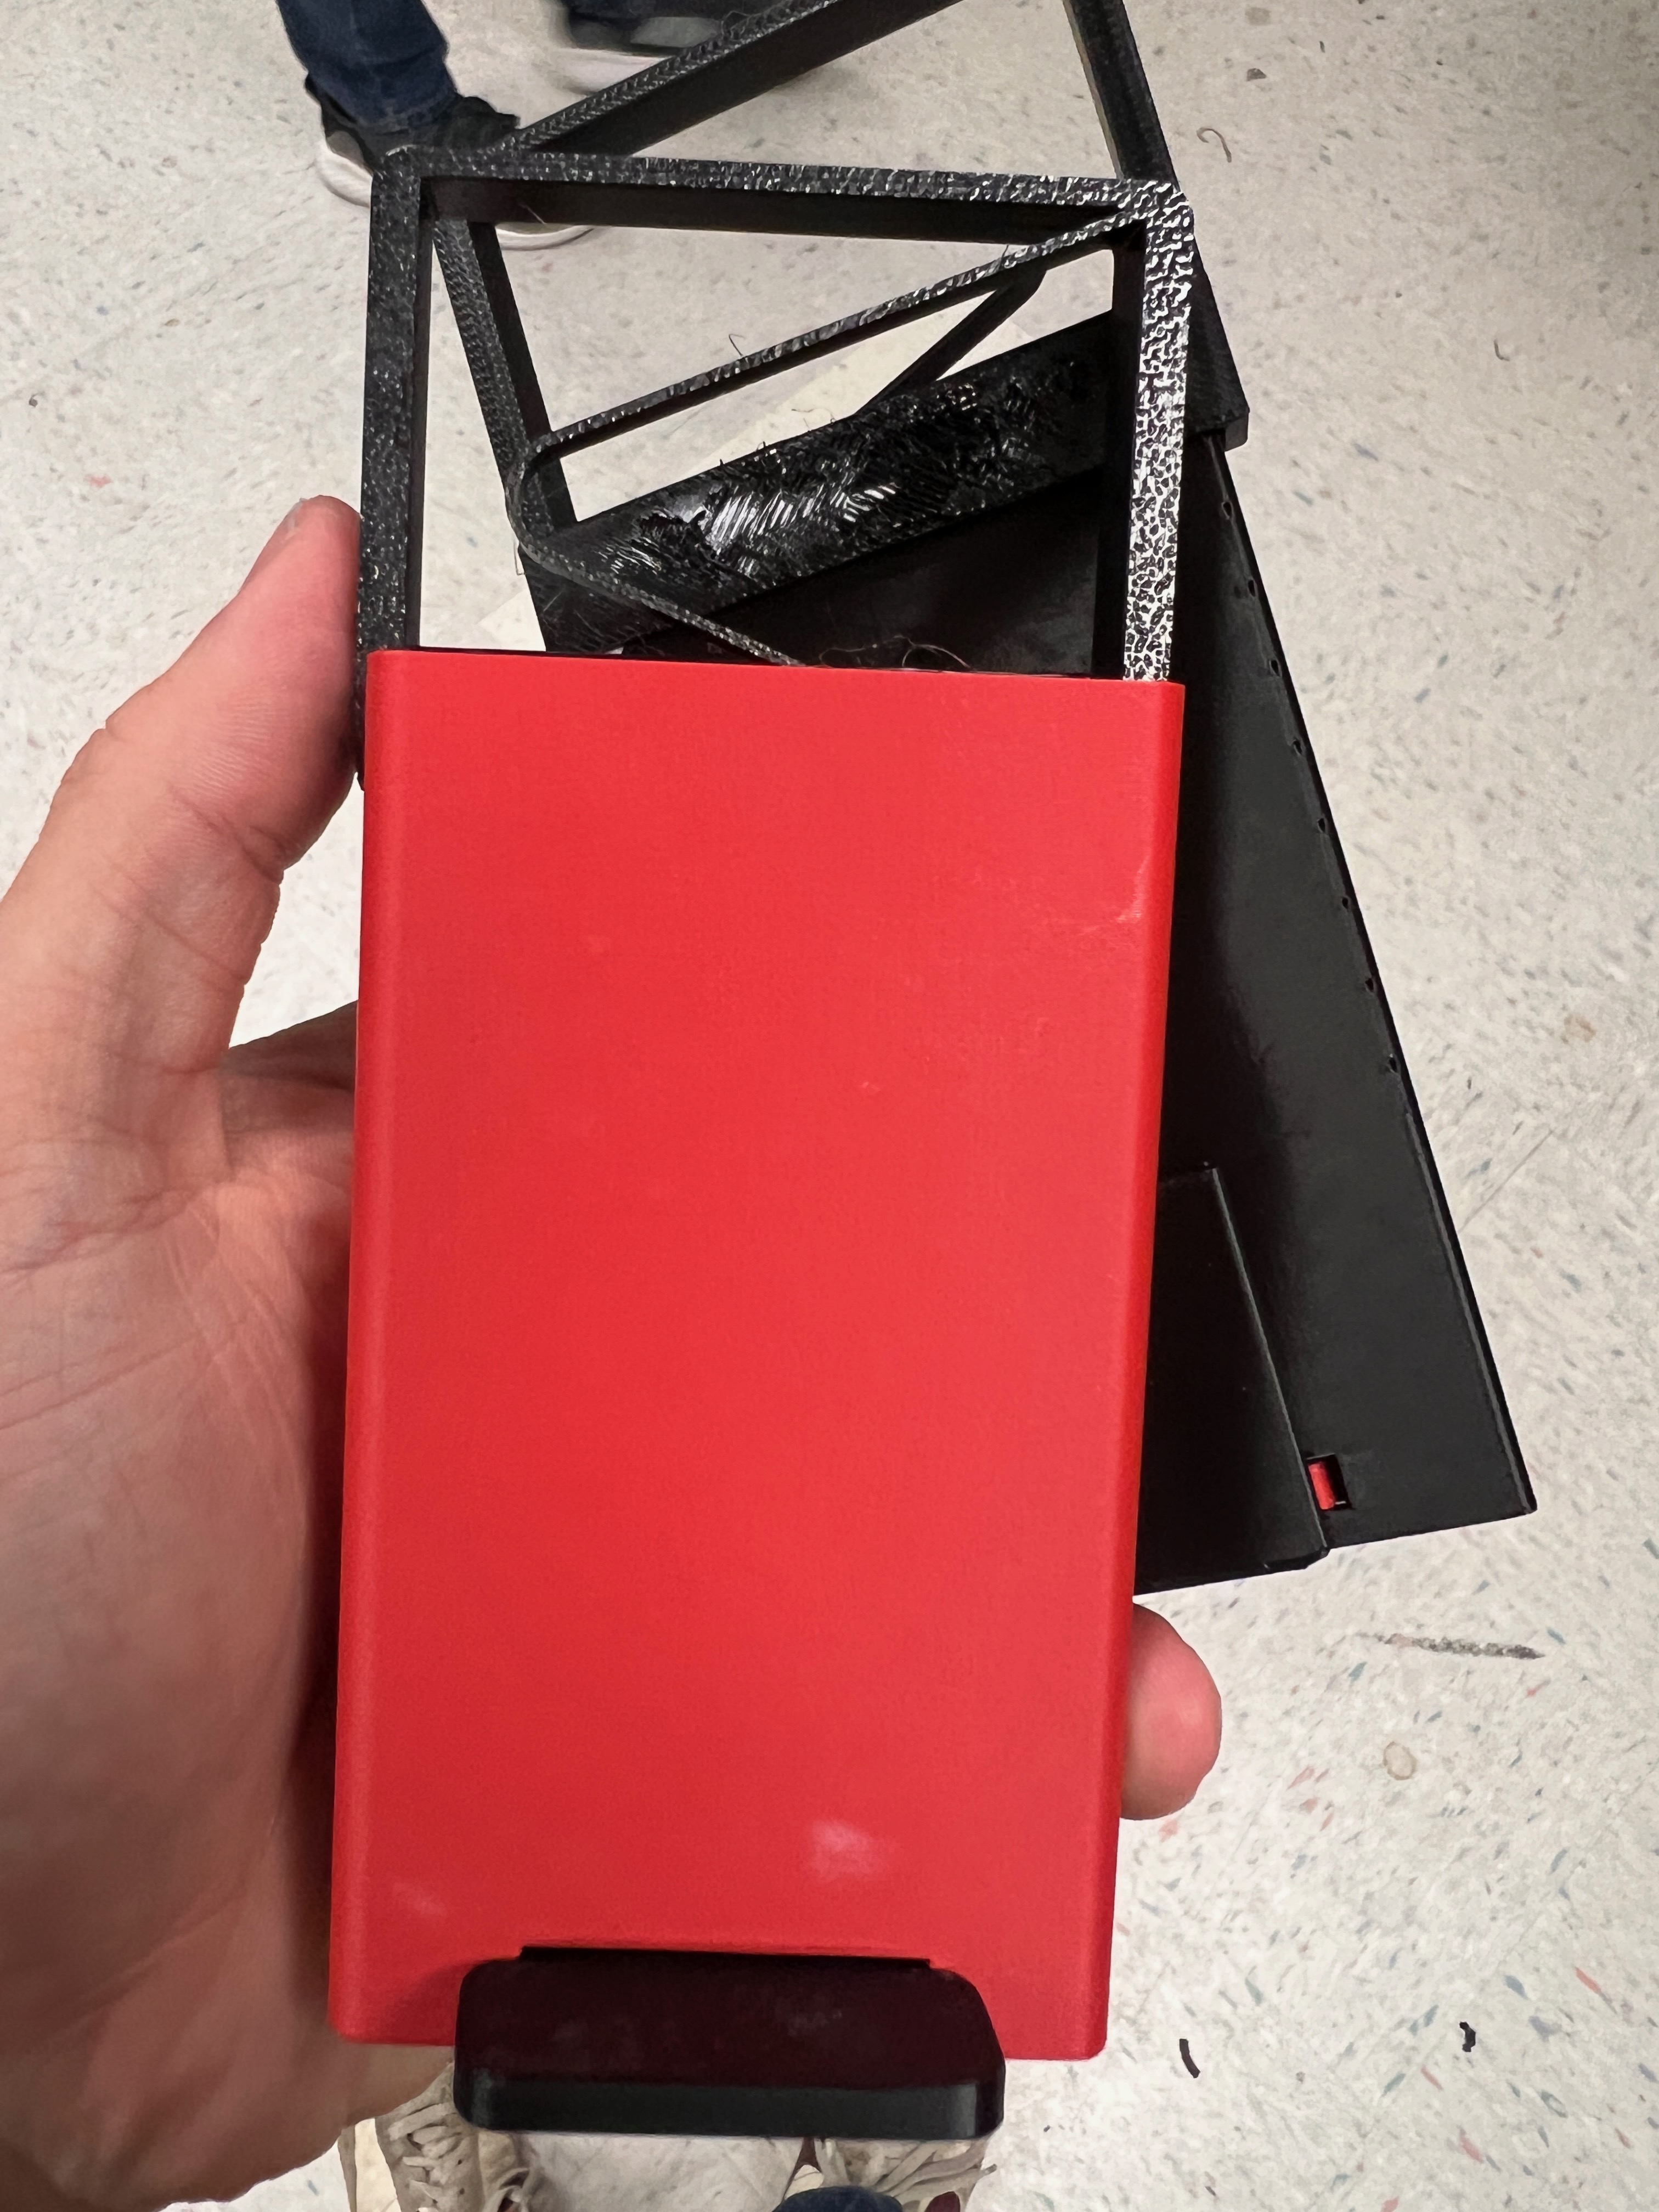
Damn, did you see that. Absolutley annoying. It double fired. The reason why is pretty simple, when the piece is fired, it’s still contacting the bunch of colar band, so it pulls it along with it. This results in double firing, or jamming as the forward most peice looses all it’s velocity.
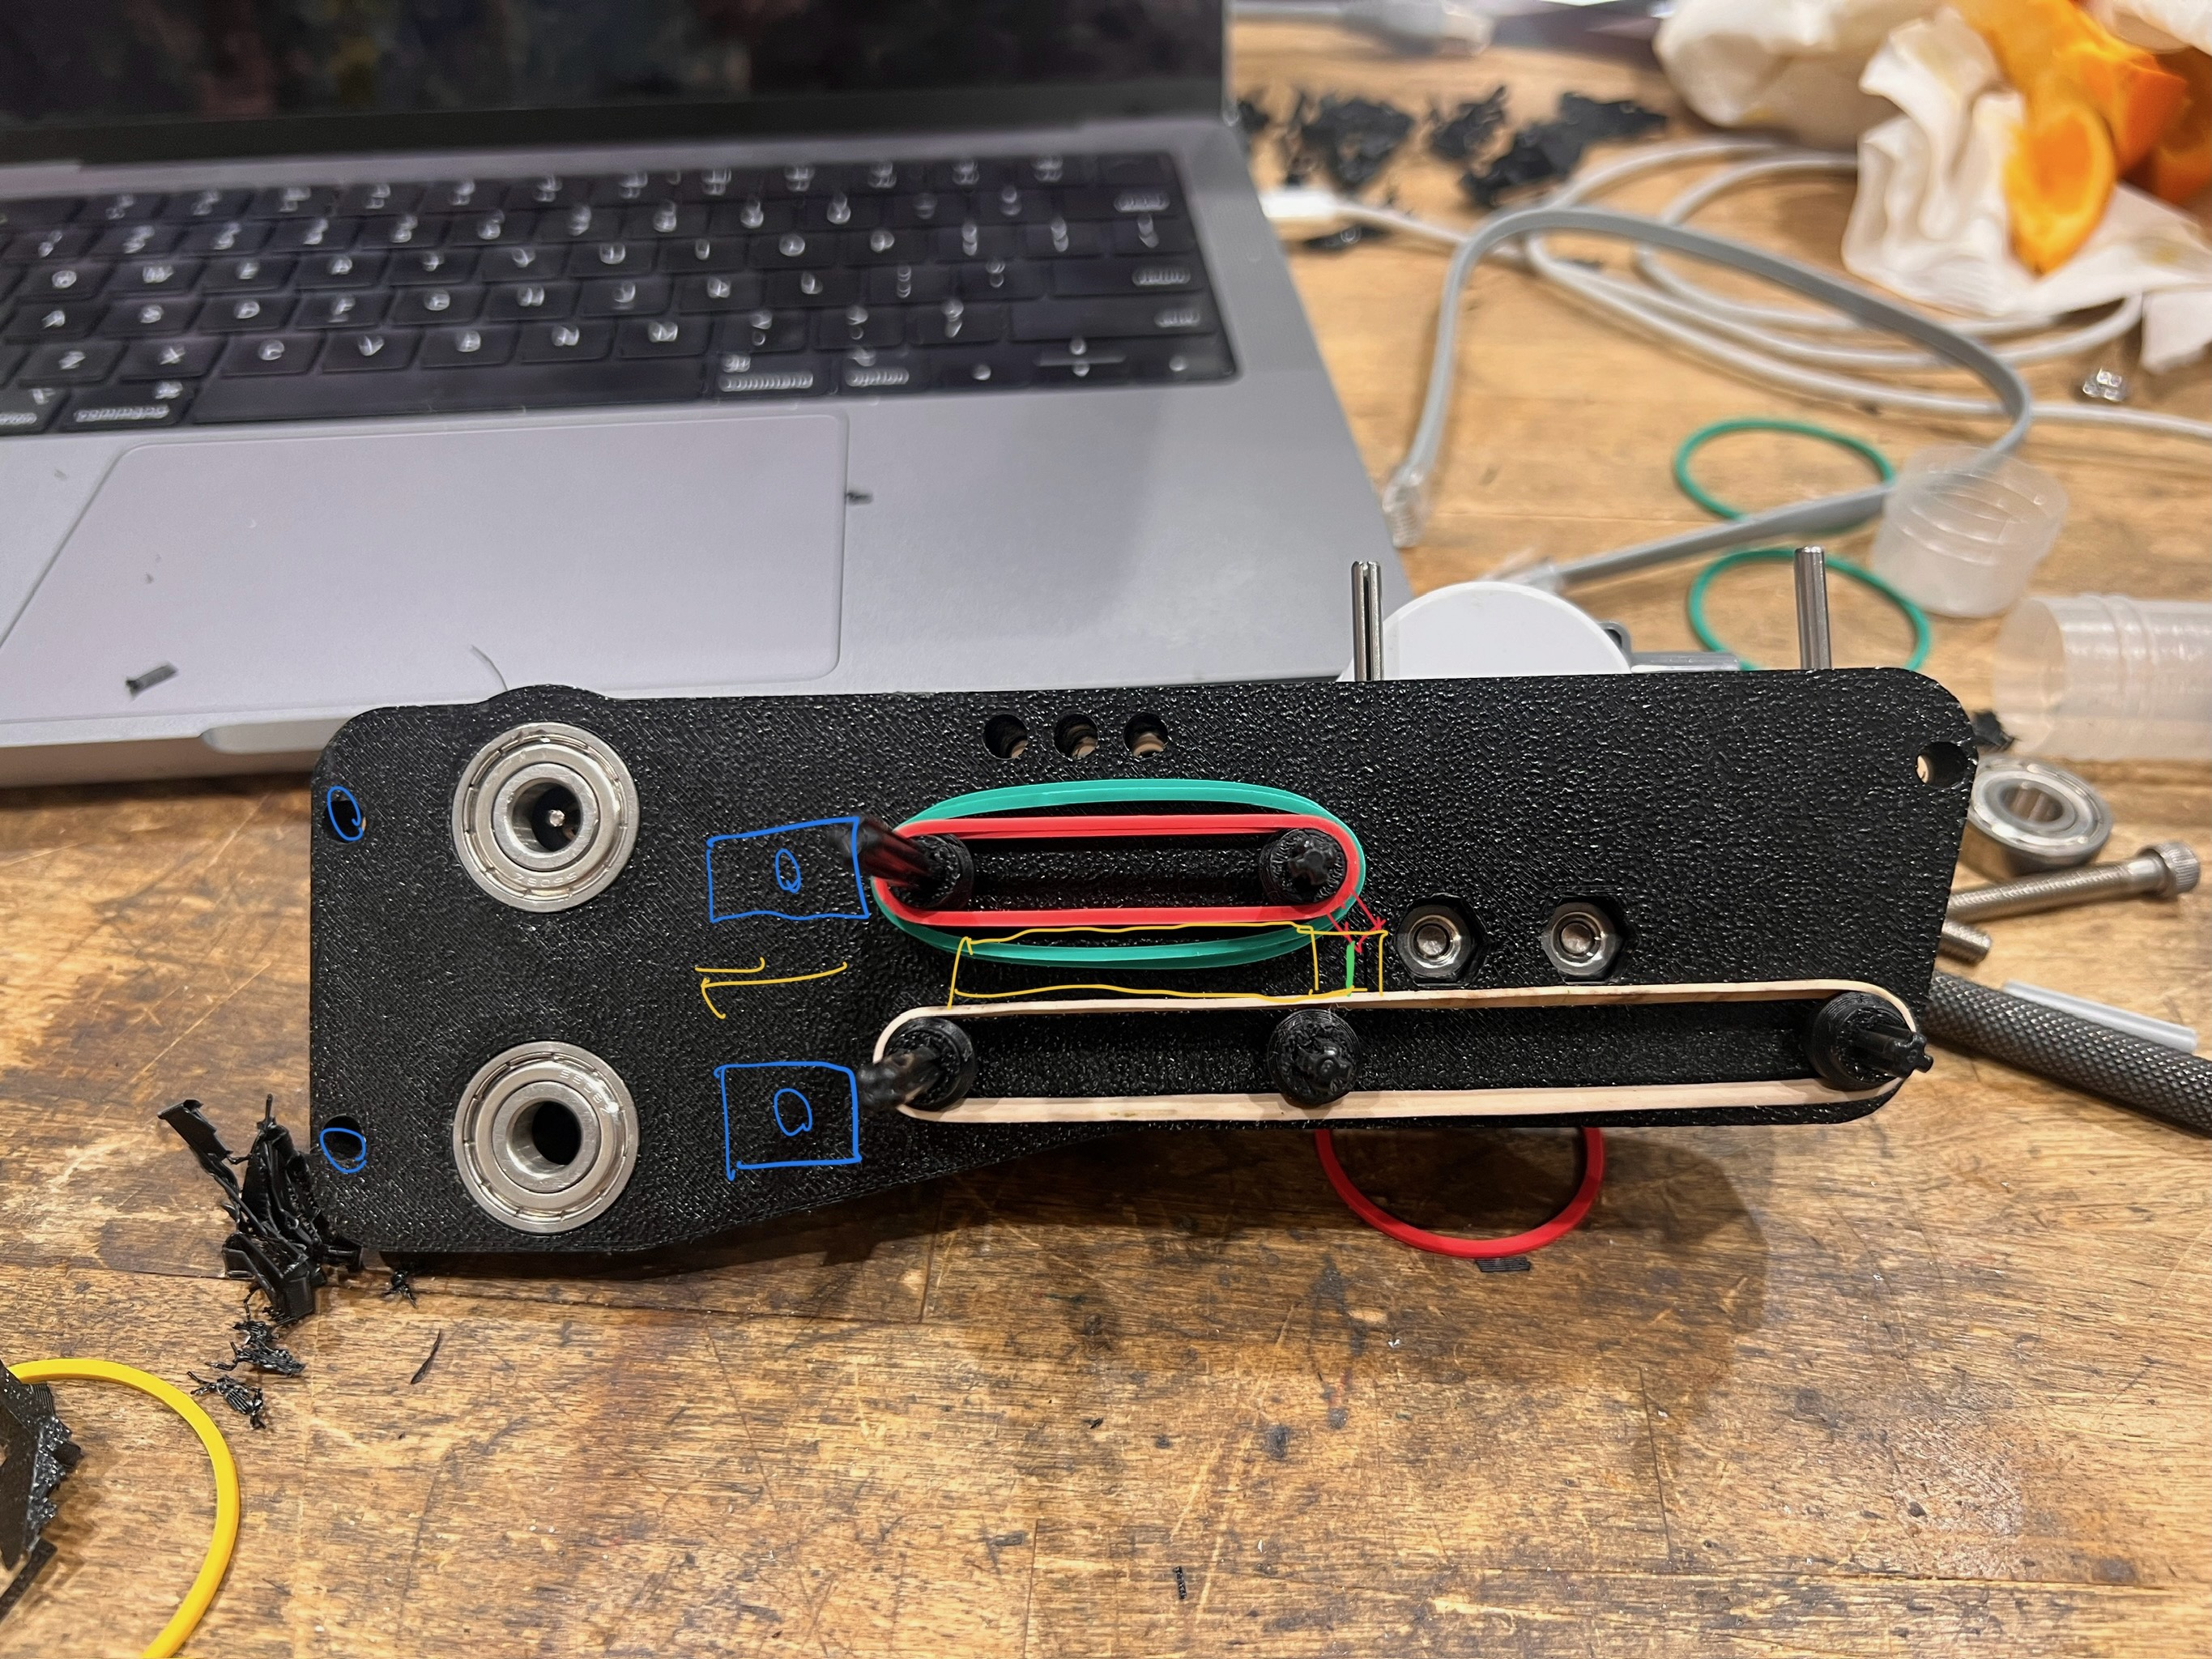
The fix is a bit of a wild one, 3d print a rubber band with little teeth. This makes it so that it fires, it actually ends up “kicking” the block forwards, and eliminates the upper rubber bands that were causing dragging. This stops two from firing at once, while also eliminating drag that gave the blocks incosistent firing.
The turret
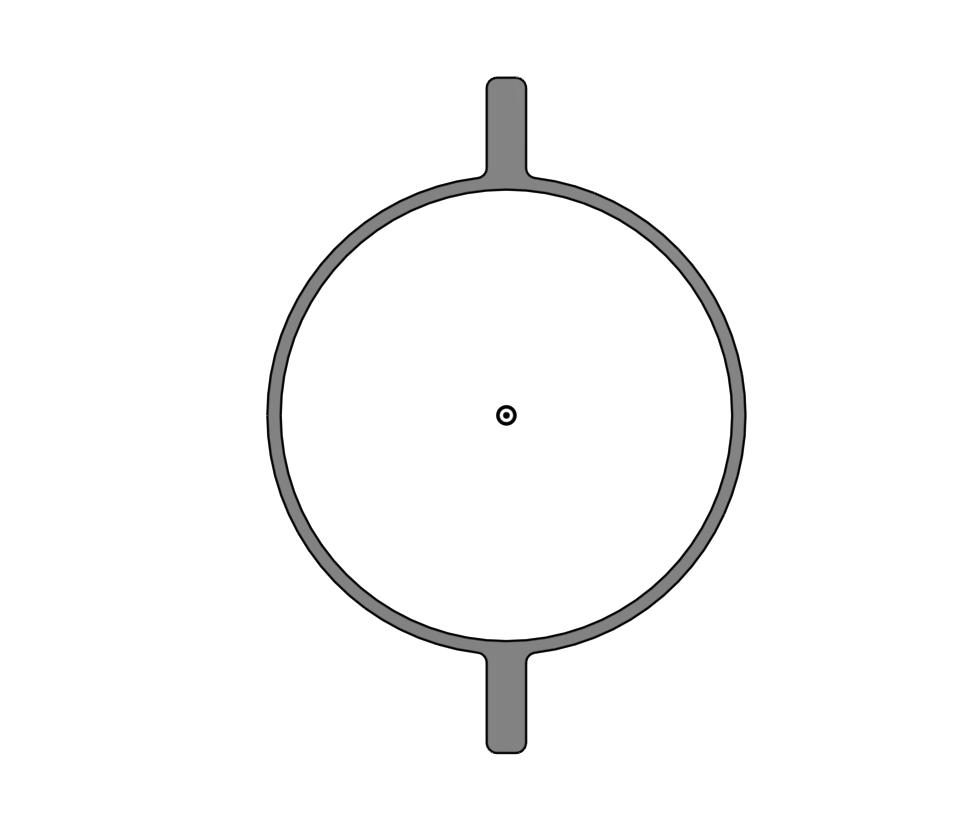
Made up of two main parts. One a standard lego piece that used two parts to rotate around itself, another a custom 3d printed “rack” gear.
Using the standard lego piece was almost a must, but it had a small problem. Because it was just precision plastic rubbing against itself, thought had to be put into balancing out the weight of the mechanism. Keeping its center of mass near the pivot point was important. Hollow printing and careful motor placement solved that problem.
The rack was interesting, imperfect within the short timeframe, but it worked quite well with a little pid magic. It wasn’t a true rack, and was effectively a section of a 117 tooth 1 modulus gear. A concentric slot was placed to hold the driving gear from the motor into alignment, and another slot was placed behind that went through the motor, creating the pivots that were used for pan and tilt.
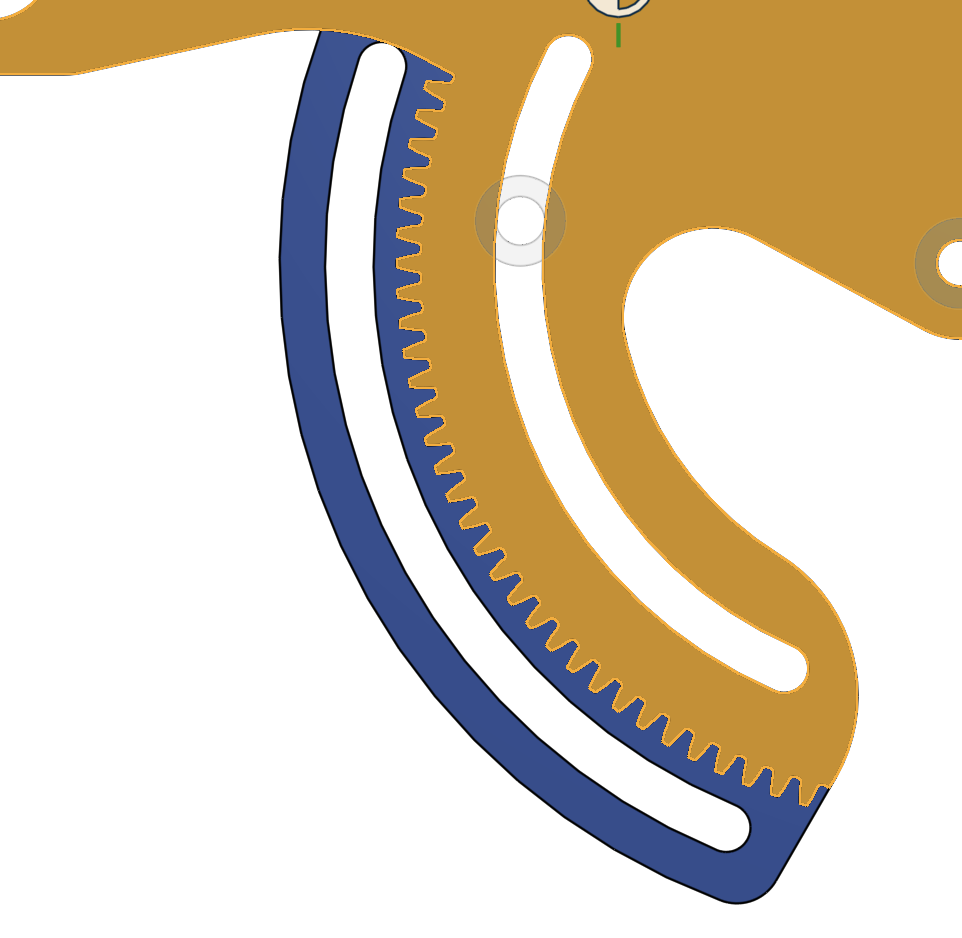
Aligning to shafts
The first major problem I ran into was keeping the shafts straight. The prints were not coming out perfect, and attempting to apply a press fit onto the shaft did not work great. The solution was to use lightly heat up the plastic before applying it to the shafts. Allowing it to reach it’s ductile glass temp before being pressed on and creating a frim hold. Quickly alligning it with a bearing concentric to the shaft further helped.
Flywheel concept
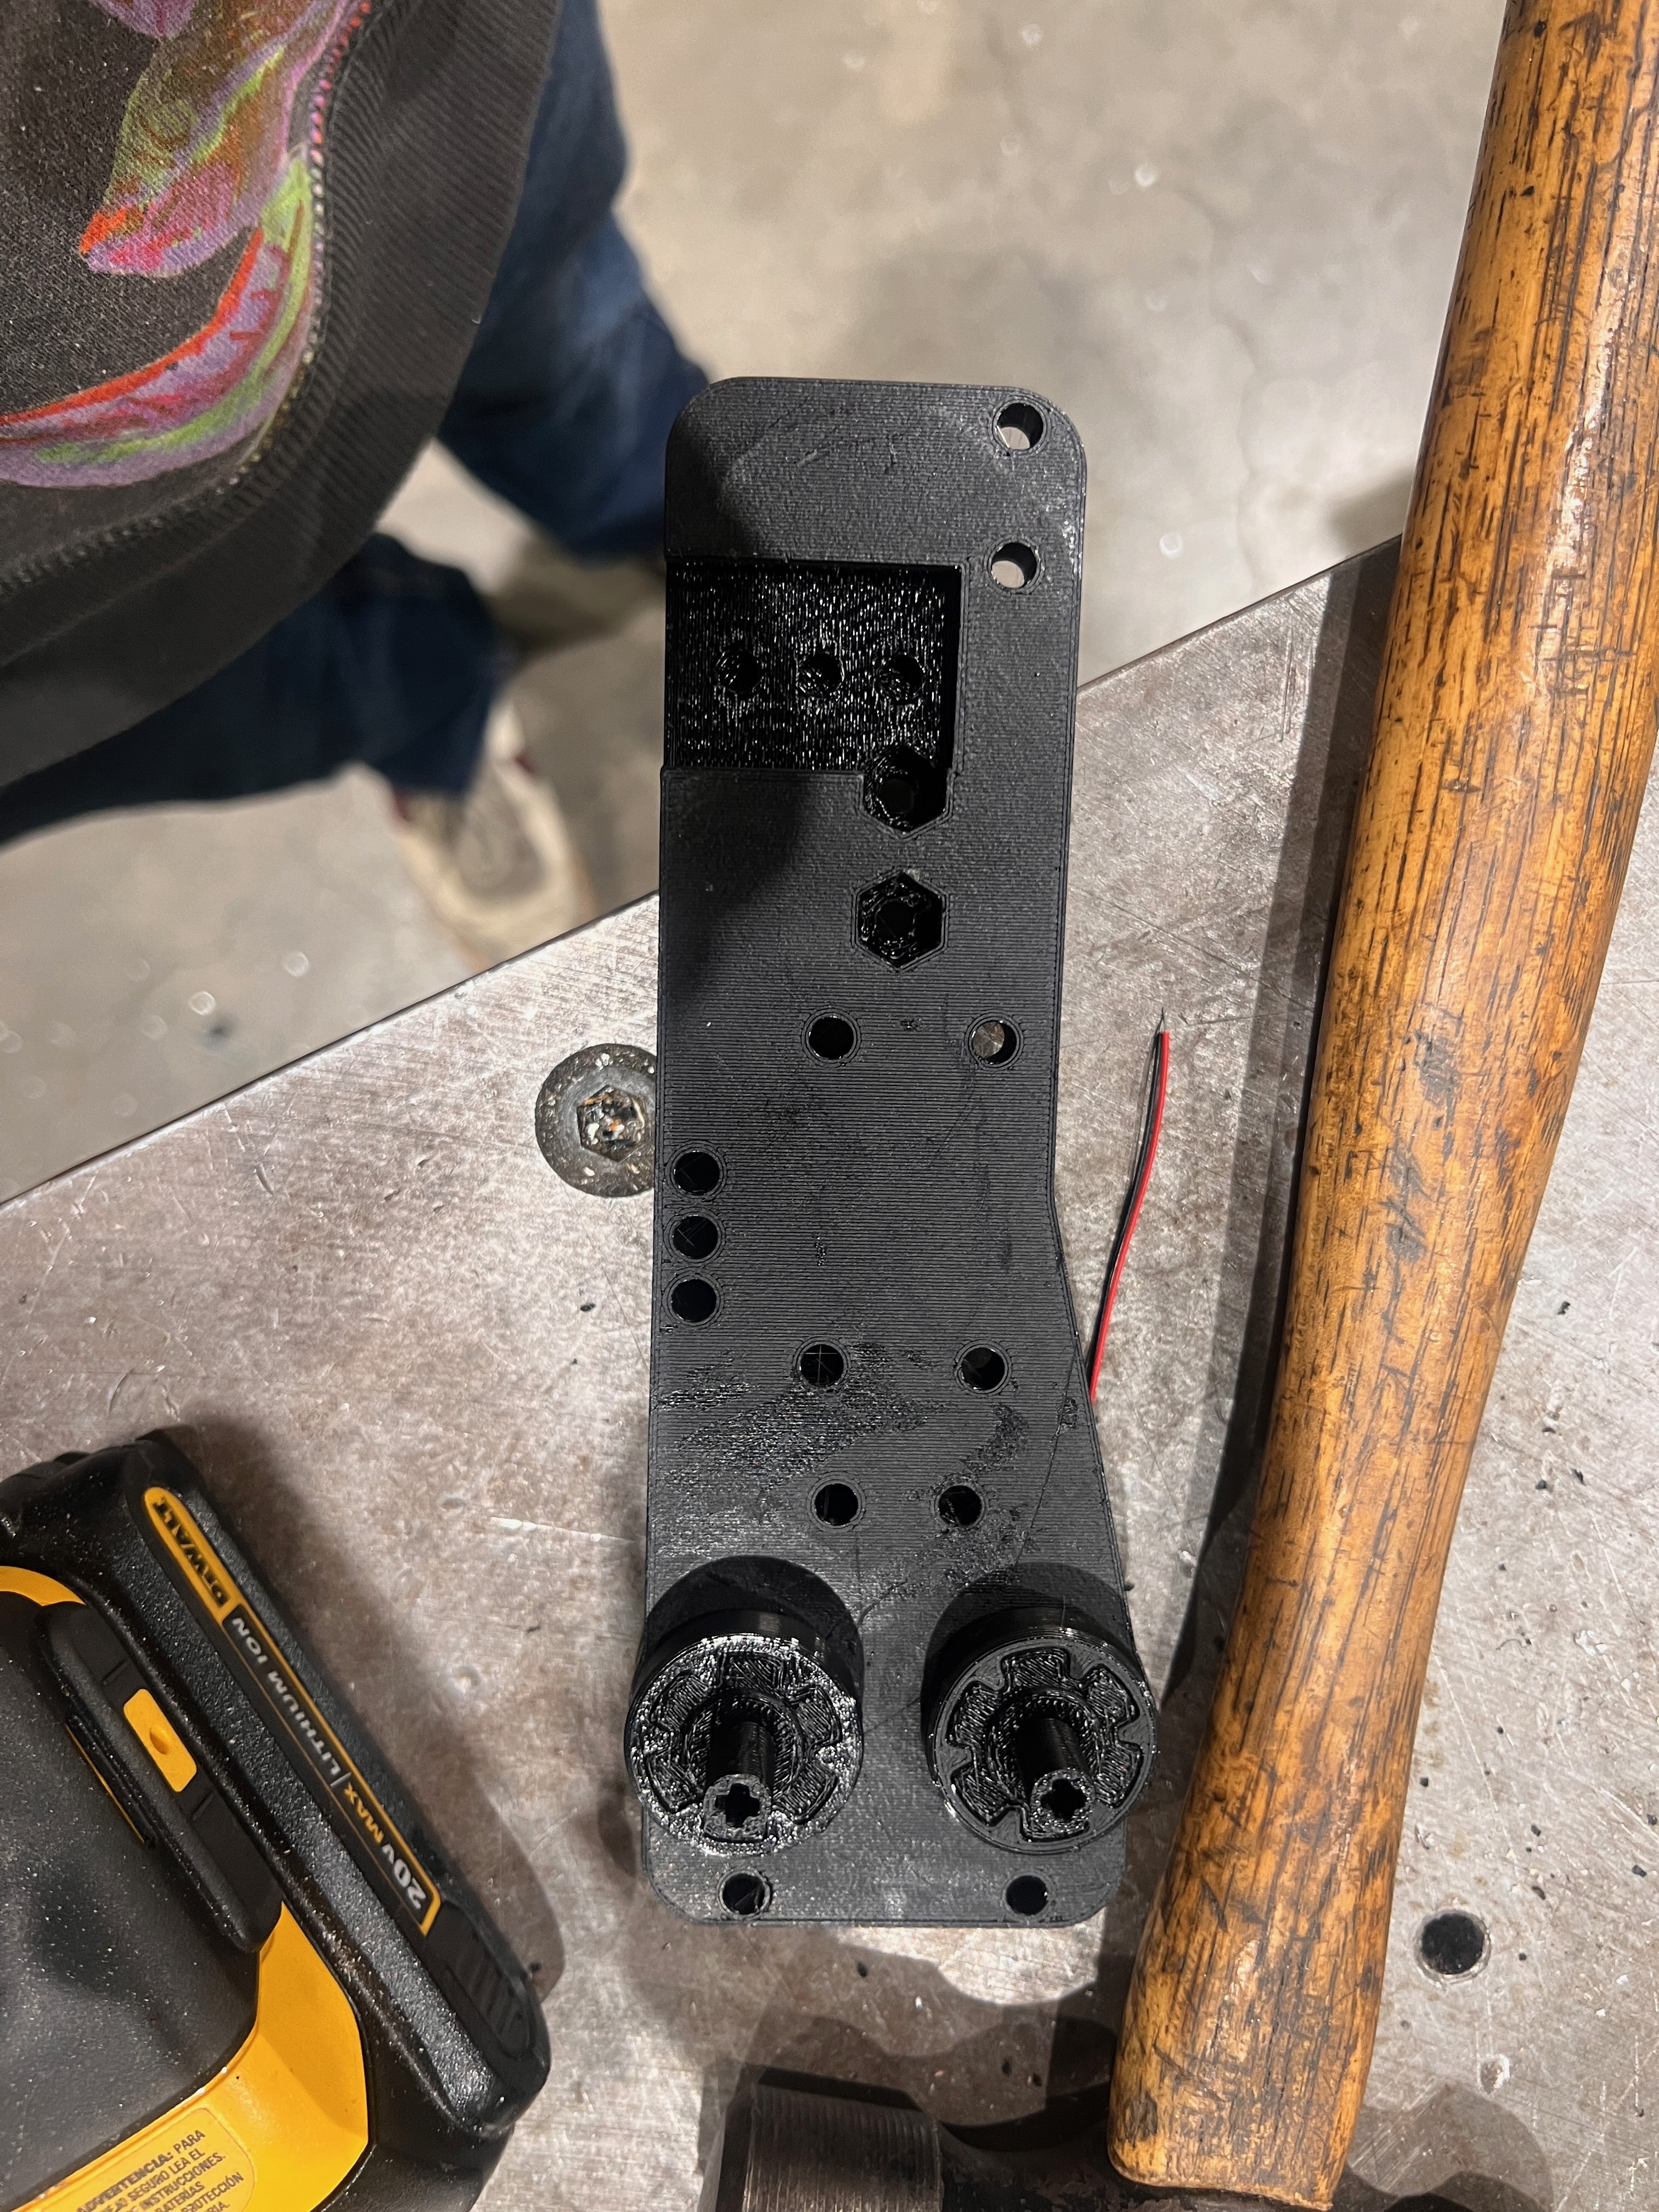
Inspired by the torpedo launchers, this takes from the other common way to “safely” launch something. Two flywheels spin in opposite directions via gears. The friction imparts a high acceleration, and then fires the object. This time around we were shooting 1x7 lego technic pieces.
This was a weekend and change project right before finals week. Unlike other intro projects, this one had a lovely budget($30). Being the cad monkey I am, I whipped out some designs for a turret, and threw the entire thing onto my little 3d printer to make it come to life. Using tpu and petg for most things, and large rubber bands to handle(initially) the feeding. Two main revision were done to create a working product.
